5 Tips to Get the Most Out of Your Trail Cameras
Whitetail Weekly 06.06.12

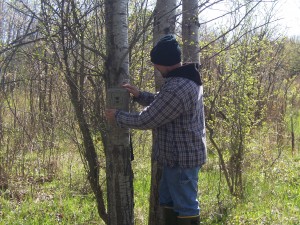
The idea of a trail camera seems easy enough. You just pick a spot that you know deer use, strap the camera to the tree, turn it on and leave. Then a week or so later you come back and scroll through your countless pictures of great bucks. So easy a caveman could do it…right?
While the basic principle of running a trail camera is actually that easy, there are certainly a lot of things that people can do to improve the quality of the pictures they get as well as increase the amount of fun they have with their trail cameras.

I am certainly not an expert in the art of running trail cameras but we do run several cameras year in and year out and I thought it would be a good idea to share some of our “speaking from experience” lessons. Hopefully by reading this list of trail camera tips you will be able to avoid a few of the speed bumps that we’ve run into and start to (or continue to) get great pictures with your trail cameras.
1. Research and Shop Around
There are several companies in the trail camera business and they all make several different models of camera. Then you also have your homebrew cameras that are gaining popularity and becoming more and more widely available as well. With all these options available it wouldn’t be hard to get lost before you even get started. Thankfully for the new camera buyer there are several places, like Michigan Sportsman for instance, that a person can go to and find information concerning different trail cameras or ask questions about different cameras. If you are looking to buy a new camera don’t be afraid to ask people their opinions, you will always get a lot of feedback and good information that you can use for your search.
Once you’ve decided on a camera shop around a bit, you may be surprised by the price differences you can find out there with all of today’s online stores. Nothing’s worse than buying something only to find out you could have paid less if you just looked around a bit.
2. Location, Location, Location
When trying to pick a spot to put your trail camera there are several different areas that you can pick from. Usually people will put their cameras in either a high traffic area, an area at or around one of their hunting locations or an area where they think a good buck may be residing. These types of areas can all be good areas for your camera but they all have their downsides as well.
A high traffic area will yield a lot of pictures and give you a good idea of the number of deer on your property but it will also expose your camera (and you as you go in and out to check the camera) to alot of eyes and noses. Putting your camera right near your stand means you will likely be going in and out of the area multiple times which could easily have a negative impact on your hunt quality. The same issue, repeated intrusion, is one reason you may want to think twice before putting a camera in a big buck’s bedroom.
Personally we try to keep our cameras in easily accessible areas whenever possible. Areas that are frequently used by deer but still allow us to quickly and quietly slip in, pull the memory card and leave undetected are ideal. As we all know those types of places aren’t all that common and usually there is some degree of compromising involved but we always try to keep the cameras as easy to access as possible. Access issues have kept us from putting cameras in some of the best areas on our property simply because the risk of messing up the area isn’t worth the pictures we would get.

Another aspect of location is finding an area that won’t cause a ton of false triggers. Areas that are full of thick brush or tall grasses will always lead to several false triggers, especially on a windy day when the brush and grass is being blown around. Facing a camera straight east or west can also cause false triggers during sunrise and sunset thanks to shadows and sunlight on the camera. Also pay attention to any branches or leaves that could possibly blow in front of the camera and cause false triggers. I know it’s hard to find a spot in the deer woods free of brush, grasses and tree branches but some attention to detail could definitely save you a lot of frustration in the end.
3. Playing the Angles
Many people put their camera about 3 to 4 feet high in the tree and never even think to try changing it up a bit. The difference in the pictures you will get just by changing how high or low you place your camera is amazing. By changing the angle you will get an entirely different perspective on your shots and what may have been just an average shot from the normal height will now have a totally new feel.
Another change you will see based on how high or low you hang your camera is the way deer react to or interact with your camera. It’s pretty obvious that if you place something at eye level it has a better chance of being spotted but most of us instinctively put our trail cameras right at a deer’s eye level. By going higher or lower you will likely reduce the deer’s awareness of the camera and by making the deer less aware of its presence you will increase the long term productivity of that camera location.
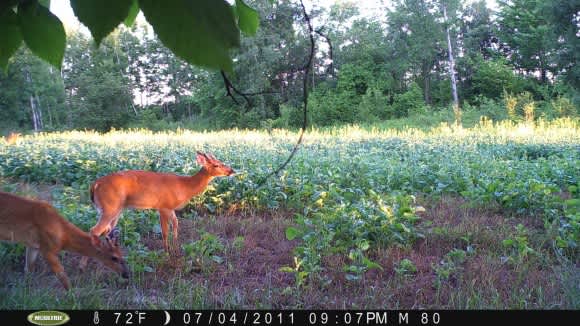
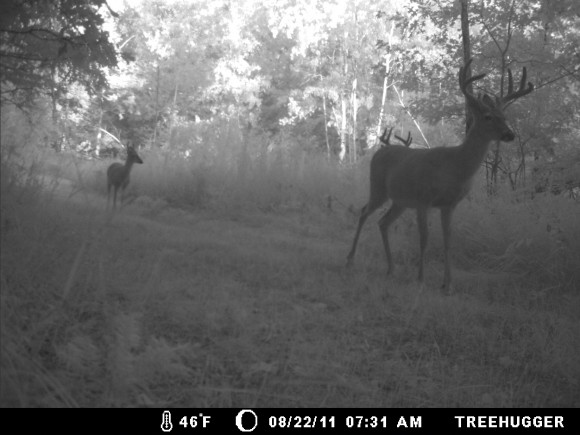
Another angle to consider is the angle at which your camera sits in relation to the deer run it is watching. I think the most common way that people first try to get pictures from a deer run is by placing the camera about 5 yards off the trail facing directly at the trail. While that camera placement will work and will get you some pictures it is also going to produce a lot of blank pictures and a lot of pictures showing half a deer. The reason for that is that you aren’t giving the camera enough time to react to the passing deer. By simpling angling the camera down the run you will give the camera more time to react as the deer are walking towards it. That will result in less blank or half body shots and more shots with the deer centered and focused.
By simply changing the angle of your camera you can greatly increase the number and quality of pictures you get.

4. Consistency
As we all know, electronic devices can be finicky and fussy. We’ve all saved something on our computer and then somehow had the file disappear for no good reason. In our years of running trail cameras we’ve seen that trail cameras can also be finicky. We have lost several pictures off of memory cards and have found a few good ways to hopefully prevent the same from happening in the future.
We now have two SD cards for every camera we run. The two SD cards are the same make and size as each other and are each given a matching number. Once a card is assigned to a camera it is only used in that camera. Doing this helps to eliminate formatting issues between different brands or types of cameras and makes swapping cards easy and quick. We also stopped using external readers and now we only view the pictures on our computers, just another way to avoid formatting issues.
5. Patience
Trust me, I know how hard it is to resist the urge to go pull the cameras to check them. You always feel like you are missing out and you just know that beautiful picture of the big buck you’ve been chasing is just waiting in that camera for you. It can be pure torture convincing yourself to let the cameras be, but sometimes it needs to be done.
Checking your cameras too frequently can have a big negative impact on the number of pictures you get from the camera. As you know, deer have great noses and if your camera is in a high traffic area you stand little chance of getting in and out without leaving some evidence behind. If you go in and out too often that evidence starts to pile up and deer will start to pay attention and could avoid the area in the future.
To combat that you have to try and let the cameras sit. I use to try and pull cards once a week but now I leave them at least two weeks or more to try and reduce my impact from intrusion. Summer time intrusion is a bit less traumatic for the deer but excess intrusion once the hunting season starts can really have a pronounced negative effect. During hunting season we will only pull cameras when we are going to go past them on our way to a stand. We will not go out of our way in the fall to pull cards, the risk is just too high at that time of year.

Scent control measures such as rubber boots, scent killing spray or even just going out during or right before a rain can also help minimize the negative side effects from checking your trail cameras. Try to think of your trips into the woods to check the cameras as an extension of your hunting season. The precautions you take now could play in your favor once the season starts.
As I have said before, I am by no means an expert on running trail cameras. The only way I’ve been able to come up with the list above (and all the other tips and lessons I’ve learned) is by screwing it up myself in the past. The beauty of today’s trail cameras is that if you don’t like a picture you can just delete it and move on, there is no real cost tied to your mistakes. In the days of film cameras, spending money on film and developing only to find you got 24 pictures of a leaf blowing in the wind could be very time comsuming and frustrating as well as costly.
If you don’t already have a trail camera I would recommend giving one a try. It’s another great way to enjoy the great outdoors and learn a little bit more about your area. If you already have a trail camera than I hope that you found something above helpful and will be able to use it to further enhance your trail camera experience this summer. I know that we really love running our cameras and we hope that you do to.
This article originally appeared on Mightymouse’s blog on michigan-sportsman.com.

