Shooting with the Mann: Ballistic Reticle Basics
Richard Mann 10.24.16
The ballistic reticle has become very popular. Burris’ introduction of the Ballistic Plex reticle at about the turn of the century was the beginning of the ballistic reticle revolution. The Ballistic Plex might have started the modern infatuation with the concept, but it was not the first. Mil-Dot reticles were already common, and Premier Reticles and T.K. Lee had been building custom ballistic reticles for many years.
What Burris did with the Ballistic Plex was ingenious. Burris established the fact that with most modern big-game cartridges, trajectories were very similar. By positioning additional aiming marks – with generic spacing – below the intersection of the vertical and horizontal intersection of the reticle, they created a reticle you could use for trajectory compensation with almost any cartridge.
I just returned from an elk hunt in New Mexico where I used a ballistic reticle to make a one-shot kill on a bull at 324 yards. Now, by today’s standards that doesn’t seem all that far. However, I was using a .308 Winchester, and at that distance I had to compensate for 18 inches of drop. With a proper zero, a ballistic reticle can make this easy.
The common misconception with ballistic reticles is that they will exactly match the trajectory of your ammunition, when fired out of your rifle. There is about a 1 in 1,000 chance this will happen. However, for big-game hunting, there is about a 9 out of 10 chance you can manipulate your zero so the reticle is close enough. The trick to establishing this correlation between your rifle/ammo/reticle combination is in establishing the correct zero.
The first step is to determine the exact subtention of each additional aiming mark. Subtention is the distance – the space – between the additional aiming marks and the center of the reticle at distance.

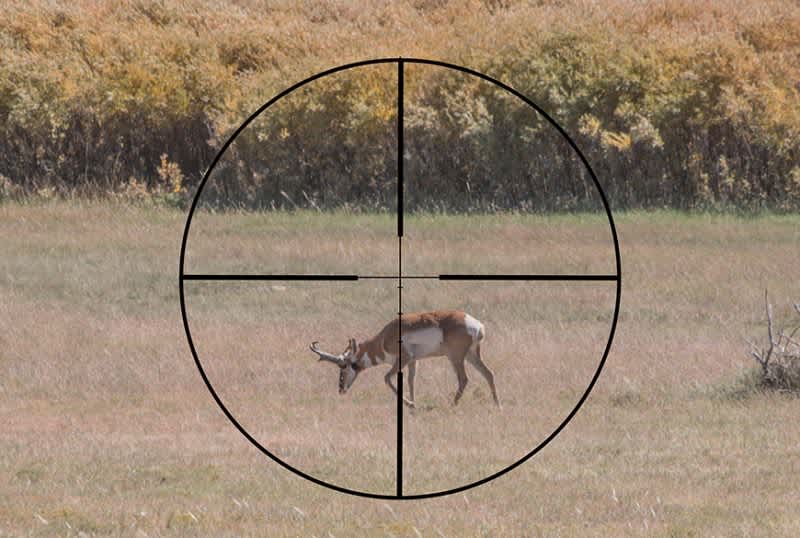
Let’s look at the Burris Ballistic Plex reticle in the scope I used during my elk hunt as an example. With that reticle, the first additional aiming mark subtends to, or equals, 2.0 inches at 100 yards (see graphic above). The second additional aiming mark equals 5.9 inches, and the third additional aiming mark equals 9.9 inches. Now, here’s where it gets tricky. At 200 yards, these subtentions (measurements) are doubled, and at 300 yards they are tripled.
The key is sighting-in your rifle so that the additional aiming mark you will use for the farthest distance you want to shoot coincides exactly with your trajectory at that range. The mistake most hunters make is adjusting their zero so it is exact at the closest range, and then trying to compensate for the difference or offset at longer ranges.

To start with, I zeroed my rifle at 100 yards, then used the second additional aiming mark – my 300-yard aiming point – to shoot at 300 yards. I found the bullet was striking about 3 inches high. I made a 3-inch at 300-yard correction to my zero (four ¼ MOA clicks) and this put my 300-yard aiming mark dead on at 300 yards. However, this moved my zero (main crosshair) to 1-inch low at 100 yards, and made my 200-yard aiming mark (first horizontal mark) about a half-inch high at 200 yards.
Yes, my 100-yard and 200-yard aiming points were off by 1 inch and a half-inch respectively, but that small of an error at those distances is much better than a 3-inch error at 300 yards. This is especially true when you consider that at longer distances, your rifle and you will shoot bigger groups.

The lesson here is, regardless of the ballistic reticle you’re using; adjust your zero so the aiming mark you’ll use at the farthest distance you intend to shoot, is dead on. Done correctly, with most modern big-game cartridges, the aiming marks for the closer distances will be close enough.

