Beginner’s Archery 101: Basic Instructions
Agnieszka Spieszny 10.18.11
Archery is not just for hunters. While bow hunting is hugely popular, people all over the world shoot arrows recreationally or for competition. The sport has evolved from its traditional combat identity of prehistoric and ancient times to a common past time. To this day, bow designs are continually improving and archery clubs welcome new members each year.
I had shot a few arrows some years ago, but other than a few do-it-yourself archery lessons at summer camp and fluttering thoughts about a college archery club, my interests never developed into anything real.
So I signed up for the biannual “Discover Archery” program at Detroit Archers in West Bloomfield, Michigan, a program for children and adults to do just what the program describes, discover archery. No previous experience with archery was necessary and the instructors helped us pick bows and arrows and gave us step-by-step instructions on shooting. First we shot targets from 5 yards in waves then 10 yards eventually with balloon targets. Toward the end of the afternoon 3D targets were brought out and a prize competition ensued. After just my first organized archery experience, I’m seriously considering joining the club next year. So here’s what I learned at Detroit Archers as a beginner.
Bows
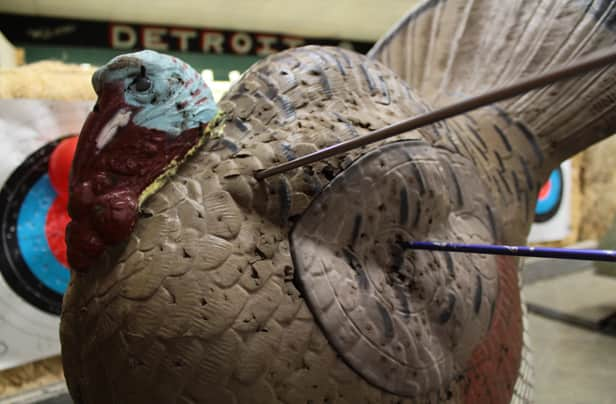
There are three basic types of bow to take note of when first learning archery. First, there’s the traditional long bow, which was used most prominently in the Middle Ages in Western Europe. The bows are longer with one curve and require lots of strength to pull back. Next, there are recurve bows, which are popular among beginners and expert archers alike. They are shorter, and form a slight “S” shaped curve at both ends of the bow that meets the string. They are much easier to pull back, but still require some strength. Finally, there are compound bows that you can recognize by the wheels found at both ends of the bow. They use a pulley system to decrease the resistance of your drawback so archers may hold the bow taught for a significantly longer time without straining themselves too much. This is the bow typically used for hunting.
, recurve (center) and compound bow (right)")
For this activity, we were all using recurves and bare-bowing it, which means we were using bows with the bare minimum equipment required to shoot, no stabilizers, anchors, sight-aids, nothin’.
As a beginner, any instructor you have should help you choose the best bow and arrow for you. You will need to know which is your dominant eye, your arm span (more or less) and how much weight you can draw back. Arrows come in different sizes as well and your arrow size will be determined by the weight of your drawback.
Stance
Stand shoulder-width apart completely sideways to the target, with your toes at a 90 angle to your target. There should be no bending at the knees or waist and no leaning either. Keep a straight back. Your head is the only thing that turns toward the target and your arms are the only body part that moves.
Loading
There will be three fletchings on your arrow, two fletchings of the same color and one different. When loading your arrow, the odd-colored fletching should face away from the bow and toward you. Place the nock of the arrow (the split ending at the back of the arrow) on the string of your bow pushing it in until you hear a subtle click. The nock should be placed in between the drawback pad for your fingers, and a little bead a few millimeters higher than the finger pad.

Shooting
Hold the correct stance mentioned above. Straighten your hand with the bow ahead of you but keep it flexible with a slight bend in the elbow. Don’t lock up your shoulder. Hold the bow like you would the handle of a coffee cup, with three fingers (pointer, middle and ring) but keep the thumb lowered. However it is comfortable is best.
Drawback with three fingers around the string below where the arrow is placed. Keep the elbow of the drawback hand up in line with your arm that’s holding the bow. Anchor your drawback hand on your face, ideally somewhere in the region of your mouth and cheek just below your eyes or nose so that you can see down the shaft of your arrow. To shoot, just relax your hand holding the arrow and follow through with the shot. Don’t put down your bow or change your position until your arrow is in its target.
 Aiming
Your stance in an important part of aiming. Keeping a straight back, not leaning or bending and extending your arms like you were trying to crush an apple in your back with your shoulder blades is best. To aim, draw back your arrow just underneath your eye so that you can stare down the entire shaft (length of your arrow). Bring the arrow to a point where the back and front end of the arrow align and you’re looking down it at a straight angle, not even a few degrees off.
Problems
I kept hitting myself in the arm when releasing the arrow. I definitely recommend arm guards. But to avoid bruising, there are two things you can do. One, make sure your stance is correct. Slouching or bending into the shot makes you lose your straight line of release. If you are slouched or your elbow is farther out in front of you than it is behind you, then you are essentially aiming the string at your arm and will undoubtedly hit it.
If you are otherwise still hitting your arm then twist the arm you hold the bow with a little bit. Instead of keeping the knuckles of your hand more-or-less vertical, twist your arm so that your knuckles are at a 45 degree angle and your thumb is even lower. If done correctly, you’ll find that position moves your arm slightly more out of the way of the shot.
If you end up doing an organized archery event, definitely don’t hesitate to ask questions. I learned most of what I described above just by asking targeted questions. When you practice, just remember that taking a quick shot is going to be the last of your concerns. Master your form first, and the shot will follow.

