How to Properly Sight-in Your AK
Crucible Arms 07.15.13
Sighting-in your AK isn’t rocket science. Follow this guide and you’ll have the procedure down in no time.
Don’t be intimidated
Too often I’ve heard shooters say, “AKs just aren’t that accurate.” While it’s true that the AK design is not as refined as the ARs they’re most often compared against, I find that some AK owners just haven’t taken the time and effort to properly sight them in. Having said that, sometimes it’s just fun to sling lead at a tire 100 yards away and watch the dust fly. I get it. Some shooters aren’t interested in being all that accurate. They just love the feel of recoil, the smell of the Russian steel-cased ammo’s powder burn, the heat off the barrel, and the awesome sound of the action slapping around inside this brutish, gorgeous rifle. I’m totally down with that too. I’ve had to put my share of used tires down in my day. You know, sometimes they just need schoolin’!
Having said that, we typically want to get the best out of our weapon platform regardless of its inherent limitations. The AK and SKS platforms have a unique front sight system that often will keep the owner from really dialing their rifle in. While the front sight elevation adjustment is pretty standard for modern sporting rifles, the windage adjustment is another matter. AK variants, and I say variant because very few of us own a real AK-47 or AKM, have a fairly unique windage adjustment mechanism on the front sight. If you try to make that adjustment without the proper tool, you can really bugger up the sight. Yes, the AK is very robust but the sights aren’t impervious to our DIY methods.
Proper tools for the job
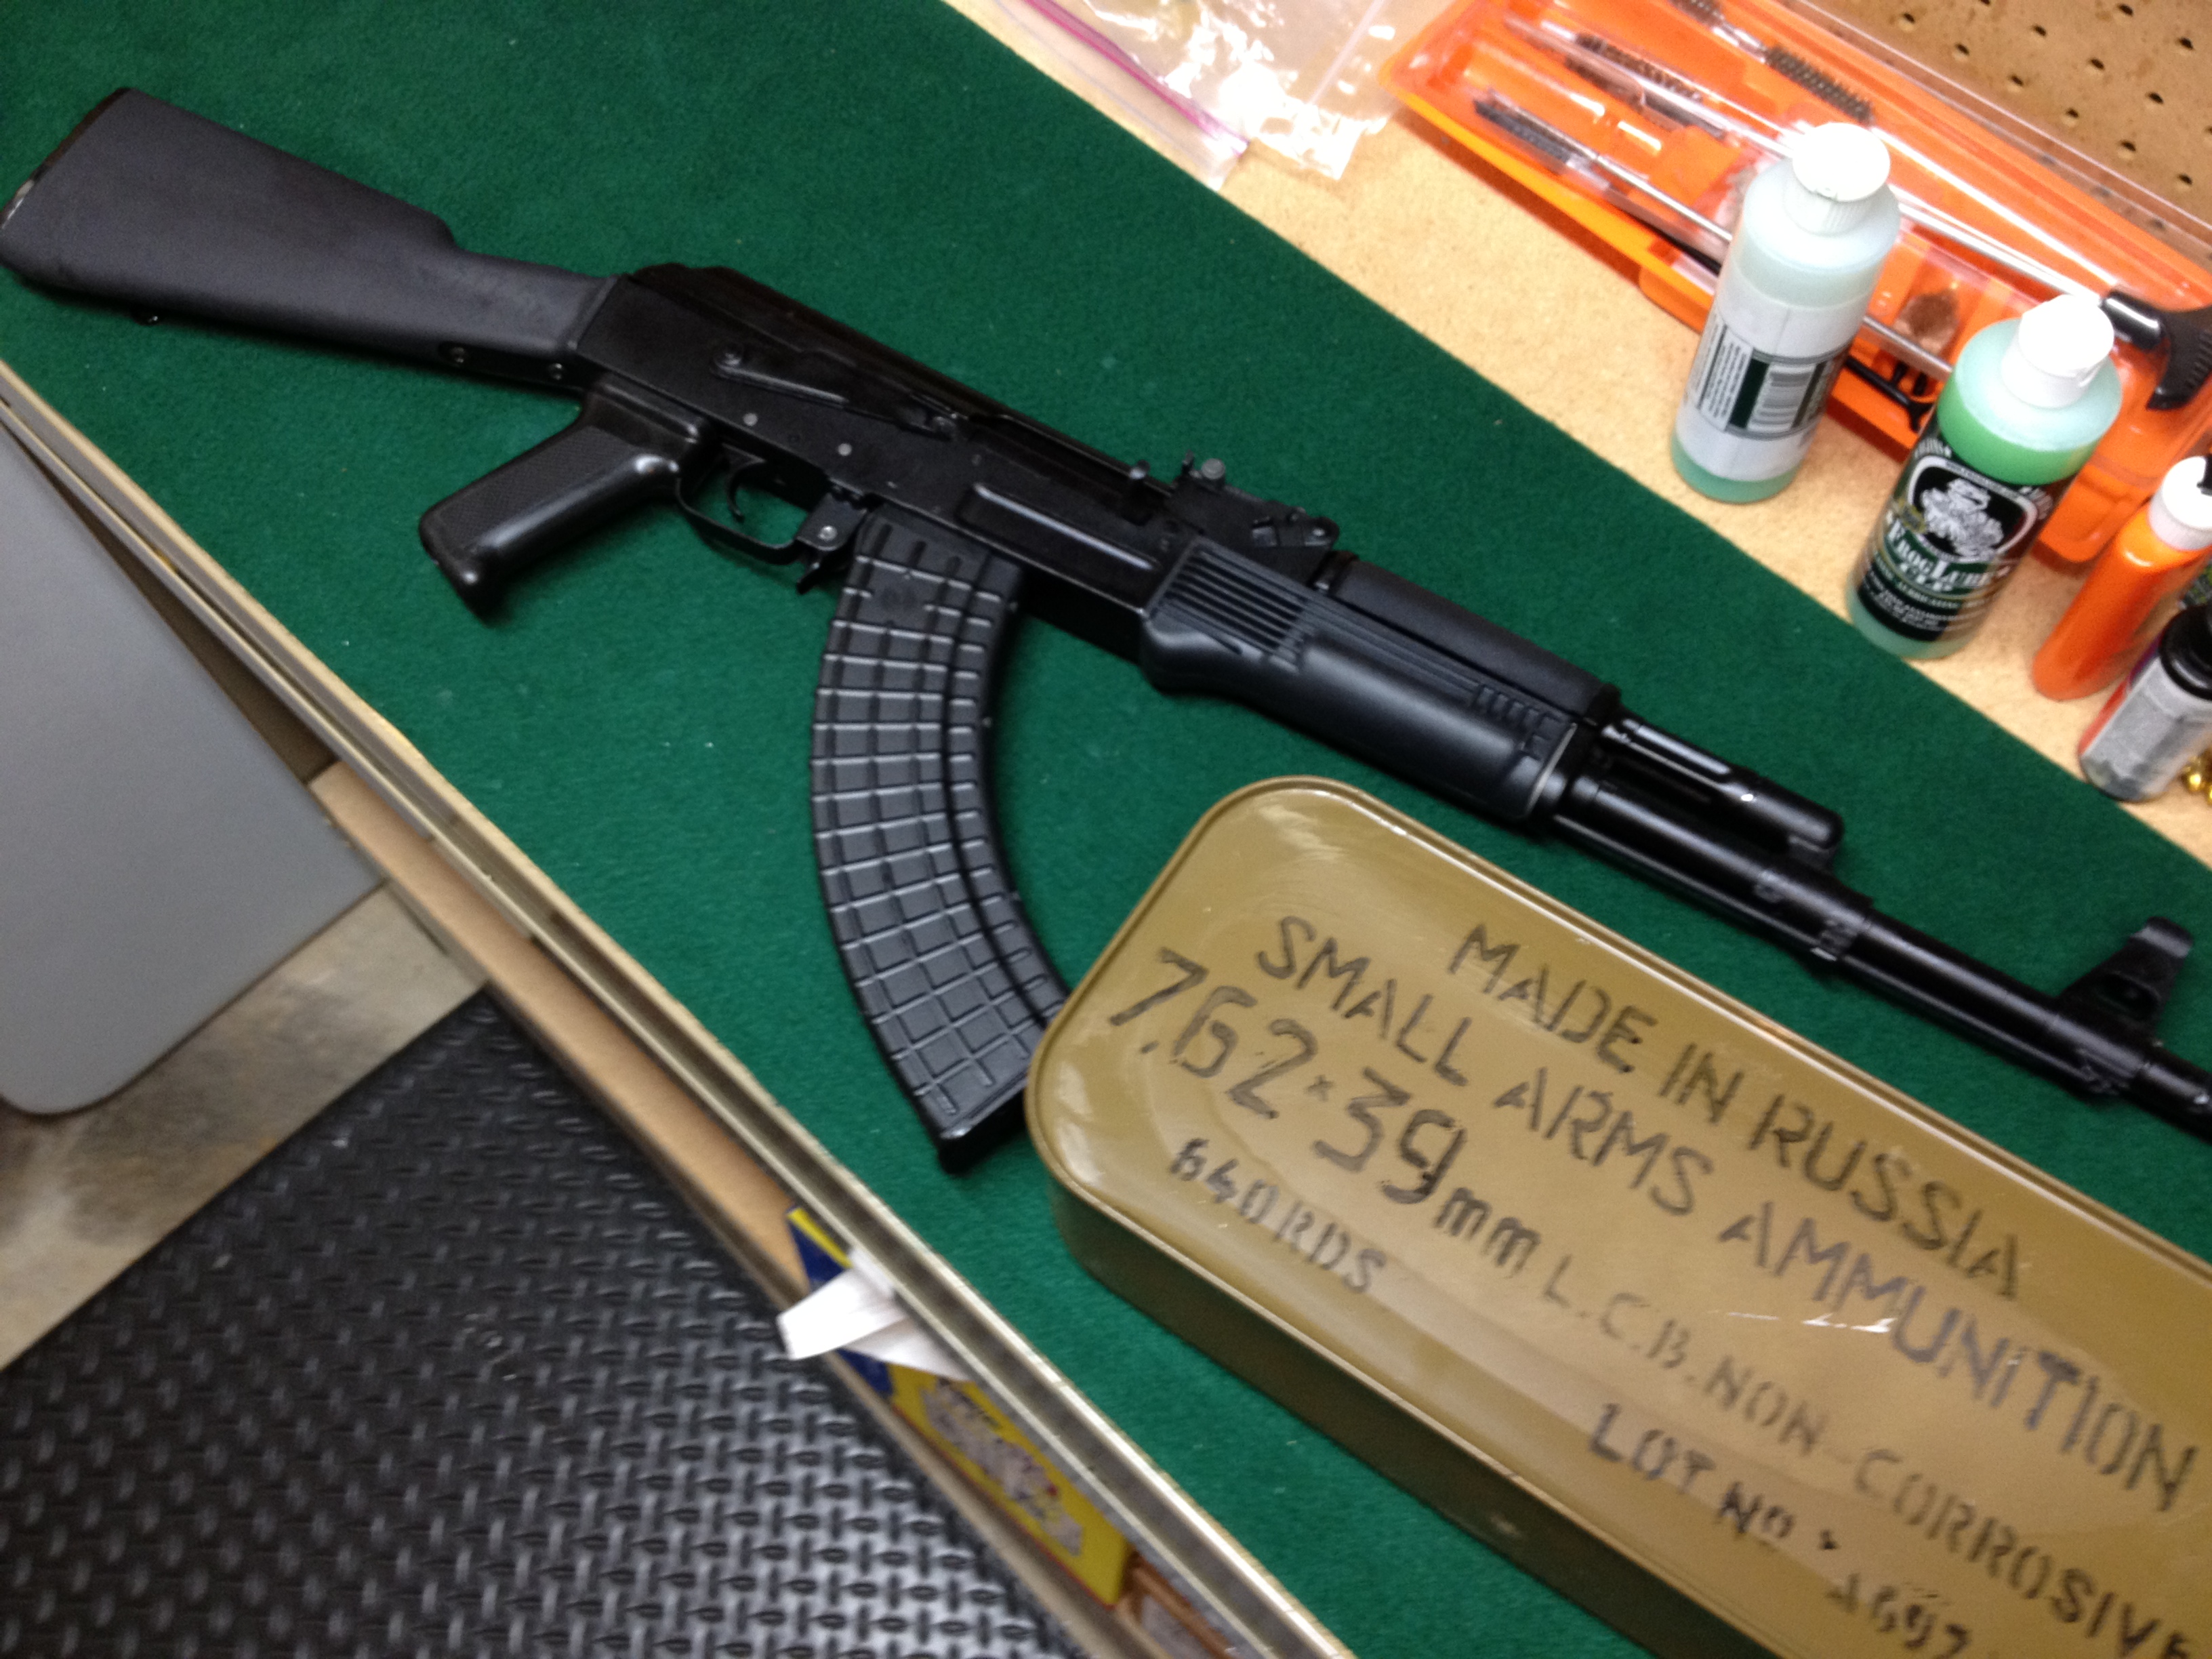
Fortunately, there are relatively inexpensive dedicated tools designed specifically for the AK/SKS front sight. Notice I said inexpensive, not cheap. There are some poorly made tools that are more likely to break or cause damage than properly align your sight. Spend a bit more and get a quality tool.
I use the Magna-Matic Defense AKFST Front Sight Tool. It’s all steel and very well-built. It’s tough and rugged just like the rifle it’s built for. It will last you a lifetime and make you a hero with your AK buddies. Most importantly, it will allow you to adjust your windage properly without damaging your front sight. Cheaper versions and home-made remedies can often twist and/or deform the very sight you’re trying to align! Why put $600 to $1,200 into your AK purchase if you’re going to hose it up with a cheap tool? Not wanting to mess with the AK windage adjustment is the main reason it’s so rare to find a properly sighted AK “in the wild.” The right tool makes it painless.
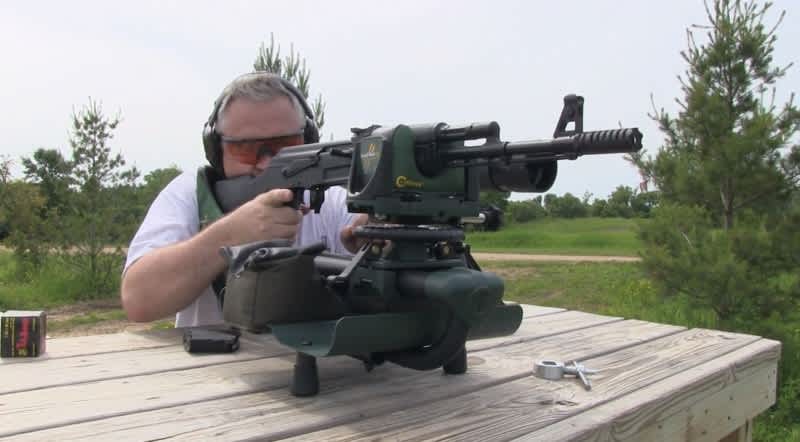
You can benchrest your AK for sighting any number of ways. I’ve used sandbags, bag rests, stands, and yes, the good ol’ “I can steady this on the magazine” method of sighting-in. However, if you truly want an accurate sighting, you’ll need to invest in a quality shooting rest. I’m not saying you can’t do a decent job using an alternate method, but if you want to avoid a lot of messing around, trial and error, and save on ammunition, a quality rifle rest is the ticket.
I use the Caldwell Lead Sled DFT. It has the advantage of being designed to handle virtually any rifle, including the AK and AR platforms that may have extended magazines. Many rests use a single frame rail to connect the front and back elements of the unit. Because that frame rail tends to run down the center of the rest, often an extended magazine or pistol grip will interfere with the frame and not allow the forward handguard and the buttstock of the rifle to seat properly. Often it’s easy to get around the issue by using a smaller magazine, so it’s usually not a show stopper. A smaller pistol grip is another matter. However, with the DFT (Dual Frame Technology) of the Caldwell, it will accommodate virtually any rifle with any type of magazine/pistol grip configuration, including the AK.
Sighting-in technique
Check out the video below to see how I sight-in my AKs. Below the video is a step-by-step walk-through of the process.
Trust me–despite what you might hear, sighting-in your AK, or any other rifle for that matter, isn’t rocket science. You now have the tools. So, find a range, bring a large paper target or two, and you’re good to go. Remember, we’re sighting-in a sporting rifle that most of us just use for plinking and blasting. We’re not talking true sniper or hunting applications and we’re not talking optics. I often see people who want to turn sighting a rifle into a race to half-MOA. That’s not what we’re doing here. We’re talking about consistent, reasonable groups with iron sights on a relatively short-barreled platform. Our goal is to eliminate the sights from our excuses for poor shooting. We still have all the others to fall back on: “I usually shoot better than that,” “AKs aren’t known for being accurate,” “I hardly ever flinch like that,” “wow, cheap junk ammo,” “I’ll have to get used to this rifle,” ”I must need a new pair of glasses,” “I just can’t get comfortable today,” and “I wish that darn dog would shut up.” I’ve heard them all and uttered most of them.
Most rifles, including the AK, are designed to be sighted-in at 100 meters, roughly 100 yards. Put your rear sight at the 100 mark and leave it there! You only use the front sight on an AK for sighting the rifle’s irons in. Once you’ve achieved your “zero,” you’ll use the rear sight to change your elevation to accommodate longer distances. That’s all the rear sight does! I’ve seen people adjust the elevation on the rear sight when trying to sight a rifle in. Some will use it as a quick cheat, but now you’ve totally destroyed your ability to adjust correctly for shots further down range.
I use the old tried-and-true three-shot method. Others will advocate five and some adjust after each shot. I’m not going to argue the merits of one method over the other. I like the three-shot because you’re putting fewer holes in paper, you’re allowing for variations in the ammunition, and if you do “yank one,” it’s fairly obvious.
Get your rifle rest set up so you’ve got a stable platform to shoot from. You can do prone or from a bench. The bench is easier on an old guy like me. If this is your initial sighting-in, put your 100-meter/yard target on a nice big sheet of paper. Some rifles are better than others when it comes to a factory preset. The AK is notorious for being relatively horrendous, so your first group could be quite a bit off your target. You want to be able to see the group and if you don’t have a large enough sheet of paper around your actual target, you can spend a lot of time and money just trying to “get on paper.”
From your rifle rest, get your front and rear sights aligned on target. Take your time putting three shots down range. Breathing and trigger control still matter, but not nearly as much if you’re shooting from a quality rifle rest. Don’t let your face come off your cheek weld between shots. You want as much as possible to maintain the same sight picture for all three shots. Recoil will cause your rest to move a bit, so realign your sight picture with your cheek weld intact. Don’t check your shots in-between sending three down range. Be as consistent as you can. Don’t have a spotter telling you where your shots are hitting, as you don’t want to be doing any adjusting at this point. You’re just trying to ascertain where the rifle is generally hitting your target.
After your first group, check your shots. A spotting scope is really nice or a good set of binoculars. Of course, you can still do it the old-fashioned way and walk down to the target. Because we’re shooting iron sights, an eight-inch or 10-inch bull’s-eye target will work fine. We’re not dialing MOA clicks into our optic, so grid targets, while fine, aren’t necessary.
Now that you know where your first group is hitting you’ll start your adjustments. Only adjust one of the two elements at a time. Pick windage (left or right) or elevation (up or down). Do not adjust both. Again, you’ll waste a lot of time and ammunition if you do. I usually pick whichever is off the most.
Let’s say it’s the windage you want to adjust first. I’m hitting a good 12 inches to the left of the bull’s-eye and 6 inches high. Yes, it’s an AK alright. Right now I don’t care about the elevation, I’m working on windage so I need to fix the 12 inches to the left. So, I need the barrel to move to the right, which means I need to push the front sight to the left from the shooter’s perspective. Sound confusing? It can be. There are two types of shooters: those that have moved the sight the wrong way and those who will. Don’t sweat it. Prior to making any adjustment to your front sight, make sure you’ve cleared your firearm and have the safety engaged. Using your whiz-bang dedicated AK sight tool, move the front sight accordingly. Remember, less is more. Try a half- to a full turn depending on how off you are to determine how much impact it will have on moving toward the center. Fire three more shots. Rinse and repeat until your windage is centered. In this example you should now be six inches high directly over the bull’s-eye.
Now, you’ll go through the same process for your other adjustment. In this scenario, the elevation. Since we’re shooting six inches high, we will adjust the front post up to move the barrel down. I usually start with a half-turn and then send my second flight of three shots. Rinse and repeat.
Conclusion
Take your time! Go slowly and make small adjustments. You will save time and frustration in the long run. I’m speaking from experience. I’ve done it all wrong and gone through a lot of ammo, language, and time. If you follow the process described above, you can take even the most poorly sighted-in AK and have it circling the bull’s-eye within an hour. That’s not including your set-up time. Sometimes the evil forces of physics are out to get you and it can take longer. Other times, it’s all smiles and unicorns and you’re done and out of the rest quickly. You’re now ready to use all the other excuses for poor marksmanship. If you have some to share, please do so in the comments section! I can always use a new one.

Kevin has been in love with the shooting sports since his father first trained him at age twelve on a Glenfield Marlin Model 25, .22 bolt action rifle. He is the owner of Crucible Arms, a provider of firearms and training. As an NRA Certified Instructor, Kevin teaches beginning and advanced shooting sports course work including concealed carry, pistol, rifle, and combat shooting.
As a staunch advocate for Second Amendment rights, Kevin has been interviewed in printed publications, radio and television broadcasts, and has testified before Senate Committees in support of the rights of all law-abiding citizen firearm owners.
Kevin is also a Nationally Certified Instructor in Taekwondo and a 4th degree black belt. However, at his core he’s just a good ol’ fashion trigger puller with an undying passion for firearm sports of all types. Check out Crucible Arms at:
http://www.youtube.com/cruciblearms
