9 Tips for Taking Better Hunting Photos
OutdoorHub Staff 09.30.16
Of all the photos you’ve taken throughout your life, odds are that your pics of harvested game are among the ones you treasure and share the most. After all, they capture the best moments of your outdoor life.
But how many times have you later wished your hunting images had turned out better? Just a few minutes of prep and some additional gear can dramatically improve your photographs. Really, you have no excuse for being that guy with a “this photo makes my buck look smaller than it actually was” disclaimer.
HOW TO SHOOT KILLER PICS
1. Carry a camera in addition to your smartphone.
Smartphone cameras are great for convenient, on-the-go photography, but for really standout photos, a digital camera performs best. Today’s high-quality cameras are affordable and offer features like stabilization and automatic adjustment for low-light conditions that are uniquely important for hunting pics.
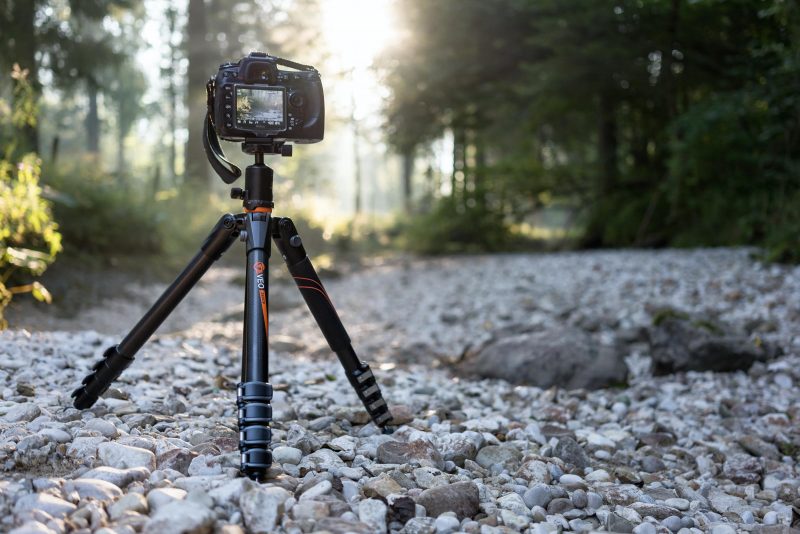
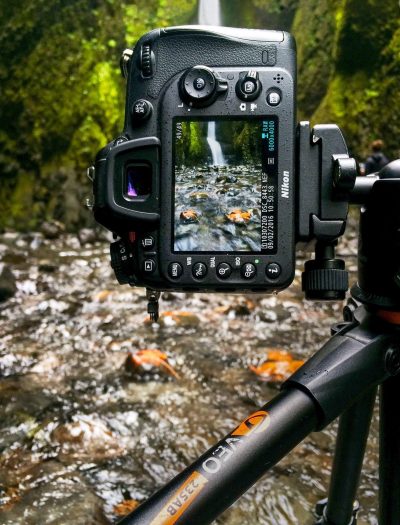
2. Use a camera tripod.
A camera tripod will keep your camera safe, ensure blur-free photographs and enable more camera angles. I like to use a Vanguard VEO tripod (above) because it is ultra lightweight, compact, super easy to set up, and affordable. Many outdoor backpacks are designed so that tripods can be easily attached so traveling with them is hassle-free when climbing in and out of a treestand.
Look for tripods with features such as multiple leg angle positions so you can set up your camera at unique angles and on uneven surfaces like rocks. If you’re hunting solo, you have to use a tripod. If you have a hunting partner or two, a tripod enables you to capture full-crew shots, too. By the way, if you have spotting scope, a reliable tripod is essential.
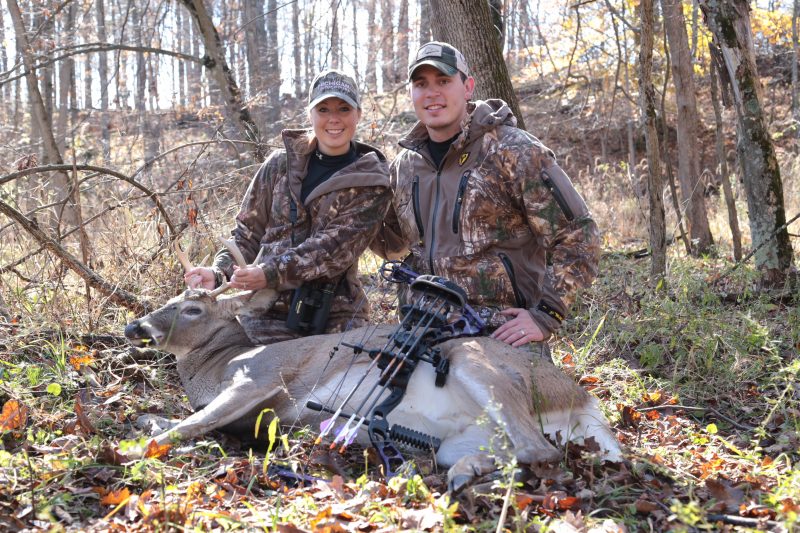
3. Stay true to the animal’s habitat.
One of the most common ways to ruin a would-be fantastic shot is to take photographs outside of the animal’s natural environment. If you harvested the deer in a heavily wooded area (above), take the photos in that setting. Trophy shots taken in other environments with vehicles and other distractions in sight negatively impacts the overall presentation.
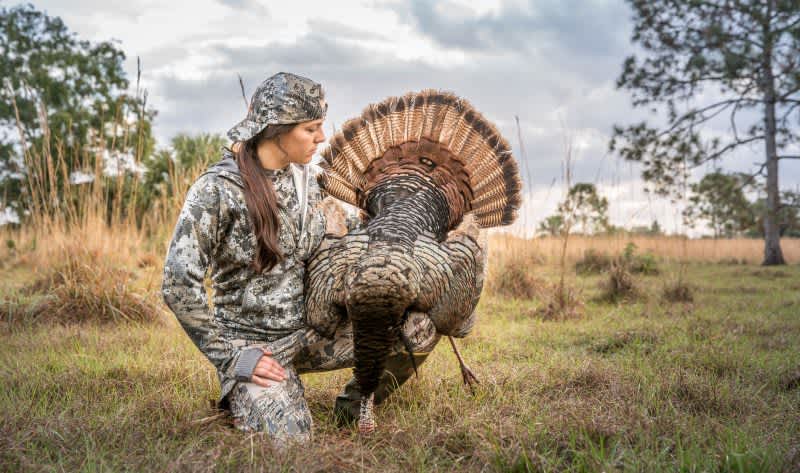
4. Improve the animal’s appearance.
Take a few minutes to clean the animal for respect and to showcase its beauty. Protruding tongues and blood are distracting. Make the animal look larger by positioning the camera at a low angle so the shot is taken pointed up at the animal. This is exactly when you’ll appreciate a tripod with multiple leg angle positions and an easy-to-adjust ball or pan head (below). Emphasize particular animal features such as antler size by holding the antlers away from your body and sitting behind the animal.
5. Take several photographs at different angles.
There’s a reason pro photographers take dozens of shots of the same subjects. When you’re back at home reminiscing about the hunt, you’ll be kicking yourself for not getting at least a few more shots at different angles. It’s worth the extra few minutes getting more shots with the camera positioned at various angles. Some pics will turn out significantly better than others. Consider springing for a wireless remote control to trigger your camera’s shutter release remotely. This will enable you to take more photos, ultra quickly, without leaving your spot.

6. Consider timing for ideal lighting.
Lighting for trophy shots is ideal in the early morning hours. Nighttime shots are always challenging. If a midday shot is the only possibility, avoid the annoying baseball cap shadow over your eyes and nose by using an inexpensive collapsible reflector, which is available for under $20 online or at camera shops.
7. Include only what’s important in the frame.
The more editing you have to do later, the less satisfied you’ll be with the results. The goal should be no cropping later. Emphasize what you want to emphasize by photographing only what’s important. Leave out of the frame anything that distracts from you and the animal. As a rule, get close to your subject and fill the frame.
8. Embrace the gear that helped make it happen.
When it’s photo time, don’t ditch your camo apparel. Leave the face paint. Keep your binocular around your neck. Everything you used in the hunt is part of the memory. When you share your amazing shots on social media, tag the equipment manufacturers in the post. Outdoor brands love to see their gear out in the field; there’s no greater marketing than kudos from their customers, so they’re inclined to share these fan photos across their social networks, too. Plus, years later, you’ll appreciate a look at your old gear. Keep safety in mind when you set up your firearm or bow, though.
9. Focus on photography for several minutes.
The moments following a successful harvest are hectic and exhilarating. There’s also a lot of work to do, so it’s no wonder photographs, though important, are hurried and turn out poorly. Make photography part of your normal post-hunt process. Those extra 15-20 minutes to focus on quality will produce far better photos you’ll appreciate for the rest of your life. Worth it? Definitely.
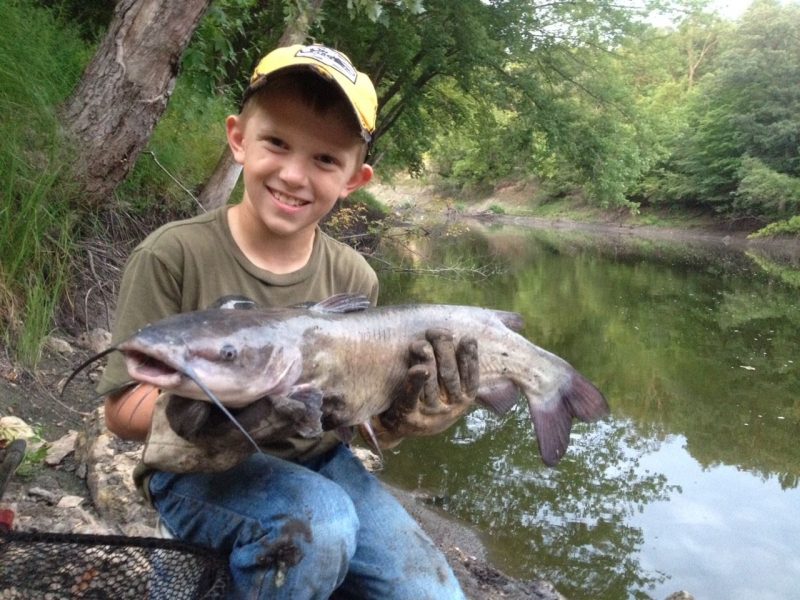
P.S. Most of these photo tips discussed here will help improve your fishing pics, too. Fill the frame, watch the lighting and shoot a lot of images!