6 Steps to Deadly Bow Shots on Deer
Melissa Bachman 09.01.19
When the moment of truth arrives while bowhunting deer, I’m a firm believer in being prepared. Just like in other sports, mental preparation is key. I was a college pole vaulter, and we were taught to visualize everything before actually doing it. I think these same techniques can be used for bowhunting, and it’s something I do on almost every sit. For me, it’s a process I go through. Here are my 6 steps to deadly bow shots on deer.
Begin the process by looking over your hunting area and determining where you think deer are likely to appear. Next, decide where you’d like to draw so you’re ready when an approaching deer hits your shooting lane. Go through the various shot ranges, calming your nerves, picking a spot on the animal, and the feeling of a nice, easy squeeze on your release. Lastly, with that spot on the deer in your mind, visualize yourself making the perfect deadly bow shot.
Here are six steps to deadly bow shots that help make this happen when the moment of truth arrives.
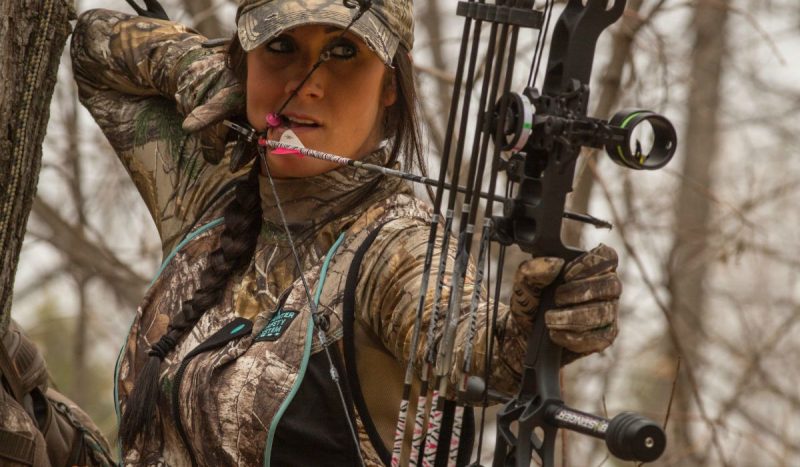
1. Time your draw. I like to pick a spot in my ambush setup where I plan to draw. This is usually an area where the deer wouldn’t be able to see me move due to thick cover. If there isn’t much cover in the area, then you need to really watch a deer’s body language. I prefer to draw early; I like to be at full draw when I calm my nerves, and not worried about busting a deer during the draw.
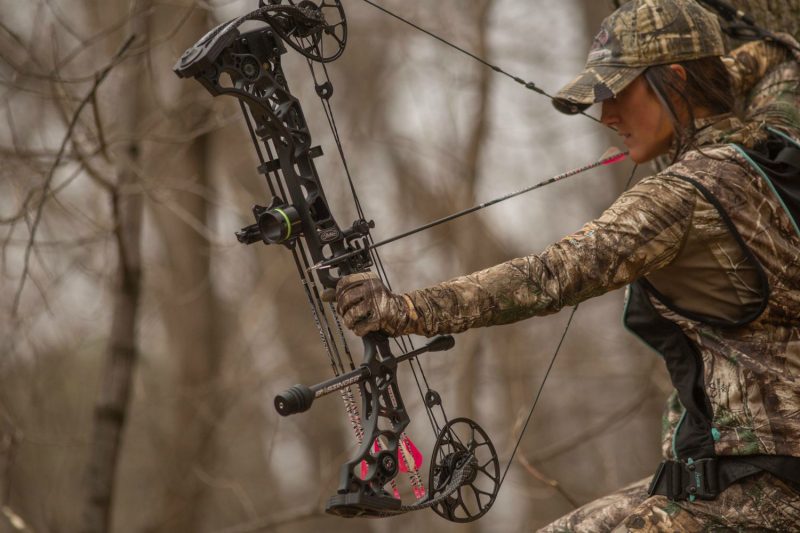
2. Find your anchor point. I have a kisser button on my bowstring; it helps ensure I anchor at the exact same spot every time. This is a simple accessory that can be added to help get to that same spot regardless of what is going on. After finding my anchor, I look at my bowsight pin through my peep.
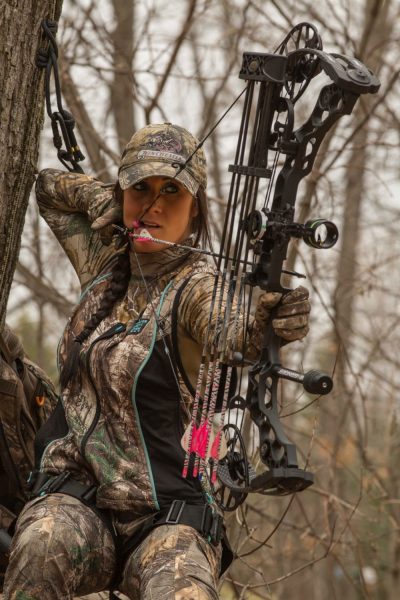
3. Don’t torque the grip. After finding my pin in my peep, I adjust my left hand (I’m right-handed) and put all my finger tips on the bow grip. This helps me avoid torquing my bow during the shot.
4. Concentrate on “the spot.” I like to float the bowsight pin on small spot on the animal, and focus 100 percent on this area. I keep focusing on this spot even after the shot to ensure perfect follow-through. That’s one of the key things that hunters do wrong. They don’t focus on the spot. I know this can be hard when it’s a big buck, but you can’t look at the antlers after you’ve decided to try for a deadly bow shot. If you want to fill your tag – focus on the spot!
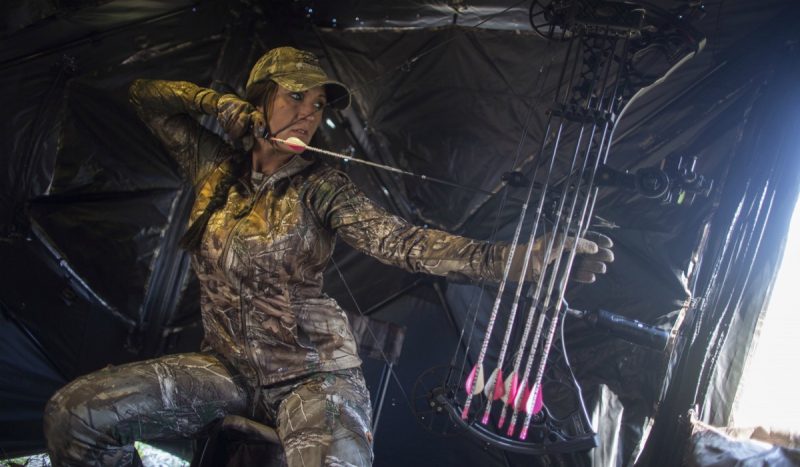
5. Don’t punch the trigger. When the time comes to squeeze the trigger of my release, one thing I’ve learned is to keep my index finger in front of the trigger for a longer period. This entire time I’m ready for the shot, but I’ve learned that if I do it too quickly, I might punch the trigger. I also like to use my back muscles and shoulder blades to trigger the shot. My index finger forms a hook around the trigger, then my back muscles move that hook rearward, triggering the shot. It’s just another easy way to keep from punching the trigger.
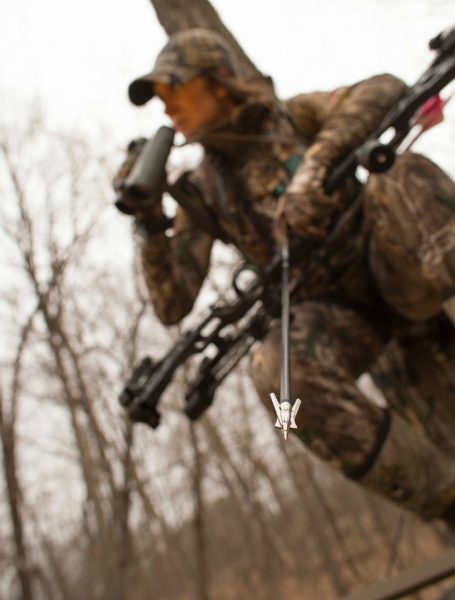
6. Follow-through. After-the-shot follow-through is extremely important. This is the last step to ensuring a good hit. Keep your eye on that small spot you picked out earlier, and don’t take your eye off it until the arrow impacts. Too many people try to see quickly where the shot hit, and in doing so they lift their head and/or move their bow out of the way, causing the arrow to miss its mark. Deadly bow shots have follow through – Every time!
One final thought: Use those few seconds after the broadhead strikes to mentally note details of arrow impact, animal reaction, and deer exit path. Mentally mark the last spot you saw the animal. Example: it disappeared just to the right of that odd-shaped stump; make a note on your smartphone if you must. Listen. And watch. There will be plenty of time to celebrate later if you successfully make a deadly bow shot; now is the time to gather as much information as possible with your eyes and ears.