Guide-Proven Camera Tips for Catching Winter Panfish
Dave Maas 01.12.18
Using underwater cameras to find fish-holding cover is a vital component to being a successful winter angler. While fishfinders (sonar) are important, too, nothing shows you the detail of what’s below the ice like a camera.
Getting Started
Not surprisingly, there are many cameras on the market, and how you use them can vary greatly. To keep things simple, let me explain the system I prefer. You may go a different route, but this will at least get you started on the right path.
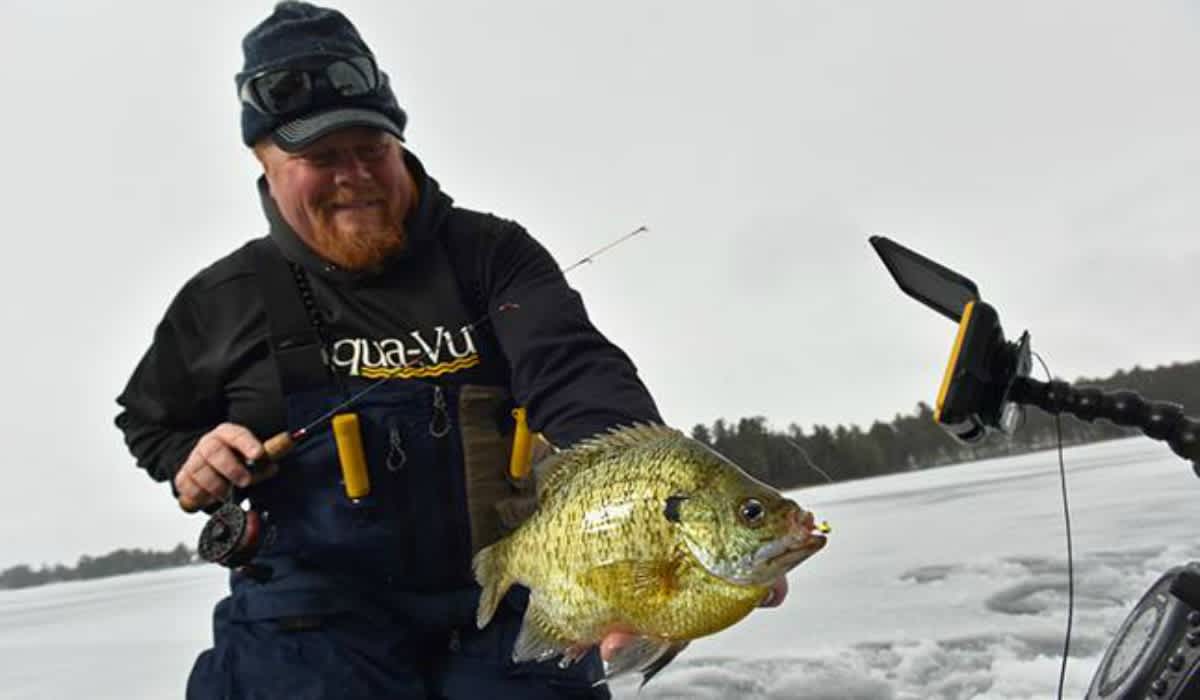
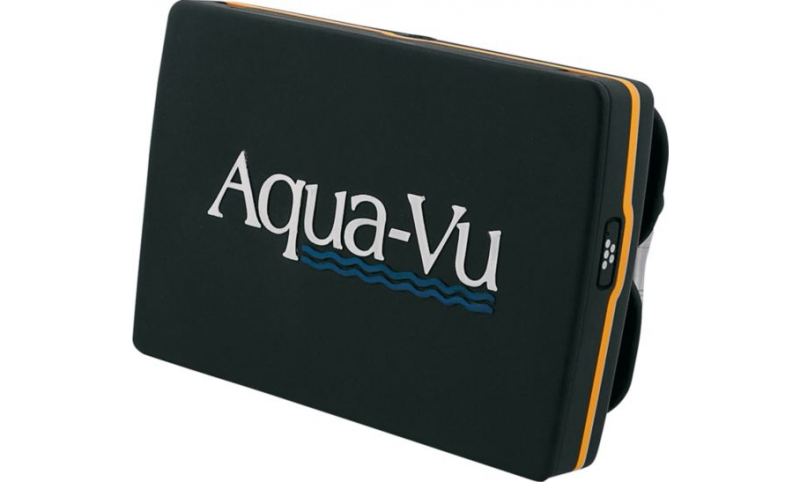
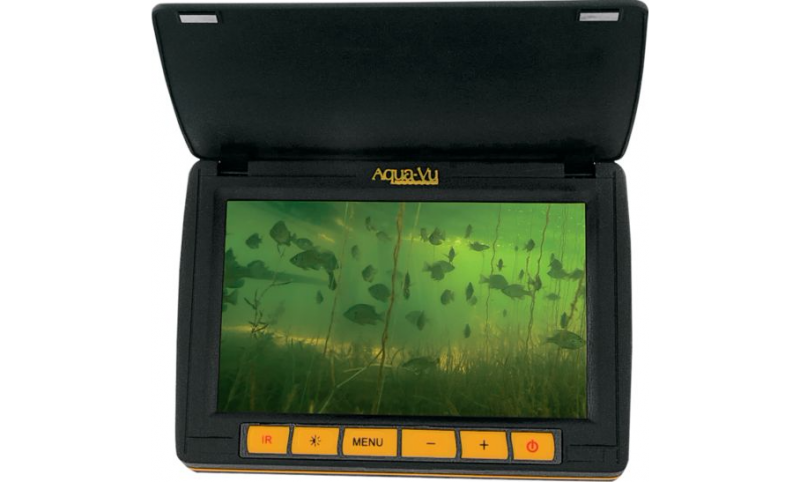
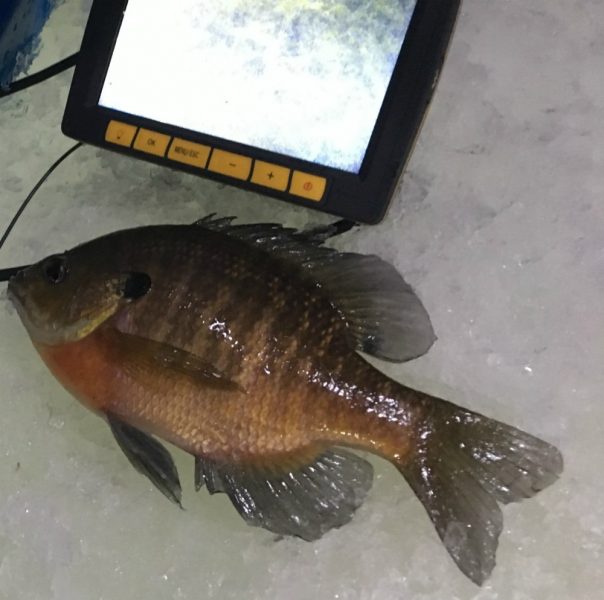
I like to move a fair amount on the ice, and quite often I’m hiking to a spot rather than driving my pickup. Of course, walking is mandatory during early and late ice. For that reason, I choose a lightweight and compact camera. Specifically, I own the Aqua-Vu Revolution 5. The “5” in the name means the viewing screen measures 5 inches diagonally, so it’s not an exaggeration to say that the entire camera (plus 60-feet of cable, and camera lens) fits inside the pocket of my winter parka.
I love this camera for many reasons, but let me touch on my top three:
- 5-inch LCD screen is bright and provides great resolution. Seeing fish, weeds and my tiny panfish jigs isn’t a problem.
- Clever, Integrated Camera Reel System makes is easy to lower and raise the camera lens to the desired depth without tangles or getting wet hands.

- Rechargeable lithium-ion battery runs the camera for about 6.5 hours.
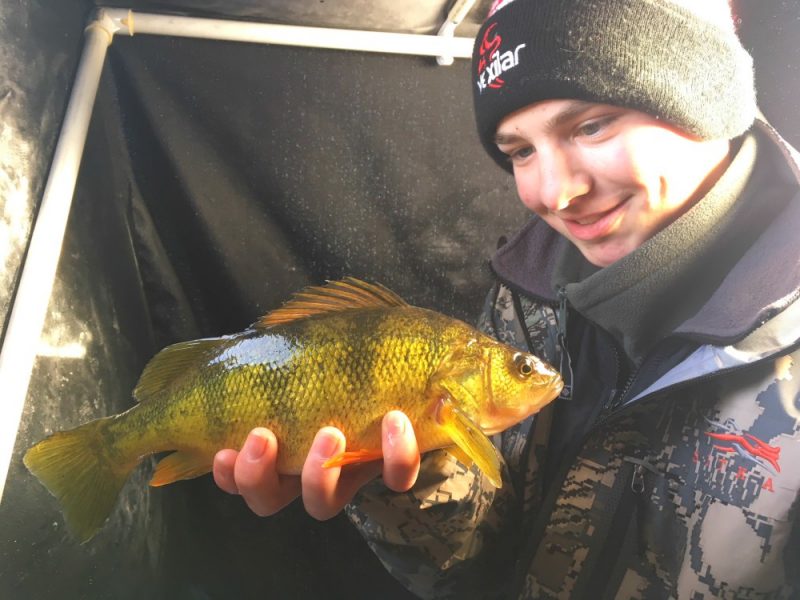
This is not an exaggeration: For daytime pursuits of sunfish, crappies, perch and bass, I often use only the Aqua-Vu Revolution 5 and not a fishfinder. Why? With a fishfinder, no matter whether it’s a flasher or a LCD, when a fish appears on the screen and approaches your jig, you don’t really know its size, or for that matter, the species. Many times in the past I’ve spent 20 minutes trying to catch that “big red mark” on my flasher, only to find out it’s a 4-inch bluegill or 3-inch perch.
With an underwater camera, you’ll quickly learn to determine fish size as it relates to your jig. You can even play “keep away” from aggressive but small panfish and perch, and specifically target those larger panfish you see on your screen.
Another way a camera tops a fishfinder is finding fish-holding weeds. Sure, a fishfinder will show you weeds, but unless you hook a chunk of the weed and bring it up through the hole, you don’t know if the weeds are green or brown, and you can’t really determine weed types (example: cabbage vs. coontail). With my Revolution 5, however, I simply lower the small camera lens into the depths and see for myself. And even better, when panfish are holding tight in the weeds, the camera will show them easily; it’s much more difficult to make this distinction with a fishfinder.
Catch-Increasing Accessories
Hopefully by now I’ve convinced you that owning an underwater camera is worth the investment. (FYI: The Aqua-Vu Revolution 5 sells for $349.99.) What you purchase in terms of accessories is largely based on how you choose to use a camera.
For example, my preferred method of viewing my panfish jig and approaching bluegills, crappies and perch is from above. I simply lower the camera lens down the same hole I’m fishing, and I stop the lens about 3 feet from my jig. Because I haven’t attached any type of fin or camera-positioning clips to the lens, it points straight down toward bottom, right in line with the camera cable.
I prefer this method for a couple reasons. First, it allows me to see fish approaching my jig from 360 degrees. Second, I don’t have to worry about aiming the lens to find my jig (more about this in a minute). My only decision is how far down to place the lens.
When fish appear, I can play keep away from the small fish, and then interact directly with larger ones based on what I’m seeing on the screen. Basically, it’s like sight-fishing, only I don’t have to strain to see down the hole. Plus, I can fish deeper and in darker water than is often possible while sight-fishing.
For anglers who prefer a side view of their jig, the camera set up changes. You’ll want to drill a second hole about 2 feet from the one you’re fishing. Of course, this distance will vary depending on the size of your jig and water clarity, so you’ll have to experiment a bit to find the sweet spot.
After lowering the camera lens to the same depth as your jig, you’ll have to find your jig on the screen. Quite often this is easier said than done, but thankfully there are some camera accessories that make it much simpler.
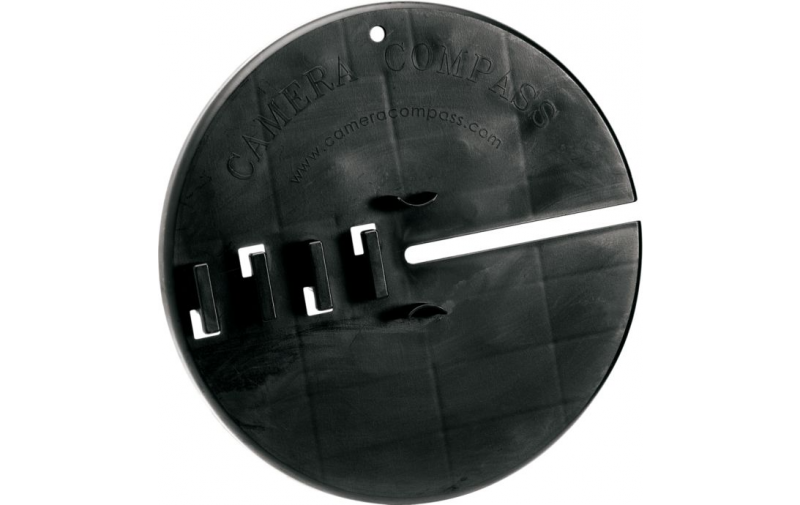
To help keep the camera lens pointed at your jig, you can use an innovative and inexpensive ($14.99) device called a Camera Compass. This molded-plastic ice-hole cover (below) has a slit for your camera cable, as well as cable cleats to secure the lens at your desired depth. To find your jig, you simply rotate the Compass in the hole, which in turn rotates the camera lens below. After you find your jig, you stop turning the Compass. Clever idea!
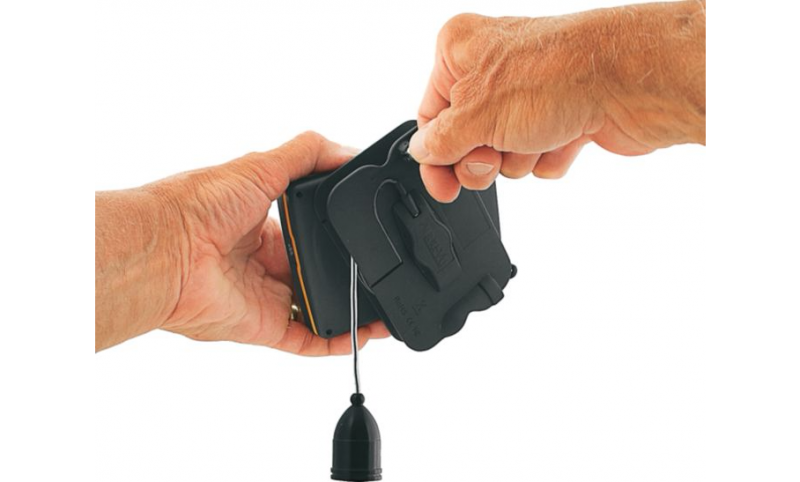
A similar product is offered by Aqua-Vu. Called the Ice Pod Camera Positioner, this $14.99 device (below) also helps you get the camera lens pointed toward your jig. This tripod system features a stopper system; you place the cable into the stopper, then place the stopper into the slot on the Ice Pod. Next, you rotate the stopper by hand, which rotates the camera lens below.

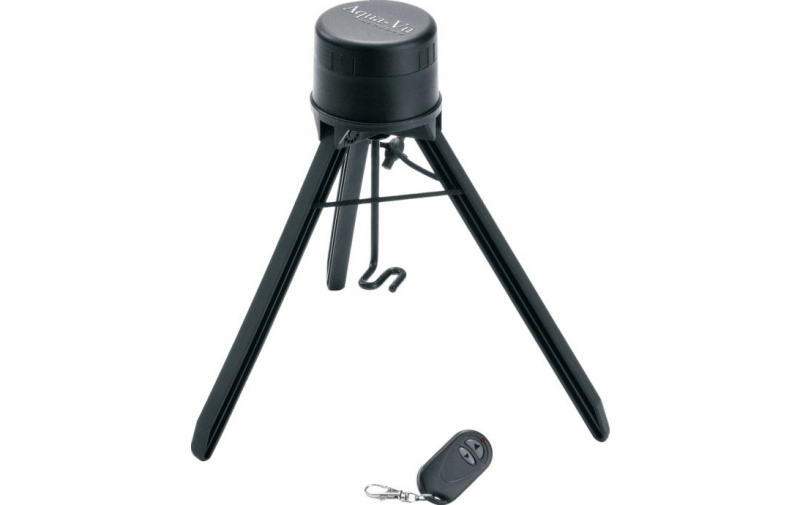
Aqua-Vu also offers an electronic version of the Ice Pod. Called the Mo-Pod 3 (below), it holds the camera lens at a set depth, and the unit’s wireless remote enables you to rotate the lens 360 degrees. You’ll pay $59.99 for the luxury of turning the camera lens remotely. It runs on two AA batteries, and the one I own works flawlessly.
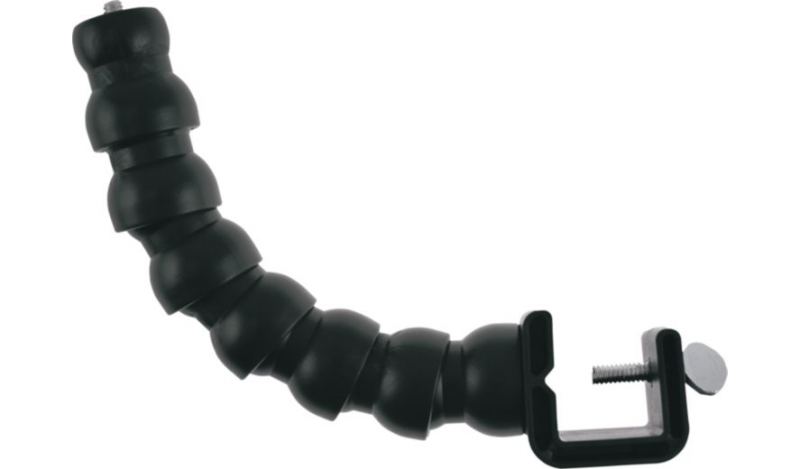
Finally, I’ll mention a product I haven’t had the chance to try yet, but I plan to very soon. The Aqua-Vu Pro-Snake Micro Camera Portable C-Mount Bracket (below) allows you to mount an Aqua-Vu micro camera to any round or square ice shelter pipe measuring 1 inch or larger. Thus far, I’ve simply propped my camera on some snow/slush beside the hole and adjusting the angle so I can best see the screen. I’ve also balanced the Revolution 5 on top of my Vexilar flasher. A better system, however, might be to attach my Revolution to this handy bracket ($19.99).
I’m confident in predicting that underwater cameras will make your time on the ice more enjoyable. And used correctly, a camera will increase your catch rate significantly. Be safe on the ice, and good luck!
This article was produced in cooperation with Cabela’s

