A Beginner’s Guide to Force on Force Part 4: Training Events
Jordan J. 01.05.22
Get out and Train
In the previous parts of this series about Force on Force training, we studied the various simulated weapon platforms and compared their capabilities and advantages. Hopefully, those articles helped you decide what type of training weapon to get so you can begin this educational and exciting activity. In this next and final section, we’ll talk about how to set up an effective Force on Force event for either fun or recreation.
So, where to begin? You’ve bought a training rifle and handgun, you’ve decked them out with accessories, you’ve practiced with them in your backyard. Now you want to get together and train with your buddies. The first thing you need to do is:
1. Find a Space to Train
If you own land, or if someone in your group owns land, this first step is incredibly easy — just figure out who’s farm or field you’re going to use. However, for those of us who don’t own land, finding a place to train can be more difficult.
While it may be tempting to choose a spot on public land, I don’t recommend this for two reasons. First, you will likely be asked to leave if anyone finds you there — in today’s risk-adverse culture, Force on Force isn’t the type of activity that is generally permitted on public land. Depending on the park rules, you might face a citation or legal challenges. And, there may be good reasons for this — since public land is shared, bystanders and other park patrons may stumble upon your training event and could find themselves in danger. As always, it’s essential to follow the “Rules for Safety”, and make sure to only train in areas where it’s safe and legal to discharge airguns/paint rounds/pellets.

The second problem with public land is that you likely won’t be able to modify the terrain much (if at all). You won’t be able to set up barricades, terrain features, and cover/concealment obstacles. You’ll be limited to “woods-ball,” and we’ll talk a little more later about why that’s not the best training environment.
Unless you live in a rural and free area where it’s locally acceptable to set up and train in public areas, your best bet at finding a spot is meeting a landowner who’s willing to let you train on their property. You might find a landowner agreeable to this idea either from goodwill, or in exchange for something — or (if you’re lucky), because they want to train with you. I recommend managing this process the same way you’d go about requesting permission to hunt on someone’s land. Be respectful and explain what you want to do. Listen to their guidelines, and make sure to follow their rules and be mindful of their property. Offering to do some landscaping or farm work in exchange for access is never a bad idea, as building relationships with property owners can have lots of advantages.
Once you’ve located a good place for training, the next step is to:
2. Prepare your Training Environment
Plan to spend several weekends before your training event getting the area set up. You can make this step as involved or as simple as you like. If you own the land, you have the flexibility to set up elaborate training features such as village mock-ups, shoot houses, and simulated warfare terrain. How involved and intricate you want to make things is really up to you.
Alternately, it’s perfectly fine to just arrange a pile of tires and 50-gallon drums the day of. It might be fun to build a historically accurate replica of Stalingrad, but this isn’t required.
What I would recommend is not settling for merely a wooded area to train in.
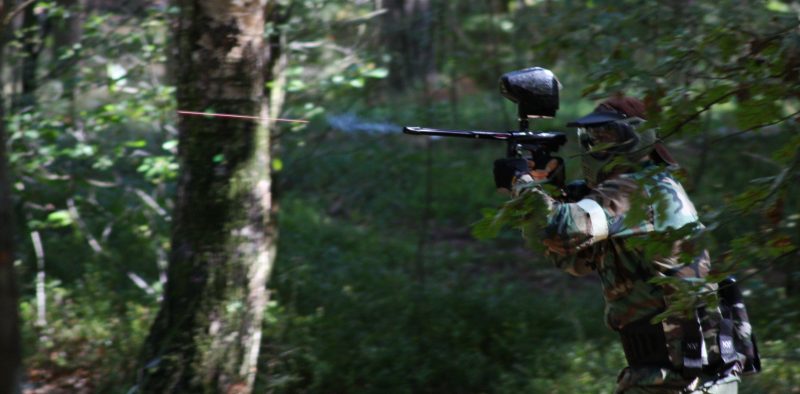
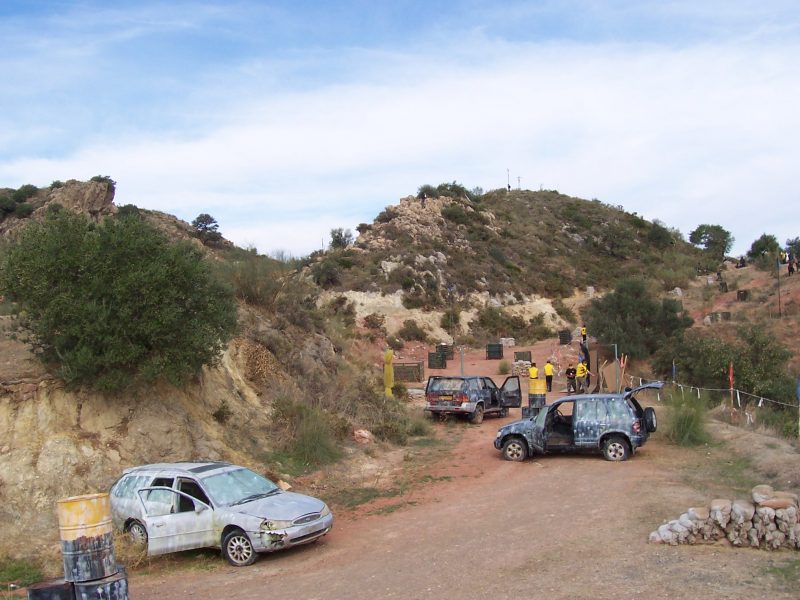
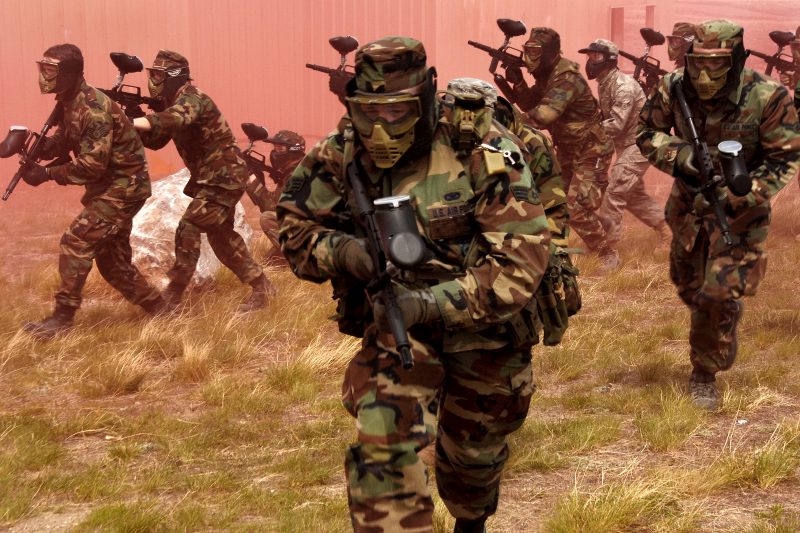
Paintball in the woods is so common, there’s even a term for it: “Woodsball.” This is due to the fact that the woods are the easiest secluded place to play paintball for free, and trees provide cover without having to put up any barricades. However, there’s some disadvantages to woodsball. The dense foliage in the woods easily and effectively stops training rounds, while it would be useless in real life. This breaks with realism and can set up false expectation about how safe you are hiding behind trees and growth. Observe the airsofters below taking cover in light brush:
If your training spot is wooded, I would recommend clearing ground brush so that attendees aren’t tempted to take cover behind mountain laurel. Then construct some dedicated training features. A cleared and improved spot of woods can work great, but uncleared forest just has too much pellet-deflecting growth.
You will want to make sure you build the following features in and around your training area:
- A 30-yard-radius combat area. As we’ve discussed, Force on Force low-velocity rounds have an effective range of 30 yards. Anything further, and realism will decrease as the power and accuracy of your weapons drops off. Get one of these 100 foot tape measures from Walmart:

. . . stake one end in the center of your desired training area, and then walk in a circle, marking out your 30-yard-radius circle with paint or flags. Then construct all your training terrain inside that area and mark it clearly so participants know when they’re out of bounds.
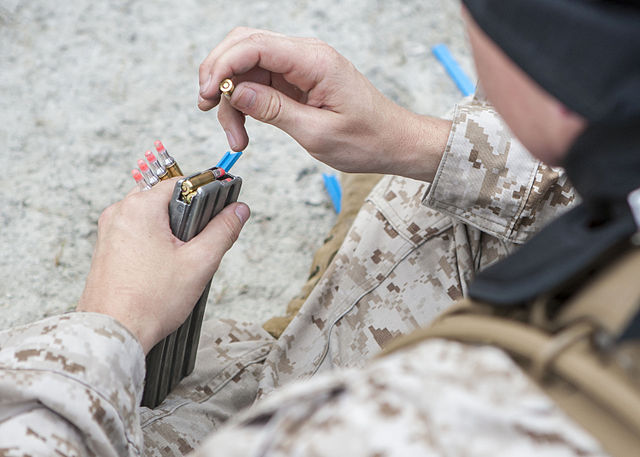
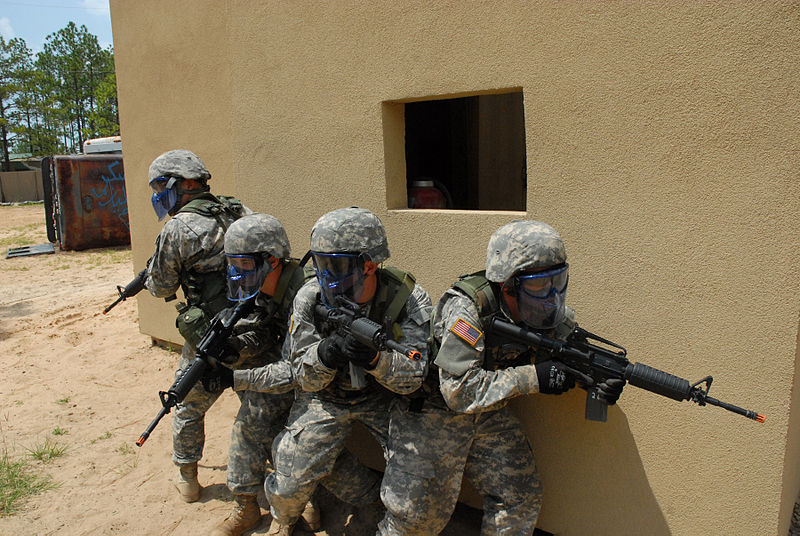
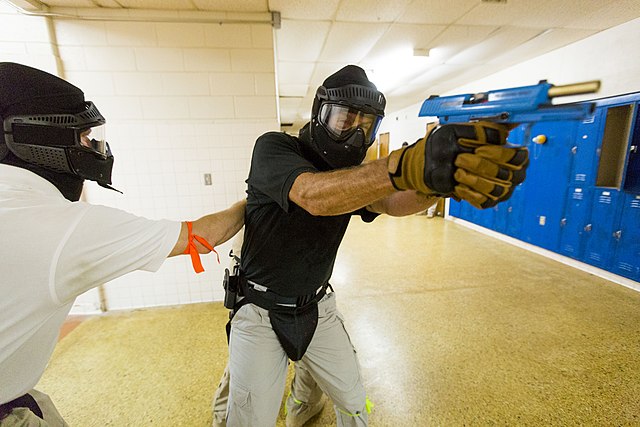
- A weapon safety/live weapon exclusion checkpoint. Because real weapons have sometimes tragically been confused with training weapons, it’s important to establish a training “green zone” where only training weapons are inside, and any live weapons and ammunition remain safely outside. Set up a check point where everybody can inspect and buddy-check their own and each-other’s gear to make sure only blue-bolts, orange tips, and CO2 propellent comes into the training area. Any un-converted real weapons and ammunition must stay outside.
- A sight in/test range area outside the training circle. It’s nice to have a short (10-20 yard) range set up next to your training area so people can practice with, and sight in, their training weapons. You’ll frequently train with people who just bought a training weapon online and haven’t had a chance to test it yet. A few paper targets and a pellet-friendly backstop will enable your guests and participants to ensure all training weapons are functioning properly.
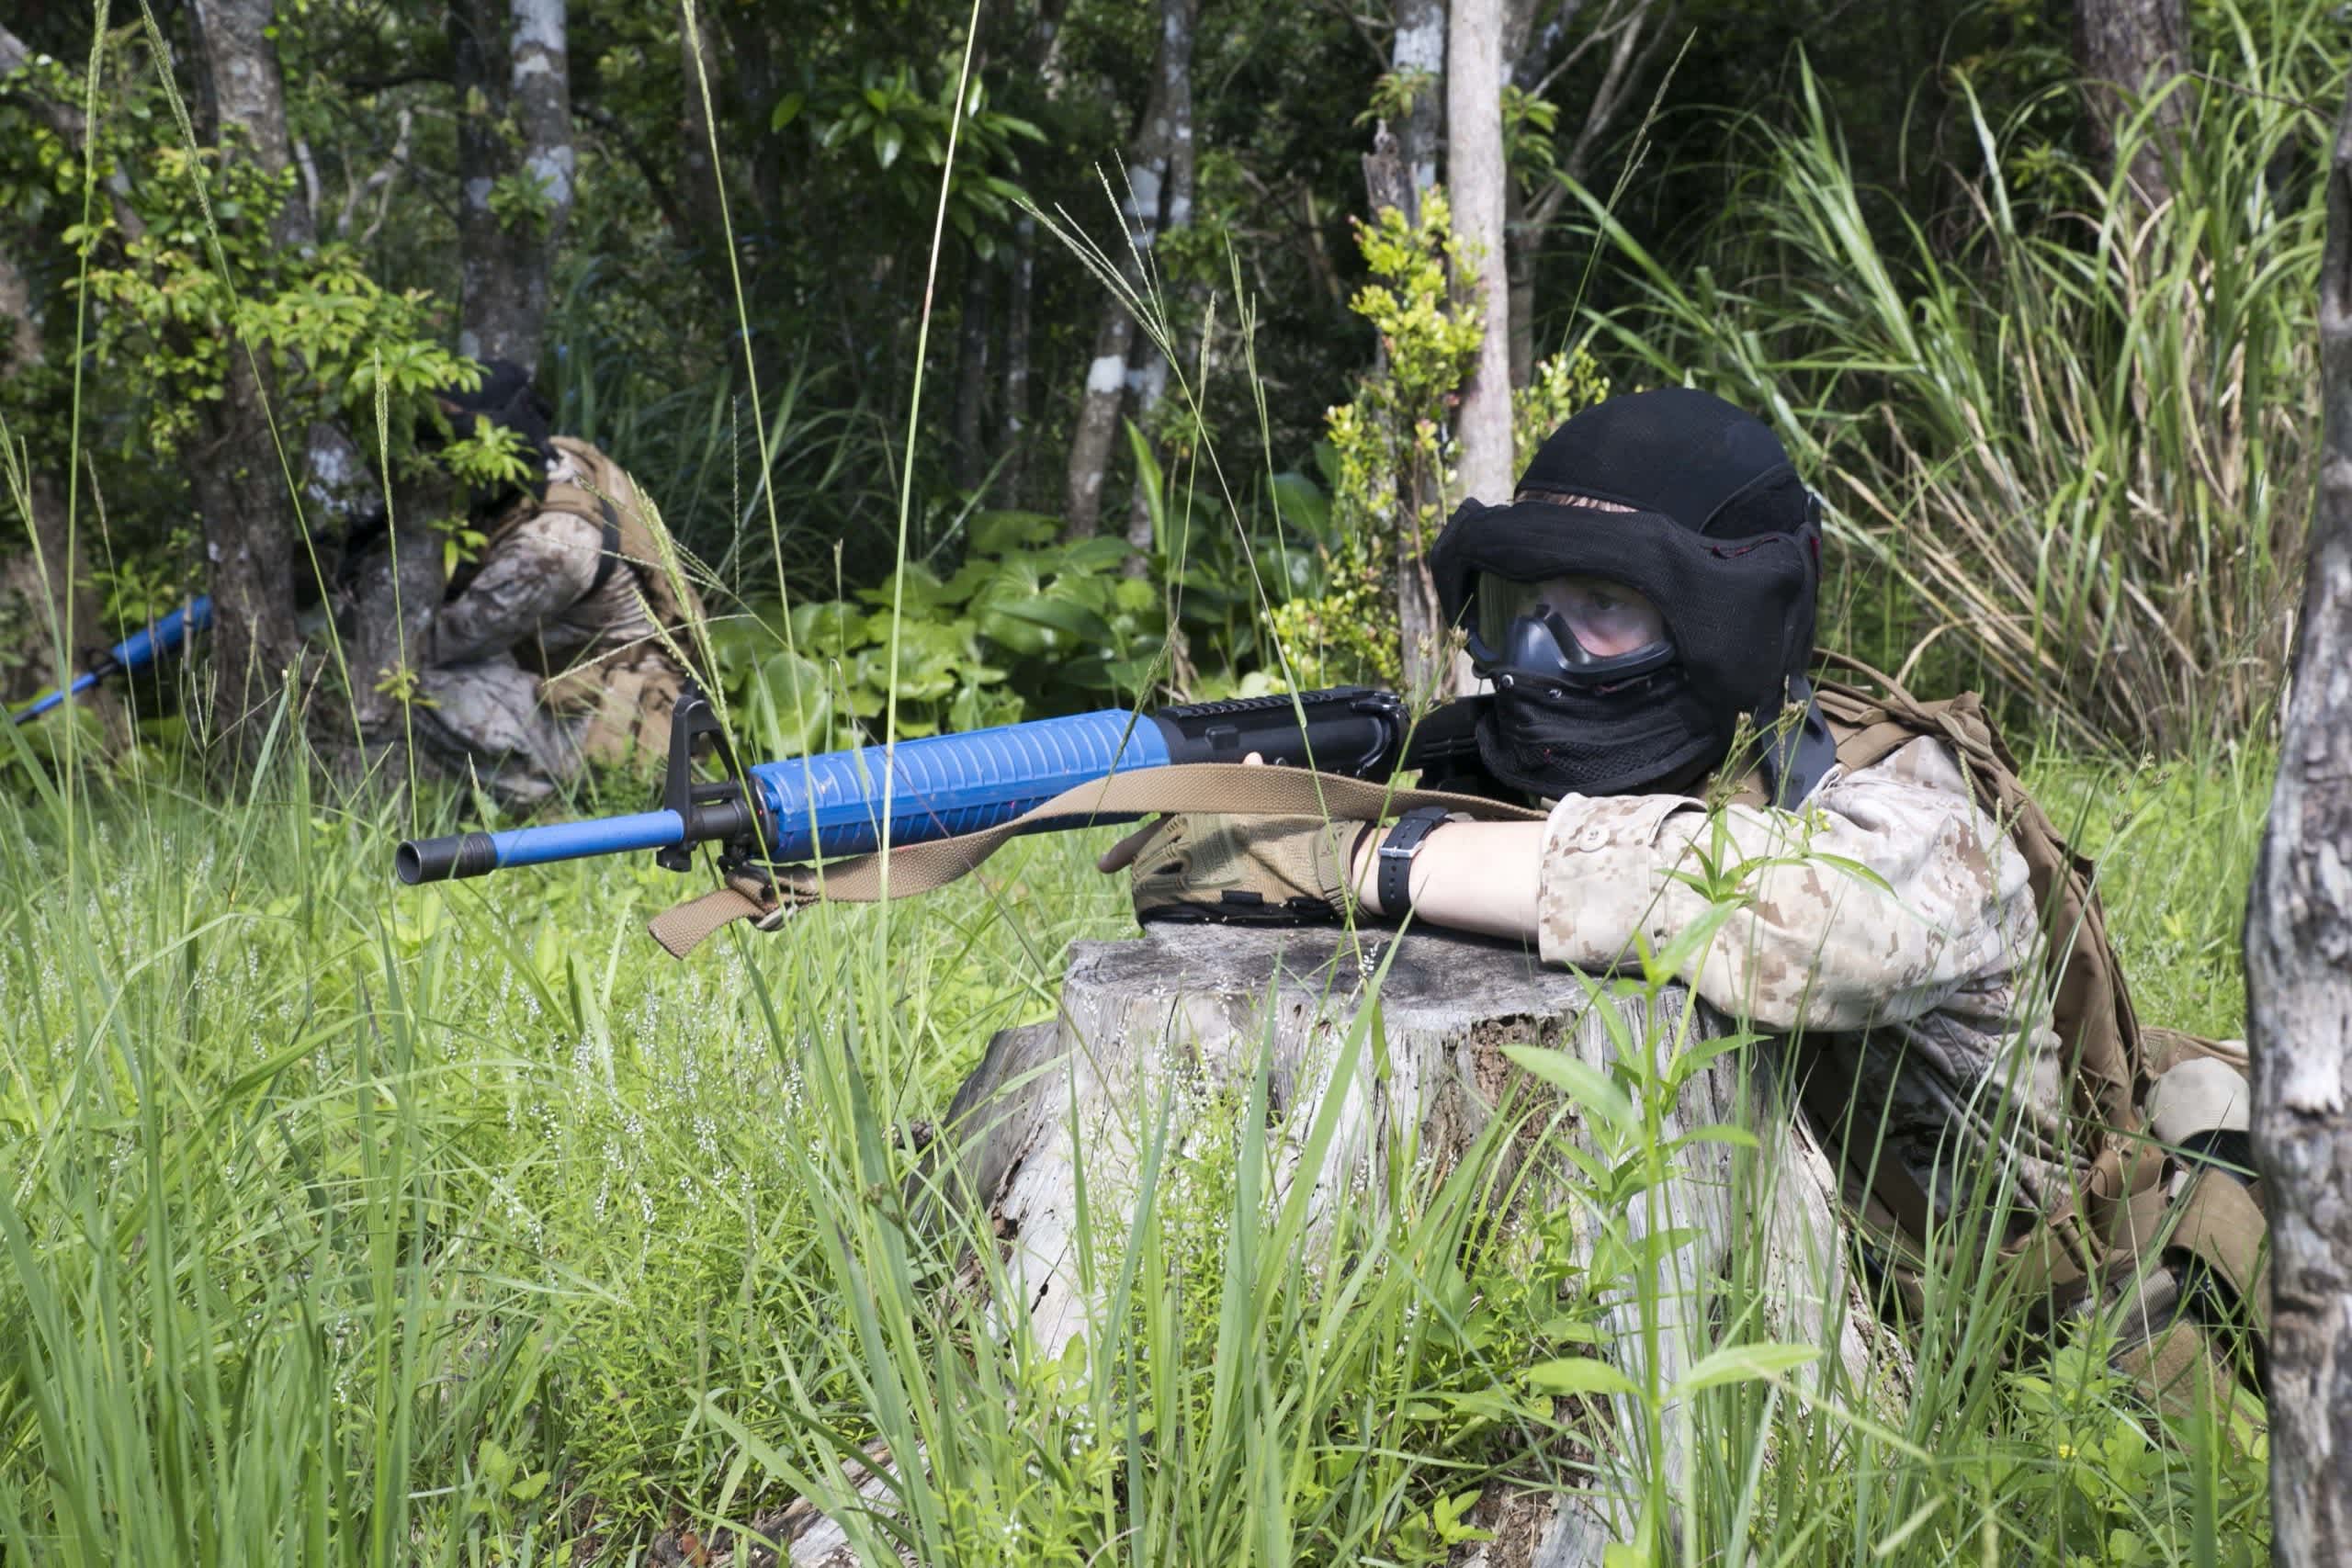
- Combat obstacles, barriers and training features. This is the fun part — the amount of training features you include is limited to your imagination (and possibly your construction skills). In addition to barricades and bunkers, it’s great if you have some enclosed spaces for indoor scenarios and scenarios that involve transitioning between indoors/outdoors.
- A place for cars or trucks to pull into. Force on Force in and around vehicles creates many learning opportunities for real-life encounters that might involve a car. If you have cars you don’t mind getting a little painted and muddy, adding a few parked vehicles can create a host of possibilities. Two notes: I highly recommend keeping the cars parked. Moving vehicles add a significantly higher risk of danger. Secondly, while airsoft pellets and simulated ammunition won’t hurt a car, paintballs may make small dents. It’s never happened to me, but there’s always the chance that a pellet could break a window. Therefore, don’t use your spouses’s new dealer special — use your beater car. Better yet, if you can find junk cars, use those.
Hopefully by now, you’ve got a bunch of training weapons, a bunch of like-minded friends, and the area set up. Now you want to:
3. Orchestrate Scenarios
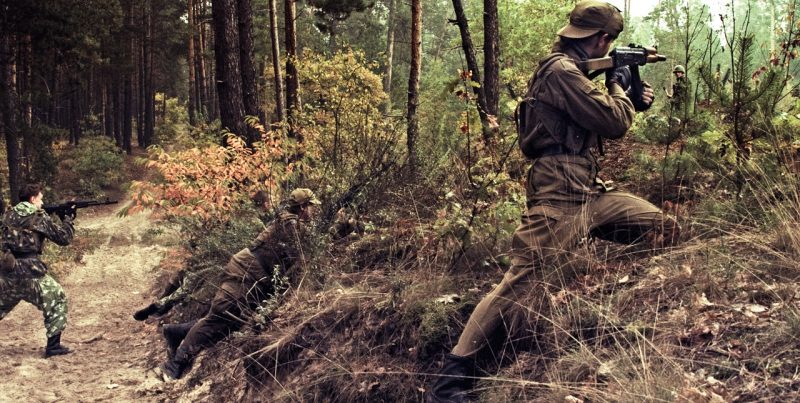
It’s absolutely okay to engage in freestyle battle-royale or “capture the flag” engagements, like the type you would play at a paintball or airsoft field. These can be a lot of fun, and are great for training, as long as everyone follows the “Rules for Realism” outlined in Part 1.
However, it can also be useful to set up focused scenarios that allow you to replicate and explore specific real-life situations beyond simple ground combat. Scenarios allow you to test theories and explore “what if” situations. Scenarios can be quickly run again and again, creating valuable skill-building repetition. For example, one group I trained with set up a complex situation involving cars. The scenario was called “Ambushed while stuck in traffic,” or “The Sicario” drill, after that scene in the 2015 Dennis Villeneuve film:
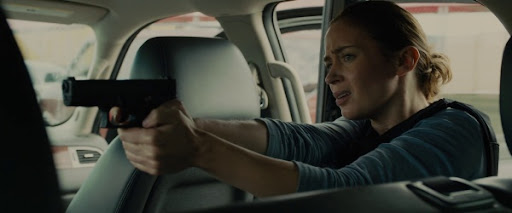
Here’s how it worked. We set up four vehicles in a row, and had a single participant sit in a car all the way at the front. Three cars back, two more participants were seated in another car with hidden rifles. Once the scenario started, the two rear participants would exit their vehicle at a moment of their choosing and move forward to attack the lead car, as if ambushing someone that was stuck in traffic. The lone participant ahead had to identify the attack in their rear-view mirrors, and then quickly move to defend themselves.
We ran through this scenario dozens of times, giving everybody a chance to play each of the three roles (attacker driver, attacker passenger, and lone defender). Given the volatility of this scenario, it was generally over in a minute or less, and we could reset it and run it repeatedly. I’d love to tell you all about what we discovered in this scenario, but I recommend you try it for yourself — then we can compare notes.
Another scenario we played over and over again was an attacker emerging from a stopped vehicle and engaging the guard or (guards) at a simulated checkpoint. Another popular scenario was where a defender with a holstered pistol had to walk through and “alleyway of obstacles.” At some point, an antagonist with a rubber knife would ambush them and force them to rapidly respond.
The possibilities for these types of scenarios are endless. Unlike typical battle royale/capture the flag games, everybody in the scenario has a clear objective and success definition, so people don’t tend to camp out and drag the game on forever. There’s also no awkward re-spawns, since the scenario ends when one party is deemed to have been defeated.
It’s also very helpful to have a few masked refs/bystanders reviewing and giving both sides feedback.
Conclusion
In addition to the training and educational value, Force on Force may just become your new favorite sport. It’s the ultimate sandbox for testing different types of training weapons, tactics, and environments. It also gives you the chance to examine and evaluate your psychological response, natural reflexes, and knee-jerk reactions. Force on Force gives you the opportunity to observe and experiment with these things, figure out what you need to change, and then practice until your habits align with your goals.
Good luck, stay safe, and happy training!

