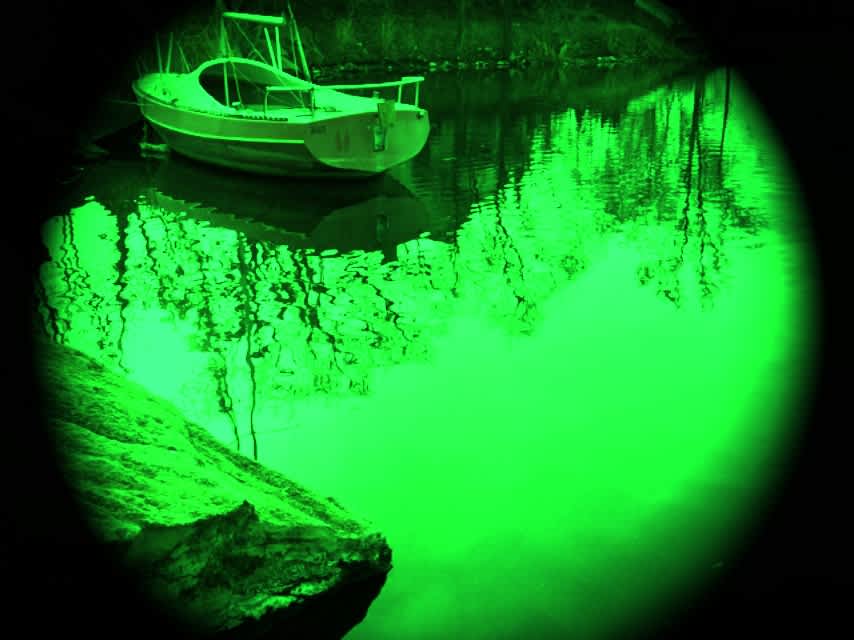
A Night Vision Photography How To
Craig Pearson 12.11.12

Craig Pearson is an avid hunter, outdoorsman, and adventurist. His main passions are hog hunting in Texas and writing about his many adventures. He currently blogs for nightvision4less.com, a supplier of high quality night vision equipment.
Photography is an artistic outlet that many people including myself have come to enjoy and love as a way to express one’s self and relieve stress. But for those of us who are always itching to try something new, photography can be one of the best things to ease that itch.
There are an infinite number of possibilities for configuring shots that can be very fun to experiment with. But in case you are starting to find the conventional a little boorish, there is another form of photography that is becoming more and more popular as the technology for it becomes more known, available, and cheap. The new genre of photography that is becoming quite the cool new kid on the block is night vision photography.
Night vision photography is quite an enigma when it is first thought about, since it defies the most basic of photography principles: light. While low-light image capturing has been around for a while in the form of infrared film, night vision can be utilized on any camera with the mere change of a lens and bracket.
Shooting photos with night vision can be done on any digital camera with an interchangeable lens that fits Nikon or Canon lens mounts, but if only attaching the lens was the sole requirement to take good photos using night vision. The second step comes in configuring your camera’s settings so that it can properly take the photos.
While I am all for experimenting with settings to see what works and what does not, I will offer these as a general guideline to be pointed in the right direction as why things will work and what will not.
Firstly, make sure your camera is set to a manual exposure mode; the settings can be adjusted a little better to allow the proper amounts of light in from the night vision lens. Also make sure the focusing is set to manual since often times, with the graininess of the night vision image, the auto-focus can get confused trying to focus on too many out of focus images.
Next make sure the shutter speed is set so that it will capture the most amount of light without allowing the image to blur from camera motion. Starting around 1/30th of a second is recommended.
Lastly the ISO setting of your camera needs to be quite high so it can pick up the low light images provided from the night vision lens. However, it must be balanced since too high of an ISO can result in severely distorted images. A good starting place would be around ISO 800 or so. I personally have had better results from at 3200 ISO on my Nikon, however.
Play and experiment with your settings depending on what equipment you are using to achieve the best possible pictures. Once you get your method fine-tuned, be sure to take lots of photos and spread the knowledge so that the field of night vision photography can grow in presence and popularity.

