Fish Photography 411
Dan Armitage 11.12.13

In this age of catch-and-release angling when the only trophy it is “PC” to display on a wall is a fish photo or a fiberglass replica mount, it is more important than ever that you be able to snap a reasonably good shot of your catch—or that made by your friends or family members.
The reason for that is twofold: if you intend to order a 3D facsimile of your fish from a taxidermist, he or she will need a set of clear, color photographs of your catch to use as a guide when creating and painting the foam-filled faux mount to allow it to resemble the actual fish you caught. If you don’t intend to have a mount manufactured, all you will have left to document the classic catch will be the images you captured on film or pixels right after the battle. Either way, it pays to know some tricks for taking decent snapshots of fish and fishermen.
I’ll be leading fish photography programs at my local Cabela’s store in December (2 p.m. on Sunday, December 1 at the Columbus, Ohio Cabela’s on Gemini Parkway) and will lead off with these 12 tips for taking better photos of the angler and the catch.
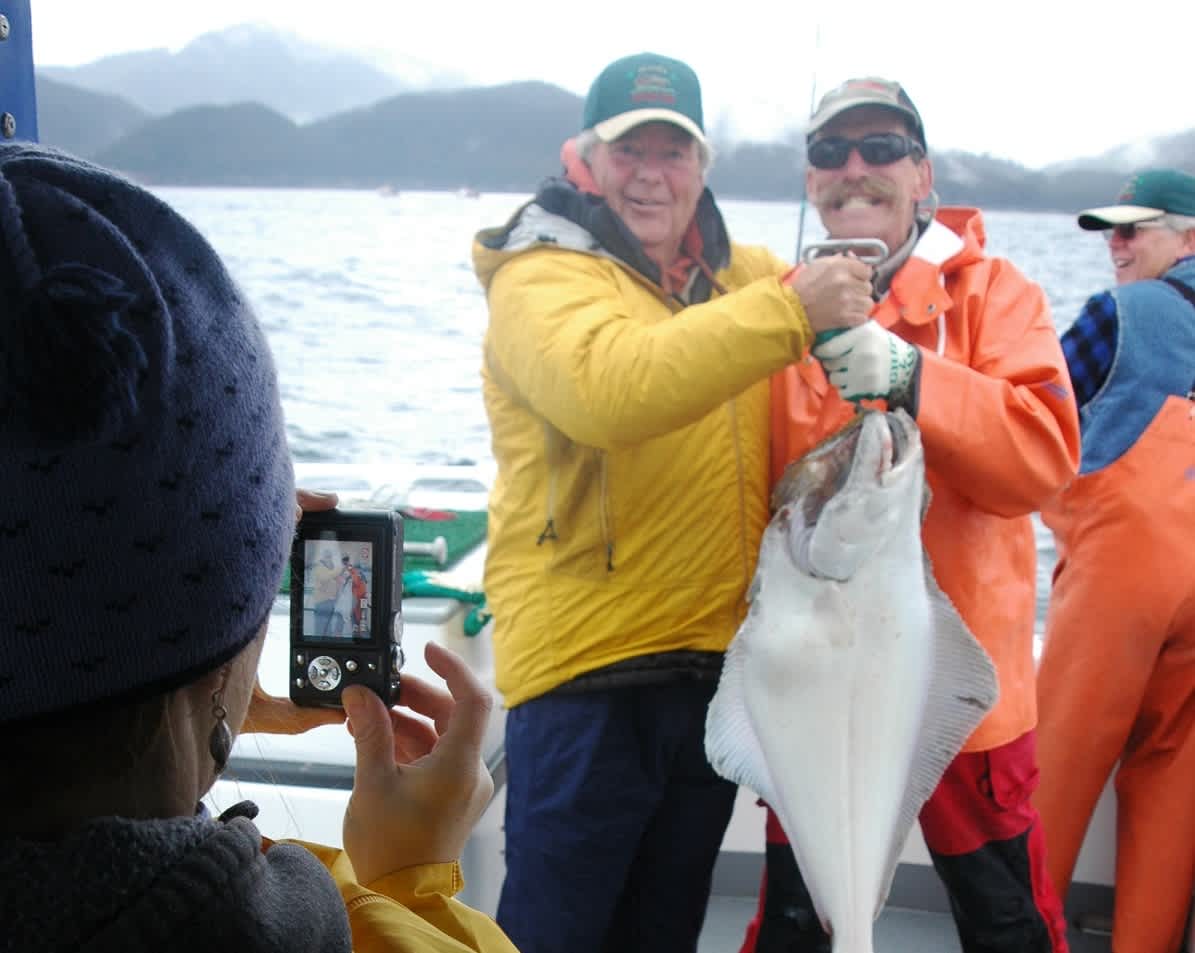
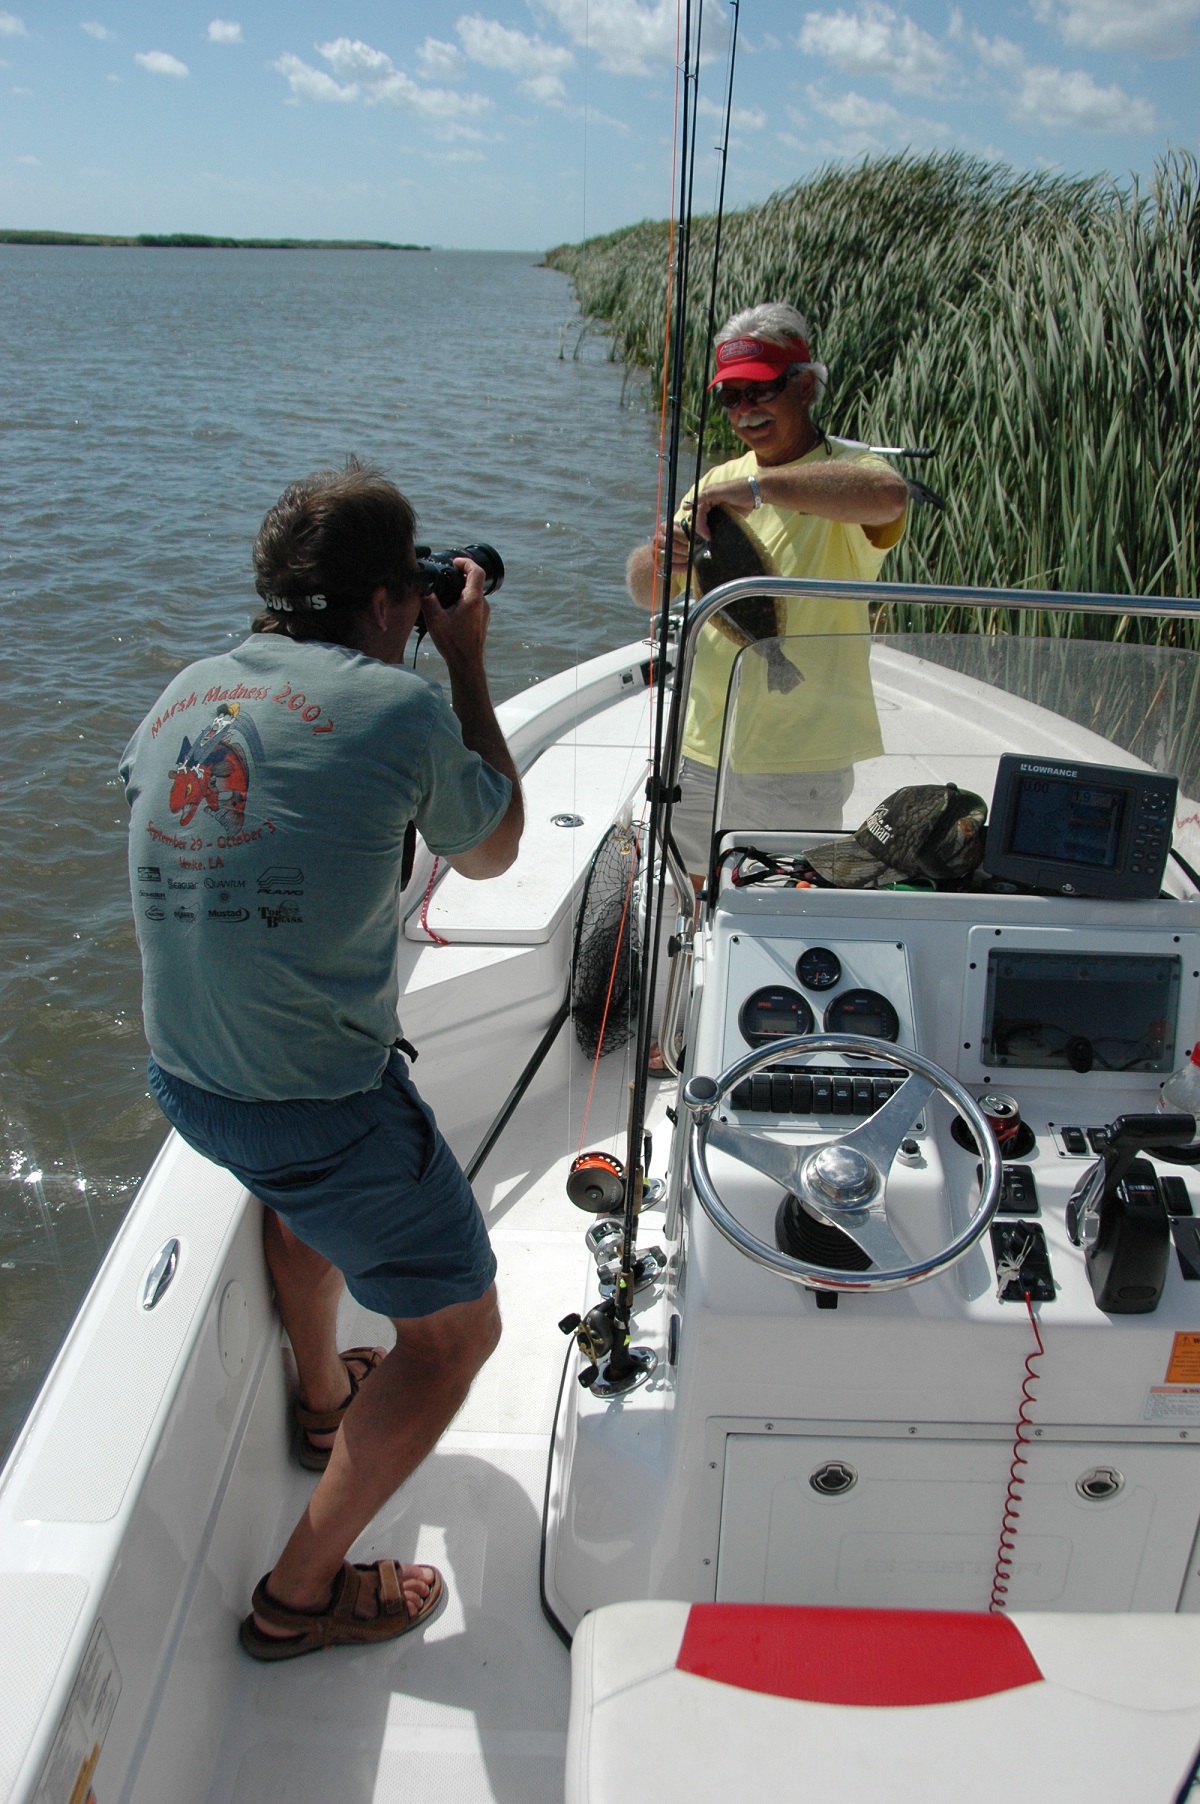
Tip #1: Get closer!
Most photos of fishermen and their catch are taken from too far away. Cut the distance in half and allow the angler and his or her catch to fill the viewfinder. Better yet, shoot the subject from the waist up, holding the fish at chest level.
Tip #2: Get vertical!
Most shots of a person, even one holding a fish, fill a vertical frame better than they do a horizontal one. By turning the camera on its side to position the viewfinder to offer a vertical format, you eliminate wasted space to the left and right of a vertical subject shot in horizontal mode.
Tip #3: Look at the fish!
Have your subject look at the fish, rather than the camera. The resulting image of the angler admiring their catch rather than staring out at the lens will draw the viewer’s eye to the subject—the fish—as well, making for a more appealing photograph.
Tip #4: Lose the hat!
Have your subject remove their hat, or at least tilt it back far enough to get the angler’s face out of its shadow. Better yet…
Tip #5: Use the flash!
Even in bright, direct sunlight, using the camera’s flash option will usually create a better photograph. The extra light will eliminate shadows created by the harsh sunlight and define detail. Most cameras have a “fill flash” or offer a flash compensation function for doing just that. If yours doesn’t, experiment by taking the same photos with and without the flash on to see which image is most pleasing.
Tip # 6: Get natural!
A background of trees and water will make any fishing photo more appealing than a backdrop featuring a garage door or launch ramp. Move your subject in front of a natural setting before snapping the shot.
Tip #7: Get level!
A crooked horizon behind your subject will ruin an otherwise great shot. Make sure the horizon is straight before snapping the shutter—especially when the background includes a water horizon, which is always level.
Tip #8: Get wet!
Have your subject give the fish a quick dunking right before you trip the shutter. A shiny, dripping fish makes for a fresh-looking photograph.
Tip #9: Clean it up!
Make sure there is no blood or slime dripping from the fish, that the gill covers are closed, and that the angler is gently cradling or suspending, and not squeezing, the fish when the photos are taken. People prefer to admire a healthy fish holding its natural shape.
Tip# 10: Get down!
Or up. Shoot some photos from below or above eye level to add interest. Shooting from just a foot or two above or below and angler can make for a much more interesting angle (pun intended).
Tip# 11: Go off-center!
An image featuring the subject square in the center of the frame with a horizon cutting across the middle of the background can be very boring to look at. Put the fish and/or fisherman off to the side a bit and the picture may look even better.
Tip #12: Show some action!
In addition to the traditional “hero” shot of the lucky angler holding his or her fish up for the camera, take some shots of the angler removing the lure—especially if it’s colorful—or the hook from the fish, and shoot pictures of the fisherman releasing the fish back into the water. Sometimes those action images make the best photos of all!
 Dan Armitage is a full-time freelance outdoor writer and radio show host based in Columbus, Ohio. His work appears in regularly in national and regional magazines, and he is a popular speaker at sport and travel shows across the Midwest, where his radio program “Buckeye Sportsman with Dan Armitage” (buckeyesportsman.net) is syndicated weekly in two dozen markets. A graduate of The Ohio State University, Armitage resides in the Columbus suburb of Worthington with his wife Maria, who is a research librarian with the Columbus Metropolitan Library System, their 13-year-old-son Ethan and two English setters.
