How to Replace the Buttstock on an AR-15
Tom McHale 11.30.15
Though replacing the buttstock on an AR-15 appears to be a simple thing, it can actually be just a little bit complicated. However, once you know the different sizes of AR stocks, tubes, and buffers, things get much easier.
There are four basic configurations of AR buttstock mounting systems. All four use an extension tube that juts out the back of the receiver and holds the recoil spring and the buffer itself. The confusion comes from the fact that there are three lengths of systems: A1 rifle, A2 rifle, and carbine. To add insult to confusion, carbine extensions come in two different diameters, mil-spec and commercial. Mil-spec tubes are 1.148 inches in diameter while commercial are 1.168 inches. Fortunately, when it comes to the buffer insert itself, there are only two lengths: rifle and carbine.
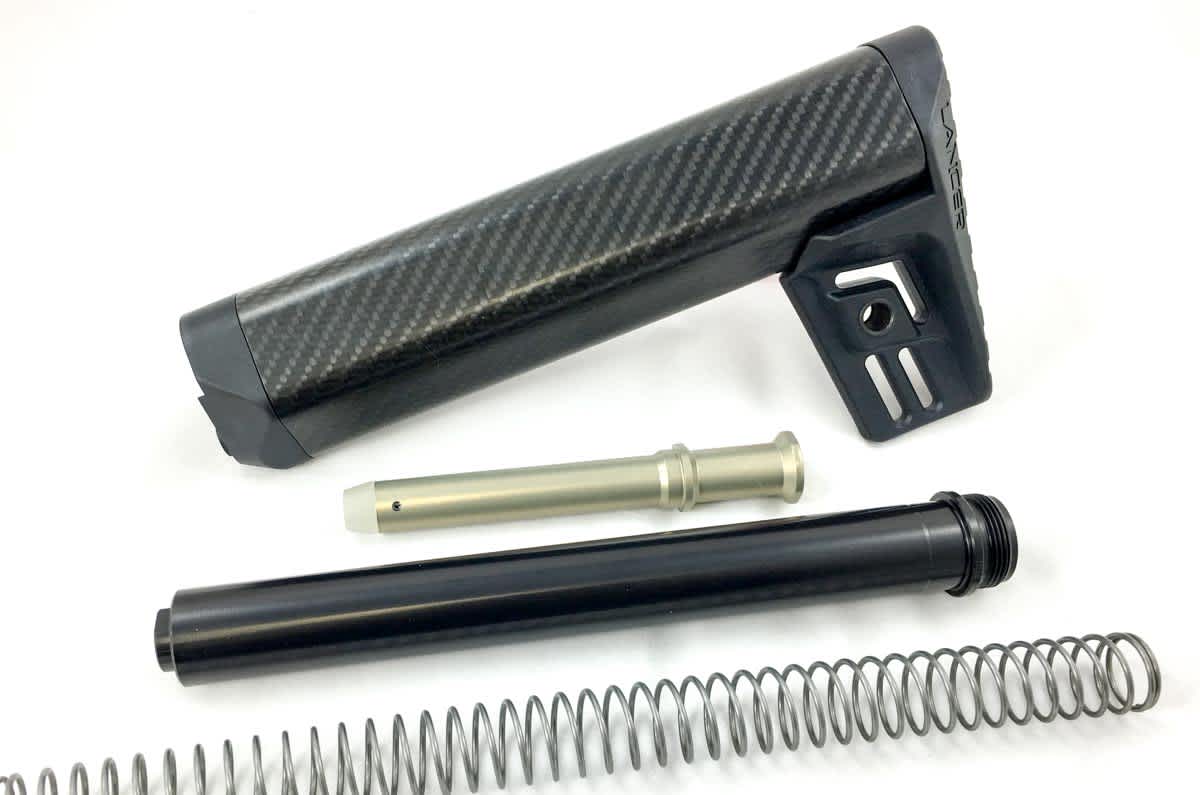
To explain this a little better and show you how to make changes to your existing configuration, I’m going to add a Lancer Systems Carbon Fiber stock to my Rock River Arms LAR-68 AR-type rifle. This rifle comes with a standard carbine adjustable buttstock, so inside it has a carbine buffer. Let’s walk through the upgrade process and hopefully all will become clear.

As a matter of course, ensure your firearm is empty before proceeding with the instructions after this.
The first step is to remove the existing stock from its extension tube. You’ll need to remove the upper receiver first to get to everything in the following steps. It really helps to use a magazine-well vise block. You can find one at Brownells. Trust me, it’s well worth the money. Once you have it, you’ll find it makes maintenance chores like cleaning much easier. By lifting the adjustment lever, you can slide the stock completely off the extension tube.

Now, remove the buffer and spring from the tube. Just press down on the detent pin and they will slide out.
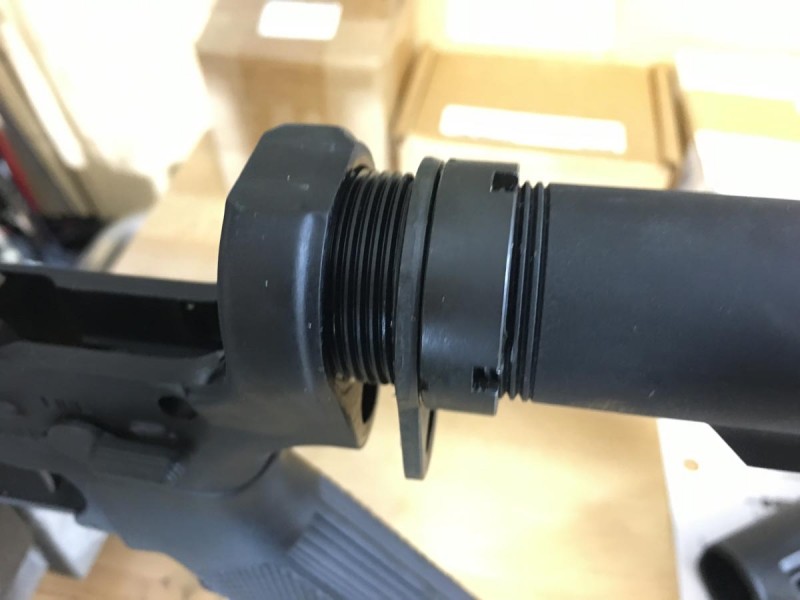
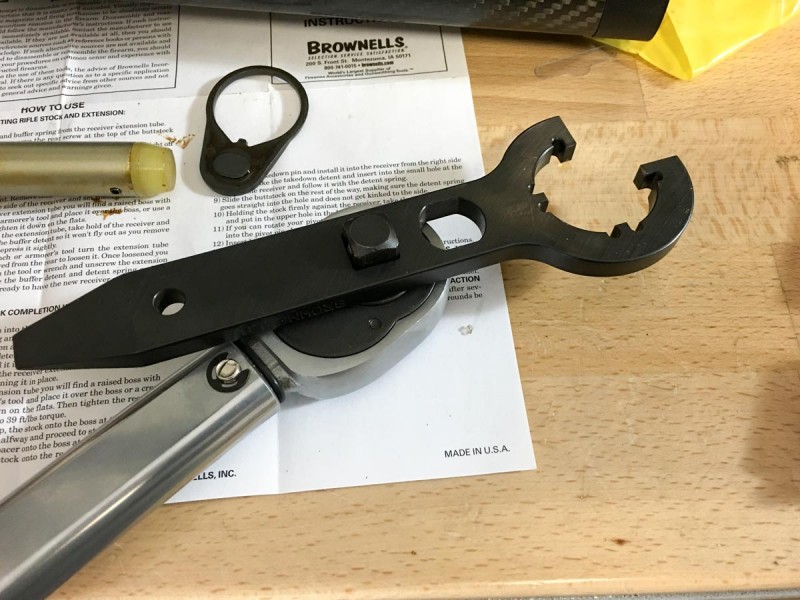
Carefully loosen the locking ring using an AR armorer’s tool. It will turn in a counter-clockwise direction when looking back to front. Heads up here! The buffer detent pin and spring may pop out as you begin to loosen the tube itself.
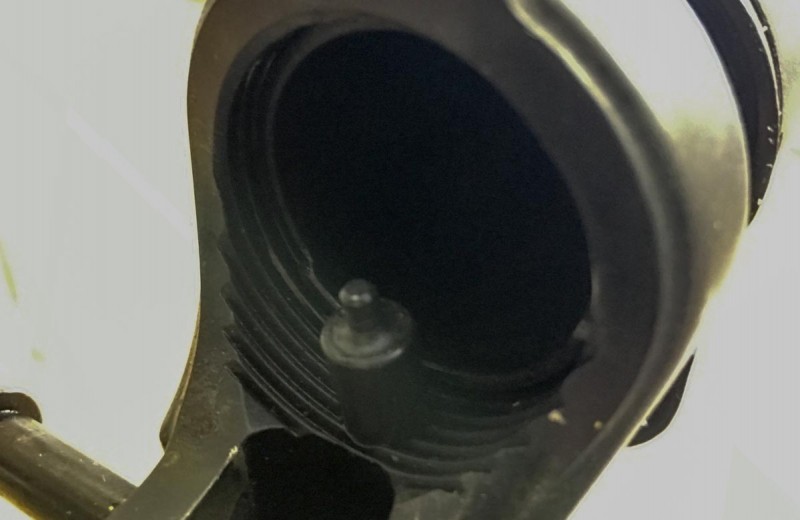
The extension tube actually holds this pin in place, so loosen the tube slowly while covering the pin and spring with your finger.
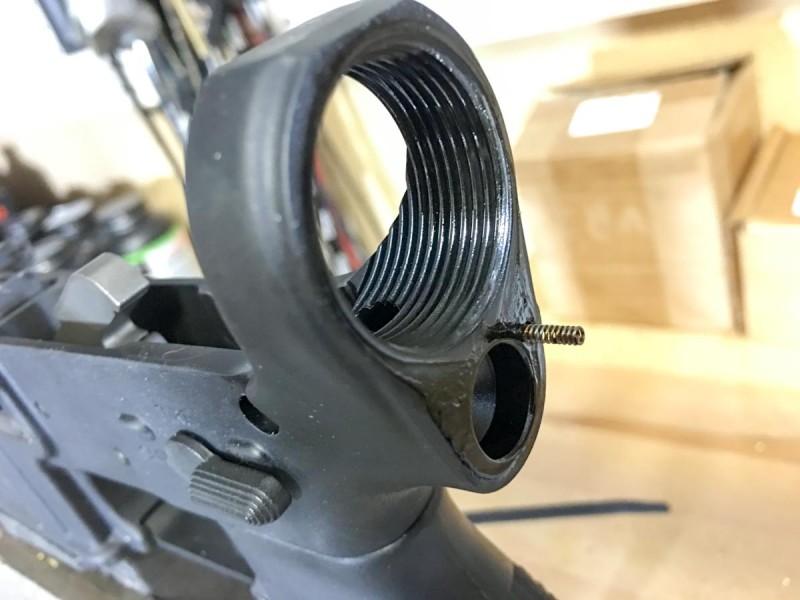
There’s one more spring you have to worry about losing. The rear takedown pin spring will be exposed as you remove the existing extension tube. Go slow and pay attention to this one, too!

Now we’re ready to screw in the new extension tube. I ordered an A1 rifle-length kit from Brownells. This includes the proper length tube, a rifle-size buffer, and a rifle recoil spring. Don’t screw the new extension tube all the way into the receiver. You’ll need to put the buffer detent spring and pin in place, hold it down, and finish screwing the extension tube into place.
When the tube is finger-tight and all springs are properly in place, it’s time to tighten the extension tube to the receiver. Most AR tools have a cutout where you can attach a torque wrench like the one shown here. Tighten the extension tube with about 35 foot-pounds of force.
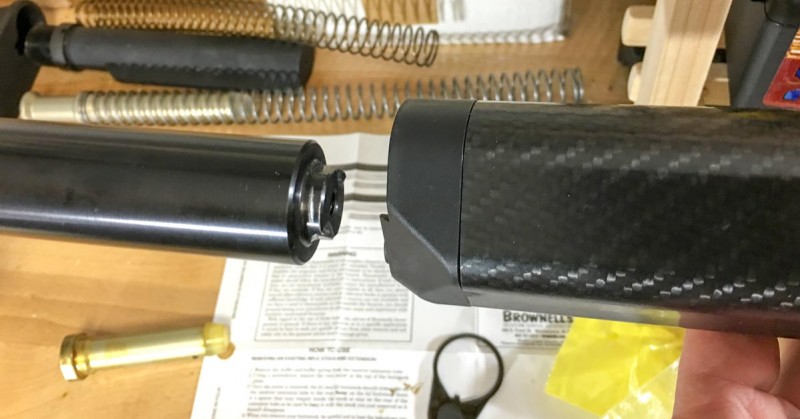
Once the tube is installed, you can just slide the new buttstock into place. Before pushing all the way to the receiver body, make sure the takedown pin spring is properly in place. The new stock should push that into the receiver without kinking.
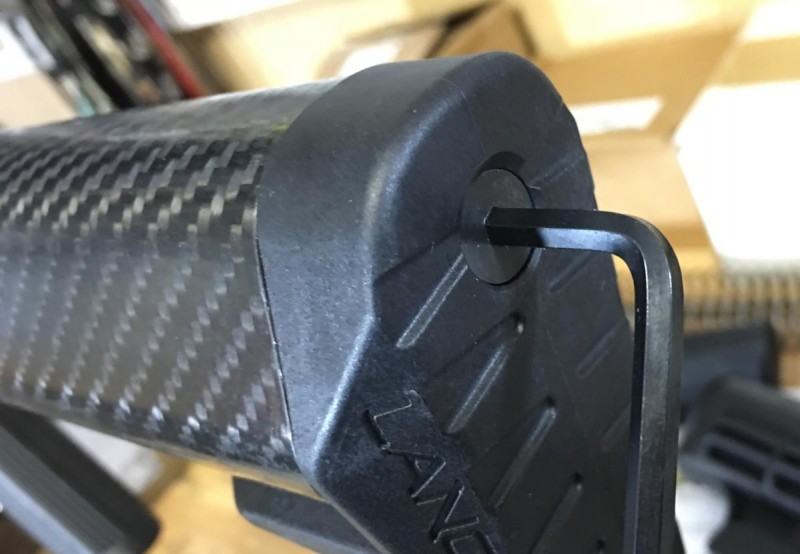
The Lancer Carbon Fiber Stock came with a screw to tighten the stock itself to the new extension tube. The Brownells kit also included a compatible screw, so I have a spare for future use.
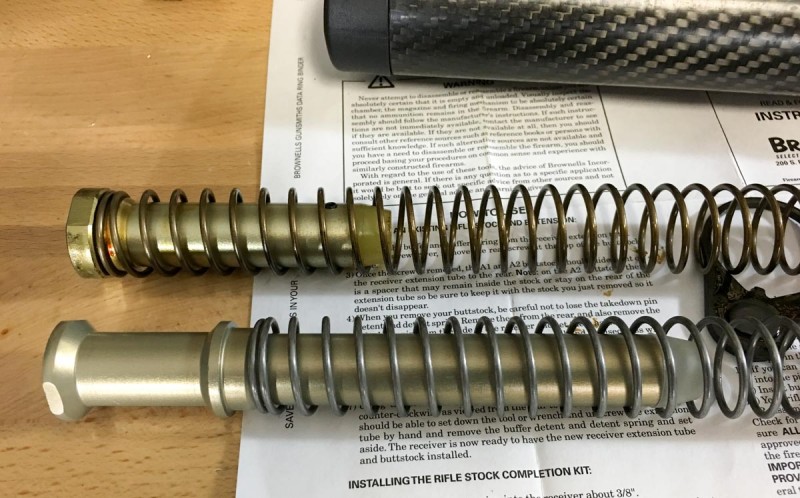
The new rifle buffer and spring (bottom) are now ready to be installed inside the extension tube. Note how much shorter the carbine buffer is in comparison. To install, just reverse the removal process. Hold the detent pin down while inserting the spring and buffer into the extension tube. Once you push the buffer past the pin, let the pin go, and it should hold the buffer and spring captive inside of the extension tube.

Now we’re finished. Mys Rock River Arms LAR-68 now has a fixed carbon fiber stock. Inside, we’ve replaced the carbine-length tube, buffer, and recoil spring with rifle-length versions of the same. It’s a nifty little upgrade that’s not too hard if you have or can borrow the right tools. Once you understand the differences between rifle- and carbine-length systems, it’s a pretty easy process.
Tom McHale is the author of the Insanely Practical Guides book series that guides new and experienced shooters alike in a fun, approachable, and practical way. His books are available in print and eBook format on Amazon.

