Create a Fishing Bargain with a DIY Worm Bin
OutdoorHub 04.22.16
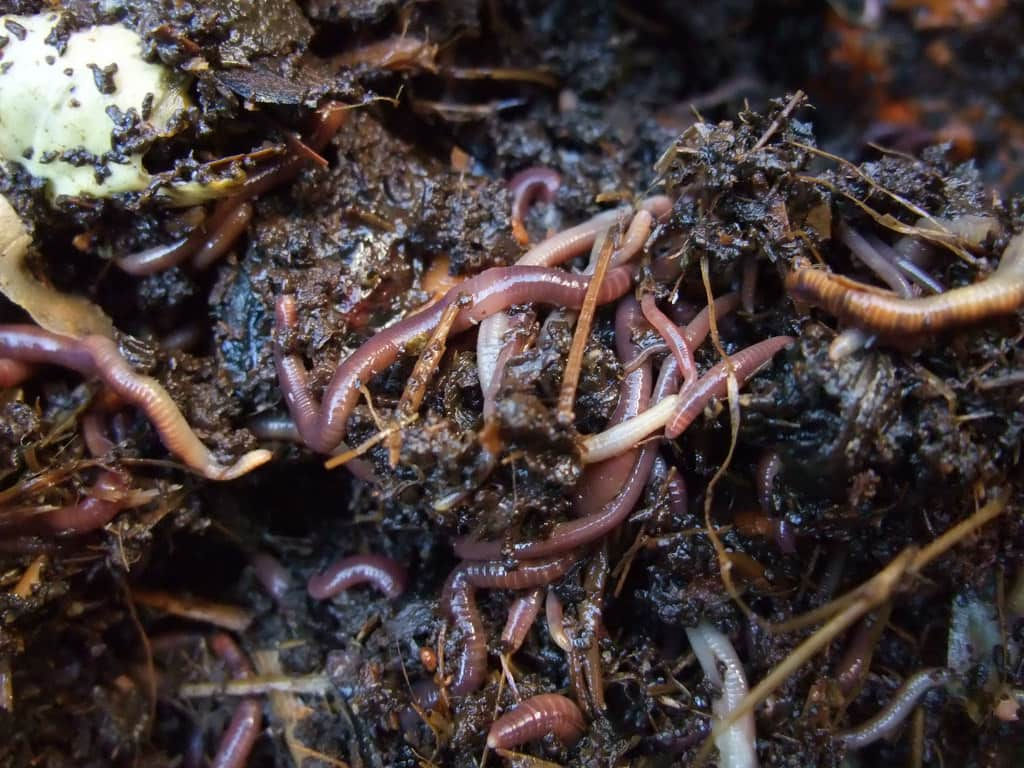
As kids beginning to fish, the first thing many of us learned put on a hook was a worm. A quick stop at the bait store on the way to your favorite fishing hole would yield a plastic container full of dirt and plump, deep red night crawlers. With your bait secured, you were off to make a day of it, reeling in bass, trout, salmon, or anything else that enjoys a worm feast.
The thing about fishing with worms for both kids and adults alike is that buying live worms every time you go fishing can eat up a good bit of your cash after a while. Inevitably you end up with worms left over that you can’t or won’t use, but sure enough, you need to buy worms again and again each time you fish. It becomes a wasteful cycle, but it is one that can be prevented.
Building a do-it-yourself worm habitat is one way to cut down on waste of both money and materials while giving yourself access to bait on a regular basis. Rather than discarding unused worms and as well as plastic or Styrofoam containers in which they come, you can cut out the middle man, and middle materials, by simply putting together your own worm farm. Not only is it cheap, but it is also easy and convenient for you to access anytime you’re thinking about dropping a line.
In order to get started, you’re going to need a large rubber tub (not transparent) or wooden box. Once you’ve secured this, ensure there are a few holes at the bottom for drainage of any excess water that might accumulate. A lid is not necessary but if you opt for one, drill a few holes in that as well. Next, line the bottom of the bin with shredded newspaper or leaf litter; this will keep worms in while still allowing drainage as needed and provide them an area in which to lay eggs and breed. Mist paper with water from a spray bottle to dampen but do not soak. From here you can place a divider between the two halves of the box if you wish, but this is not necessary. Having a divider simply allows for easy movement of worms from one side the box when you wish to replenish their environment. A divider is also beneficial if you want your worms to pull double duty and create nutrient rich soil for your garden.
Speaking of soil, adding some is the next step but be sure it is free of chemicals and pesticides. At various depths in that soil, be sure to stop and spritz soil to create the type of damp environment worms love. Also place some plant-based snacks for them to eat, filling the bin to within a few inches of the top. This should include things such as fruits, vegetables, seeds, and grains.
If you’ve opted to use a divider, only deposit food on one side, as your worms will only reside on one side at a time. When the time comes to coax worms into moving, remove these food items and place fresh on the opposite side of your bin. You can then remove the divider and the worms will relocate on their own. The soil from the vacated side can be removed, used in a garden, and replaced with fresh at after the worms have been given about two weeks to move over. This should be done approximately every four months to replenish the breeding area’s newspaper/leaf litter as well.
At this time, mist your soil once again and you are ready to add worms. You can find them in nature or buy them from a retail outlet, but whichever option you choose, simply set them on top of the soil. They will make their way down on their own and will need no assistance from you within about 24 hours. Remove and discard any worms that appear to be dead or dying.
Periodically dispose of old food items, especially if you see signs of mold, and replace them with fresh offerings. Always stick to a plant-based diet but avoid citrus fruits. Keep your worms in a shaded area where temperatures hover between 55 to 77 degrees Fahrenheit. Ensure that soil stays damp by spraying it routinely, but avoid achieving a state of standing water. Excess will drain but make it a point not to add too much.
Now that you have worms on hand, you will be ready to go fishing any time! Pluck out as many as you think you’ll need from your DIY bin to take along with you, bringing any unused worms home and returning them to the bin. Worm cocoons take about 11 weeks to hatch, at which point they require approximately three months to reach a reproductive age. This means that your worm bin will restock itself every six months, keeping you fishing for a long time to come!

