Creating a Hunting Club: Locked Down and Prepping
Dave Maas 09.28.17

Editor’s note: This is the second installment to a 12-part series about building a hunting club with buddies from nearly the ground up. Author Thomas Allen will share what he learns as he learns it. His hope is that anyone who reads this series can learn from his successes and failures, and apply them to a one-day fruitful hunting club. Click here to read part one of the series.
We’re official! The club’s bank account filled up 2 weeks in advance of our official lease payment due date, and my friend James Hall and I sighed a breath of relief.
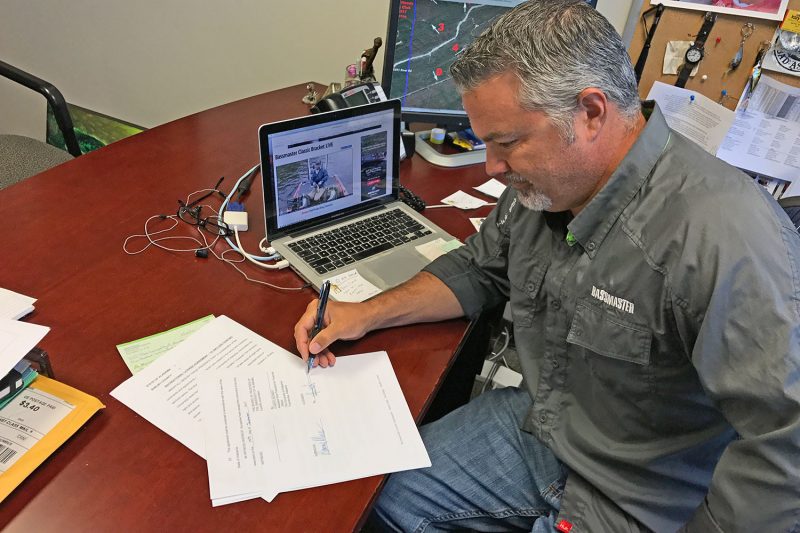
We both expected to fill out all nine spots, but until you can officially write the check, you can only be optimistic. The excitement has been rushing through our veins like Monday morning coffee — we’re ready!
Knowing you’ve achieved your goal and put locks on the gates is a great feeling. We’ve been waiting for this. But our task list is big, and seemingly insurmountable in time for opening day. All you can do is start and hope to be as close to ready as possible when it comes time to hunt.
Dirt
If you’ll recall the previous and first installment of this 12-part series, we took soil samples and submitted them to the Mossy Oak BioLogic labs for analysis. The results were as expected: Our dirt isn’t that good. Most samples came back at a pH level of 4.8 to 5.7, which will require a couple tons of lime per acre.
That’s a lot.
I spent some time reading through several back issues of Mossy Oak’s Gamekeepers magazine, and learned a lot about planting in the south — we have a mountain to climb. The magazine is a tremendous resource, and it’s a huge help knowing that extremely experienced support and insight exists through BioLogic.
With lime application and attention to detail, we can make better what we’ve got. It’ll take blood, sweat, tears and years . . . and that’s exactly what we’ll do.
Alabama’s September
It’s hot. Being a native Yankee — as they call me here — it’s damn hot in September. At this point in the year where I’m from, the soybeans are yellow and a couple weeks from being harvested, and nighttime low temps often dip into the low 50s and high 40s.
Not here; September is just an extension of the brutally hot summer. As you’ll see in several of the videos I shot for this installment, I’m a hot, sweaty mess. (For that, I’ll apologize in advance.)
But, you push on. Nothing aside from family and work obligations can keep you from working hard to prepare for the impending deer season. It’ll take dedication and support from the entire membership. That’s why they call it a club. Stay flexible, however, and keep expectations and scheduling realistic.
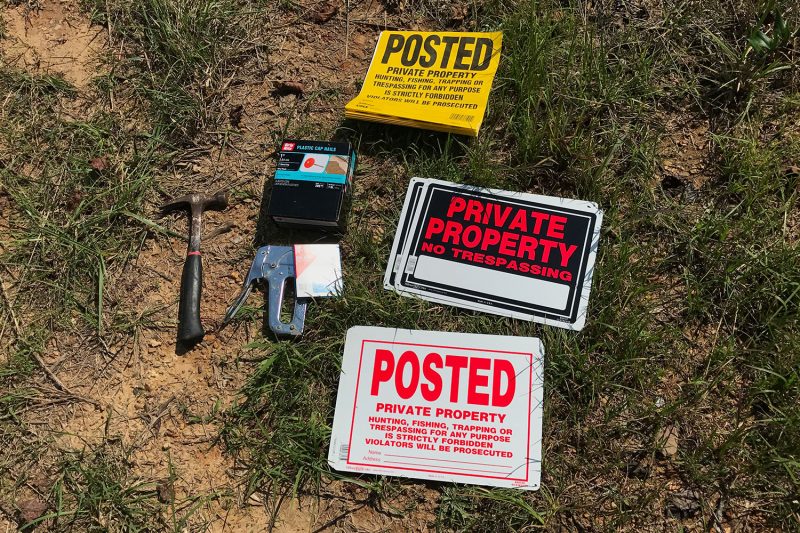
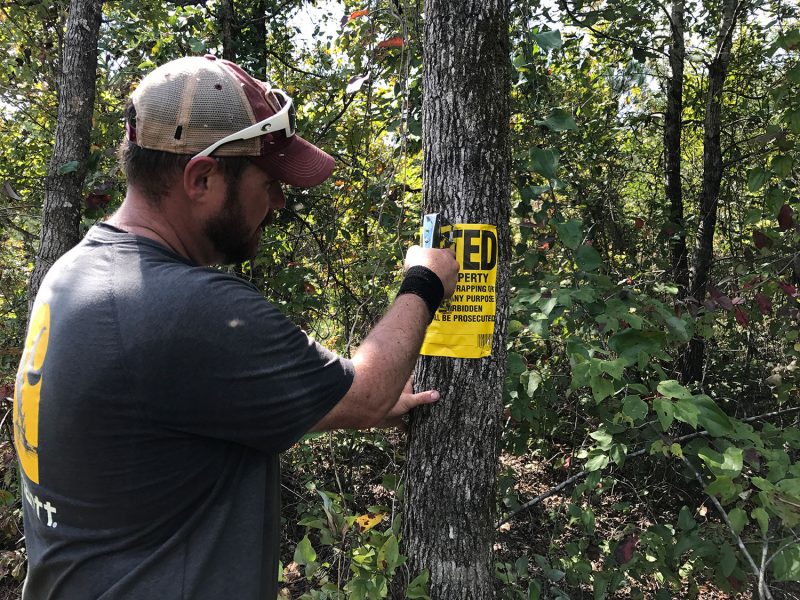
The contract is signed; we just locked the gates and put up over 20 posted signs indicating a new presence. Here are a few basic locking and signing tips we thought of as we prepared:
- Buy a set of locks that operate on the same key. If you have more than four gates to lock up, you may need to make two keys available per member. Or you can contact a locksmith to see about getting a large number of locks that are all keyed the same, that will cost additional money.
- As soon as you have gates locked, have keys available for your membership.
- Get a heavy-duty chain that can’t be easily cut. And, get it 4 to 5 feet in length. I bought them at 3-foot, which was too short for one of our gates. Learn from my mistakes!


Buy a heavy-duty chain that is 4 to 5 feet in length. I bought chains that ended up being a bit too short, my mistake. They’re inexpensive and effective.
- Use several of the nice, sheet metal posted signs for each gate area, and use the more inexpensive Tyvek paper signs for lining your perimeter. The Tyvek signs may last a year, maybe two, but in an effort to save money we decided to get the property posted, and worry about a better option next year. A roll of 100 yellow, Tyvek signs will cost about $20-$25. Anticipate signing expenses in your membership fees.

Make it very clear that the property is being used, and watched. Whether you actually use video surveillance or not, it’s a good idea to make any would-be trespassers think twice before crossing the line.
- Plan on posting every access point and every 100-150 yards around the entire property. This is a time-consuming task that will take hours of walking and effort. But, do it as soon as you can.
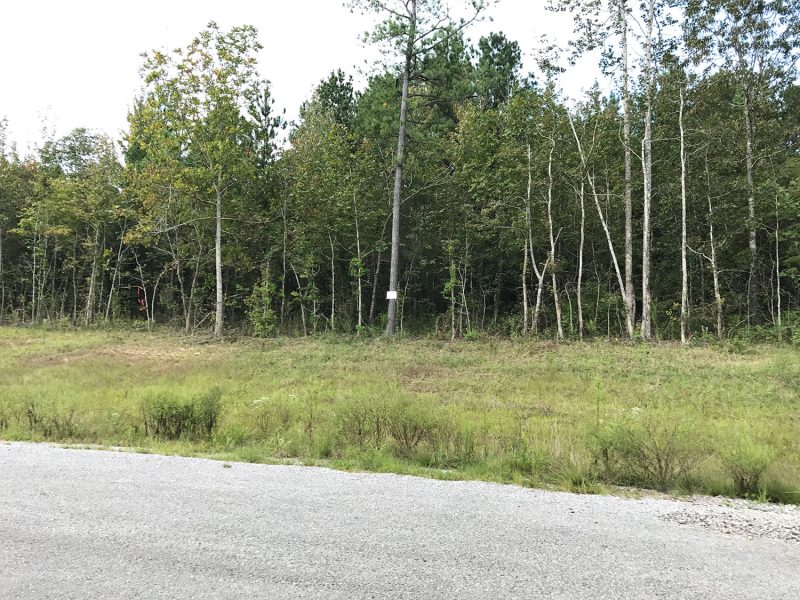
Make sure all signs are highly visible from the road and at a distance. Don’t be afraid to over-post your property. Signs, gates and locks will only do so much, but nothing beats having a presence out there. The ultimate goal is to spend as much time hunting as possible, and the more often you’re out there the less likely you are to have to deal with poachers. Hopefully.
- Having a regular presence at the club is your best deterrent for trespassers. We all know that chains, locks, posted signs and gates won’t totally prevent a poaching scumbag from walking in, but it helps.
Offsite Prep
We have four Wildgame Innovations feeders that will be strategically placed across the property. In Alabama, the law states you can’t hunt over bait, but you can have a feeder placed out of sight at a minimum of 100 yards from any treestand or shooting house.
We felt it was very important that during our initial year we encourage as much deer movement as possible to gauge herd size and health, age structure and hopefully get an idea on buck-to-doe ratio.
The feeders in conjunction with trail cameras will help provide this data for us. We may find that our food plots do enough pulling that feeders won’t be necessary long term. But, for now, they are a key part of our collective strategy.
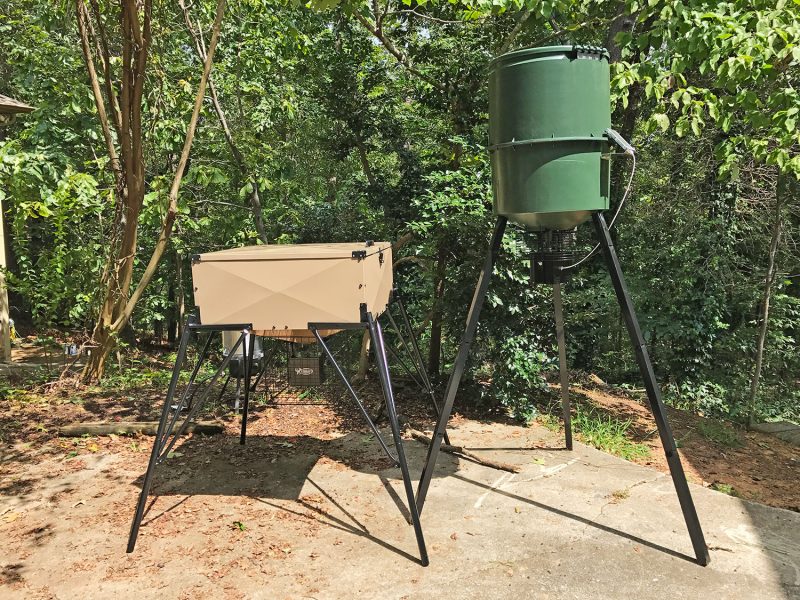
We decided on two feeder styles. The first is a standard barrel type called the Wildgame Innovations Quick-Set Pro. It’ll hold 270 pounds of feed and is programmable to six times per day.
The second style is a bit larger, and will require two dudes to set up. The Wildgame Innovations Heavy Metal 450 is a large feeder that will hold up to 450 pounds of food, which is ideal since we’re a bit late on getting these sorts of things established.
Both feeders are easy to assemble and are very sturdy. However, four feeders will require the better part of a day to assemble. James and I took on that challenge as we waited our signing day, and they’re going out in a couple of days.
Here’s some insight on assembly for the Heavy Metal 450: (You can learn from our many mistakes!)
Here’s how you program each feeder:
Feeder battery life is a concern if you’re planning to feed during all six daily timers. Why would you feed that strongly right off the bat? To encourage movement.
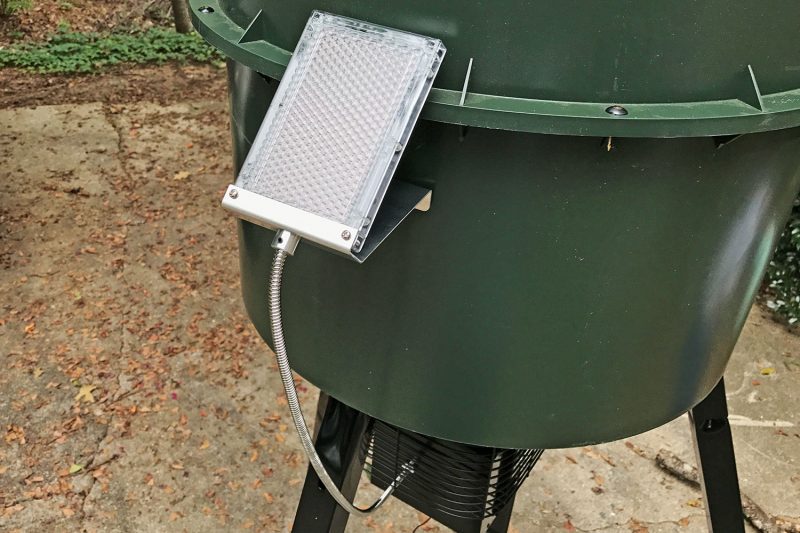
I installed a 6V Edrenaline Solar Panel on each of our four feeders, which as it receives direct sunlight it can greatly extend battery life. This is also essential if you plan to leave the feeders sit for extended periods of time. Here’s a quick video on how to install the solar panel:
Trail Camera Prep
Interestingly, Alabama bucks still shed their velvet on a similar schedule that of their northern cousins. I would have had cameras out all summer on mineral sites or feeders, but since we literally signed the contract mid-September, we are finally able to set up cameras.
Trail cams are one of the most valuable tools any serious whitetail hunter can employ. They are the 24/7 eyes that will help provide essential data on your herd — use them! It’s like Christmas morning every time you get to slide an SD card into your laptop.
As we anxiously waited for the day when we officially took possession of the property, I prepped 16 cameras with batteries and SD cards. Managing numerous cameras requires organization, period. Being able to later analyze the data you collect through trail camera pictures will be determined by how well you keep tabs on each camera and location.
We are using three different models of Wildgame Innovations trail cams: 10 Silent Crush 20s, five Terra 8s and one 360 Cam LightsOut. I’m very excited about this 360 camera; I’ll be posting pictures from it as soon as they begin to pile up.
To start, here are six Trail Camera Tips that will make your life as a land manager and deer specialist much easier:
Terra 8 Strap Modification:
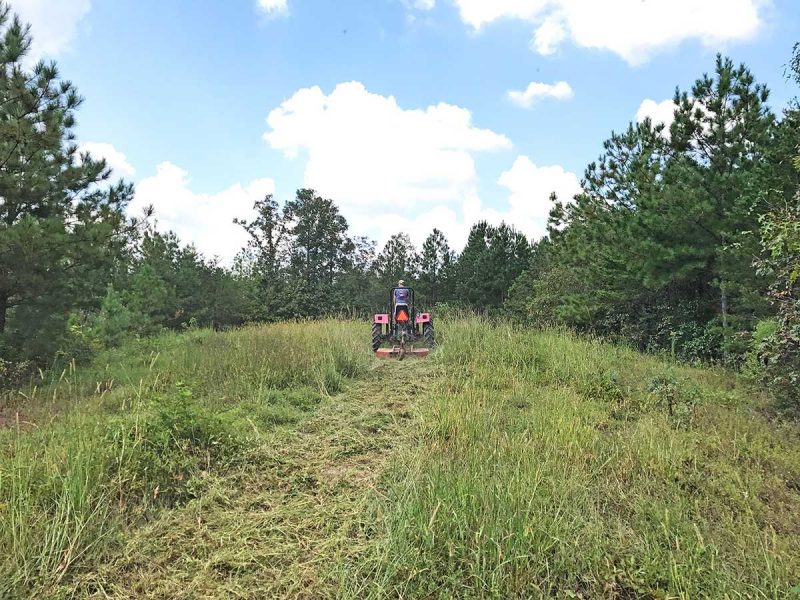
Mowing and Planting
The next installment in this series will detail our food plot preparation and full camera and feeder deployment. We’re behind on this because of our contract date, but we’re doing all we can to get food in the dirt and green stuff growing by November.
We’ll be applying lime in coming days, and we’ve decided to go with several Mossy Oak BioLogic fall blends to accommodate our timeframe and soil sample data. We just started mowing and expect to be planting in coming weeks.
Stay tuned!
About the author: A native and true northerner, Thomas Allen calls central Alabama home, where he lives with his beloved wife, Kathryn, and two growing children, Tommy and Taylor. Follow Thomas on Twitter: @ThomasAllenIV and Instagram: ThomasAllen4

