How to Evaluate a Pistol, Part 2: At the Range
Tom McHale 07.29.19

In our previous article, How to Evaluate a Pistol, Part 1: In the Store, we talked about a checklist to get a feel for not only the quality of a pistol, but an indication of whether it’s appropriate for you based on fit. This time, we’ll pick up where we left off and head to the range. The following are some things we test when looking at a new gun.
Magazines
Step one is to make sure I can reach and operate the magazine release button without resorting to extreme hand contortions. If I can operate the release without breaking a firing grip, that’s a passing grade. Keep in mind this isn’t necessarily a mark of a good or bad pistol; it’s more of an indication of whether that pistol’s geometry works with my hand size and shape.

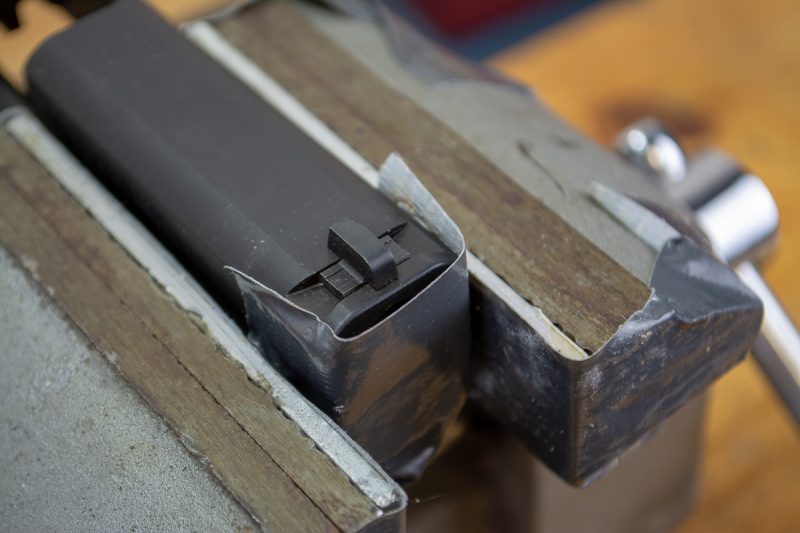
While I’m tinkering with dropping magazines, I want to make sure they drop cleanly when empty or full. Most pistols that use metal magazines will drop mags without assistance but some pistols that use polymer magazines require a tug from the support hand to remove a magazine – especially a full one. For a carry or home-defense pistol, I want the magazine release to be a reliable one-handed operation start to finish.
Ejection
When at the range, note the ejection pattern and distance. Are similar cartridge types ejecting spent cases in the same direction and the same distance? I had one pistol that ejected straight back into my face. That one was returned. Most pistols will throw brass in the four o’clock direction (more or less) and chuck spent brass ten feet or so from your position. Make sure that there is adequate force to get cases well clear of the pistol. Keep an eye on the ejection pattern as the pistol breaks in. Some guns do behave better after 50 or 100 rounds, so don’t get discouraged if the first shots are a bit wonky.
Once you’ve established the landing zone for your brass, inspect it. Pick up an assortment of cases from your pistol and take a look at their condition. Look at the primer to see if it contains a normal firing pin indentation. It should look like a half sphere and not appear to be smashed back against the breech plate of the pistol. Also take a look at the case rims. If you see gouging or chips, that might be a sign that something is a little rough with ejection. Perhaps the case is still at high pressure when extraction starts so timing is off in the recoil process.
First and Last Rounds Reliability
I like to test the pistol’s reliability when the pistol is in the fully loaded “+1” condition. That’s when the magazine is full to capacity and there’s also a cartridge in the chamber. This configuration, while supported by most any modern pistol, puts maximum stress on the magazine springs and feeding process so I want to make sure feeding and ejection are reliable when capacity is stuffed. To test this without breaking the bank on ammo purchases, just load a full magazine, chamber a round, and top off the magazine with one more cartridge. Now fire a shot and repeat the process. By stopping and refilling your magazine to a “+1” configuration with each shot you can test the “+1” loading reliability 15 times using just 15 rounds of ammo. Better yet, you can also fire two or three shots before topping off again.
I also like to make sure that the last rounds in a magazine feed reliably too. By loading 2 or 3 rounds and firing until empty numerous times you can test last round reliability. A surprising number of pistols tend to display their feeding or ejection flaws on that last round.
Of course, there’s no substitute for repeated cycling of the pistol from “+1” loading to empty, so don’t neglect that. The above ideas are just a couple of short cuts that can help you identify any obvious problems without blowing the national debt with ammo costs.
Reliability
When doing all the other tests mentioned here, some “reliability” testing is built into the process, but not all. For things like accuracy testing, you’re shooting under ideal conditions, so you’re not getting an accurate picture of reliability in realistic shooting conditions.
The first thing I like to check is limp-wristed shooting. If a pistol is malfunctioning, every manufacturer out there will ask you first if you’re providing a solid grip against which recoil can function reliably. That’s a valid point as it is how semi-autmoatic pistols are designed to work. On the other hand, some pistols are far more forgiving than others when shooting from a less than perfect hold. For a defensive pistol, I like “forgiving.” If you fly out of bed in the middle of the night or find yourself grappling with a mugger with one hand while drawing with the other, you’re most likely not going to adopt a certified shooting stance and hold. By definition, when shooting in less-than-conventional ways, you’re probably not positioned in a textbook Weaver or Isosceles stance. To test, I’ll assume a one-handed grip and as I fire shots, I’ll gradually reduce grip pressure for each shot to see where the pistol will start to fail. With some pistols like the Beretta 92, I can barely support the gun with a thumb and one finger, and it’ll still run. While you’re doing this, be sure to shoot plenty from your support hand only. It’s not particularly fun or satisfying, and most of us hate it, but you’ll want to be sure that your pistol operates with that weaker grip on the “wrong” side.
While testing for sensitivity to limp wristing, I also like to rotate the pistol into different positions to make sure ejection still works consistently. Turn it clockwise 90 degrees to so the top of the slide is pointed in the 3 o’clock direction and shoot. Then go the other way.
Sights and Point of Impact
Are they aligned to point of impact? This one is tricky because every ammunition variant will hit in a slightly different place. Different loads can vary left to right and up and down. Also, precision makes it difficult because pistol will rarely hit in the same hole but create a group of shots, so you need to consider the “center of the group” as the point of impact.
Most modern defensive pistols will have at least one sight, front or rear, mounted in a dovetail notch in the slide. If your point of impact with your preferred ammo is off to one side, that’s easy enough to adjust by drifting the sight. If elevation is significantly off, again with your preferred ammo, that can be a problem if your pistol doesn’t have adjustable target sights. While I encounter a number of pistols that can benefit from a small windage adjustment, it’s rare to find one where elevation is way off at pistol-appropriate distances of 25 yards or less.
Precision (Accuracy)
Loosely referred to as “accuracy,” precision tests the consistency of a pistol’s operation. If we’re gonna get all nitty gritty, accuracy is the ability of a firearm to put a shot in a specific place. That relies both on the inherent consistently shot to shot and the correct alignment of sights to the point of impact. If we look at the precision component, that’s the ability of a pistol to put all shots in the same place, regardless of how the sights are calibrated. If a pistol can shoot small groups consistently, it’s easy to adjust sights and/or ammunition to make sure that shot placement is where you expect based on the sight picture.
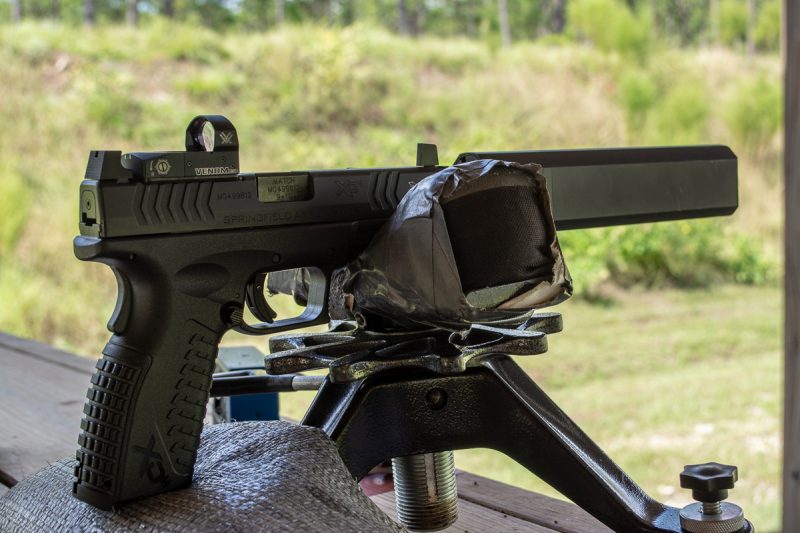
While at home or in the store, I like to check the barrel hood to slide fit to see how much shake or movement there is. A lot of play there can indicate precision problems, but the real test is on the range, so I don’t make too many judgements until it’s time to shoot.
There are two big tips for range accuracy testing.
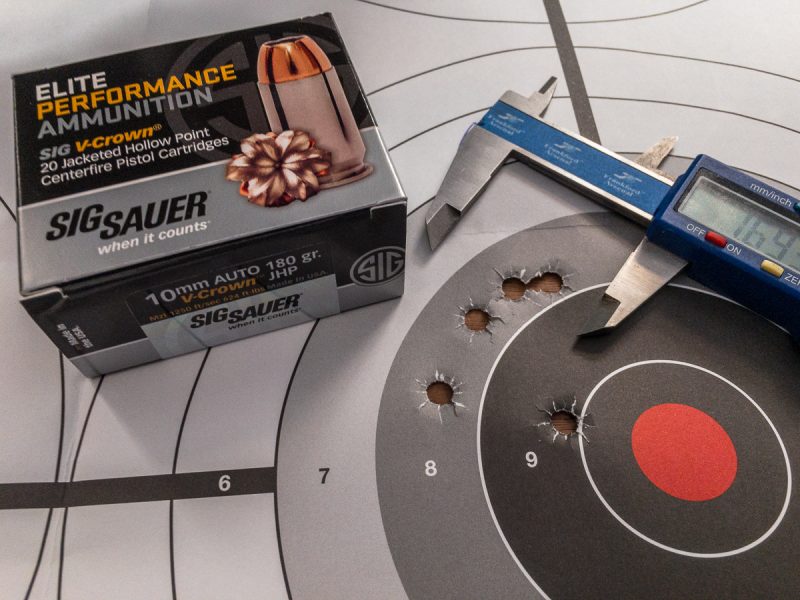
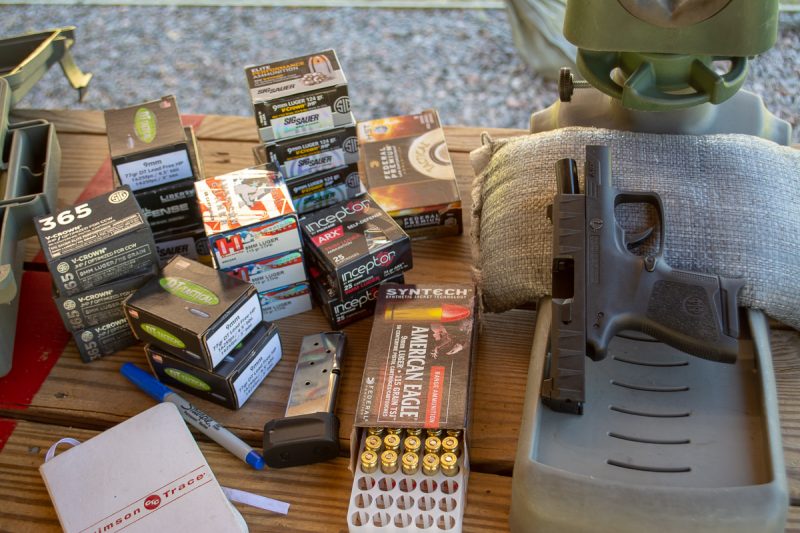
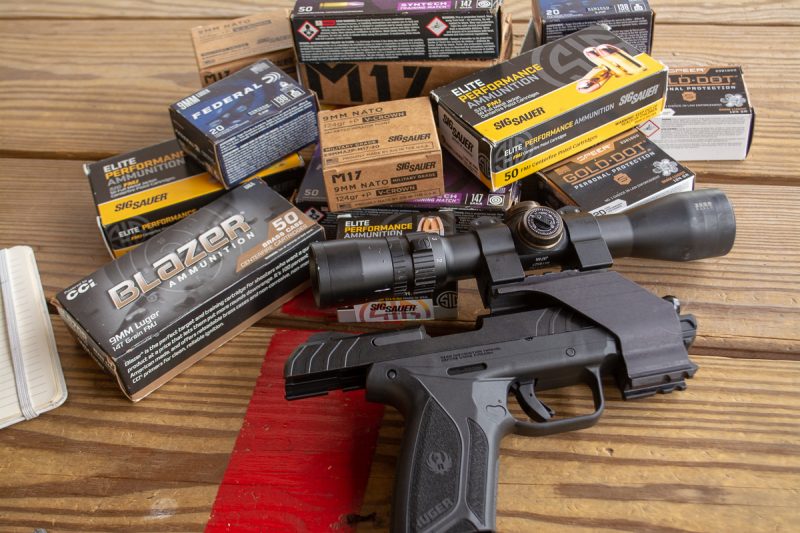
First, shoot at least three types of quality ammo. From the same gun, I’ve seen groups range between 1.2 and 4.5 inches at 25 yards just from different ammo brands and bullet weights. So, before judging a pistol, make sure you’ve tried a couple of flavors of ammo under controlled conditions.
Second, take your eyes out of the equation as much as possible. If you’re accuracy testing at 25 yards from a solid rest, and assuming that your trigger technique is good, your eyes over iron sights are going to be the biggest variable – by far. Just a one-millimeter sight misalignment results in a 1.4-inch miss down range.
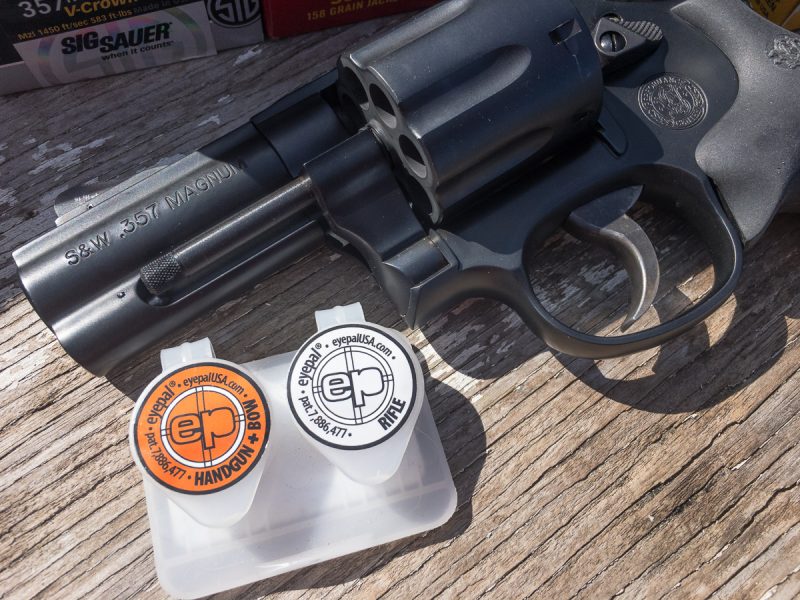
When I test pistols, I use tools to help remove my eyes from the equation. An UM Tactical rail mount allows you to mount a handgun scope to many rail-equipped pistols. That virtually eliminates sighing error. New pistols with red dot mounting options can make a big difference too. A 3 MOA red dot only covers about three-quarters of an inch so you can get a surprisingly accurate sight picture. The other benefit to a red dot approach is that you’re not trying to focus your eyes on three planes: rear sight, front sight, and target. Your aiming indicator (the dot) and the target are in the same focal plane. Last, if you want to go simple, a laser can be a big help with the right target color and lighting conditions. Most laser dots will only cover about the size of a quarter at 25 yards, so again, you can get a repeatable sight alignment. If you have to test with pure irons, take your time and set up your rest so that you have to do minimal hand adjustment to get everything lined up perfectly. Those stick-on apertures for shooting glasses like the Eye Pal (eyepalusa.com) really help to keep both sights and target in better focus, so try those too.
When shooting groups, pick your appropriate distance and be honest. I like to shoot most pistols at 25 yards but will reduce that to 15 yards for compact handguns with shorter sight radiuses. I’ll shoot multiple five-shot groups with each type of ammo and average the results. As your fifth-grade teacher used to say, cheating by throwing out poor results only hurts you. If I’m shooting with iron sights only, I’ll often fire six shots per group and measure the best five to help take sighting error out of the equation.
Subjective Observations
I also like to spend plenty of ammo on casual and drill shooting. While the “mechanical” stuff tells a lot about how a pistol functions, it does little to give me a reading on the more subjective elements like sighting, recoil and handling.
One simple “drill” I like to do tells me how the pistol and I get along. For each shot, I start with either a draw or from the low ready position depending on the range. I deliberately raise the sights to target and fire a shot as soon as the front sight is where I want it. This “get a sight picture” for every shot routine gives me a great feel for how easy (or hard) it is to acquire a proper sight picture and break an accurate shot. It also helps me get a reading on how the pistol points for me and how the trigger, frame, and grip texture work together on a quick first shot.
It’s also helpful to run through some formal and even informal drills. For example, Dot Torture is a great way to run a pistol through various holds and configurations. It’ll also test multiple shots to same point of aim and minor target transitions. Better yet, if you always shoot the same distance, you can track scores for different guns. I like to wait on these until I have put plenty of rounds through the pistol and am used to it.
It’s always tempting to “like” a new pistol and call it “accurate.” Running it through a standardized routine is a great way to help remove the subjective like or dislike and see what it will really do.

