How to 3D Print a Hydroponic Tower Garden
Morgan Rogue 05.31.23
One of my missions in life is to be as self-reliant as possible. I recently talked about a countertop hydroponic garden that has been giving us fresh produce as well as talked about some other ways to grow food indoors. I think growing indoors is wildly underutilized. Of course, growing outdoors is ideal for most vegetables and it’s cost-effective but you can grow produce with very little expense and even less time involved (the largest time suck is harvesting; which is the best part!).
I’ve always wanted a tower garden. I think they are absolutely amazing at how efficient they are at producing food in large quantities and take very little time commitment. What’s funny is, I used to really dislike hydroponics, but I’ve really come around recently because of my desire to simply grow more of our own food year-round.
When I started looking at options to purchase a Tower Garden, I was blown away at the prices. Though they offered monthly payments of $50-60, it would be for 12-24 months. So they were adding up to $700-1000!
We recently acquired a 3D printer and my husband said, “Why don’t we print one!”
The first thing we did was find a 3D project to download and print. There are many places to find 3D projects that other people have made. You can find them for free or purchase them, depending on what the project is and where the creator has chosen to upload it.
Next, we purchased food-grade filament. It’s important to purchase food-grade filament as you’ll be growing food in this tower so you don’t want it to
Here’s what we didn’t 3D print:
- The tubing for the water
- The pump
- A 5 gallon bucket & lid
- A few screws to screw the tower to the 5 gallon bucket
- Grow lights
- Seed starting pods
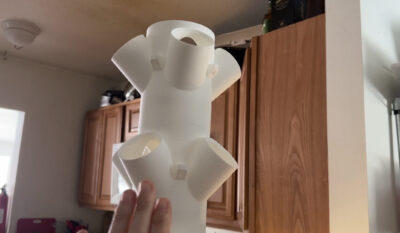
Here’s what we did 3D print:
- Everything else
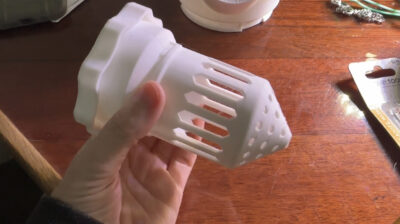
We were even able to print the baskets that hold the plants!
We used about three large rolls of filament, which are around $20 a piece. So right there, the total filament was $60.
The food-grade 5 gallon bucket with lid was $11.
The pump was $16.
The food-grade tubing was around $5.
The seed starting pods were $22 for 200 of them.
The grow lights were $59 for a set of 6 (only used 4).
Total cost = $173
This cost doesn’t include the hydroponic nutrients, which we spent an additional $20 on from a local garden supply store. I also didn’t include the cost of seeds as I have plenty on hand. But these are going to be costs regardless of however you choose to grow food.
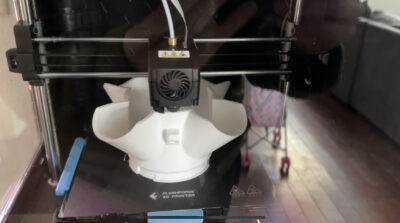
It took a lot of time to print, though. Each full section took about 1-2 days, plus all of the additional little pieces that we needed. It took a total of 30-ish days to complete this project. And some of those days we were waiting on new filament (we weren’t sure how much filament we were going to need for the whole project) so the 3D printer had a rest every once and a while, but it was pretty much going the entire time.
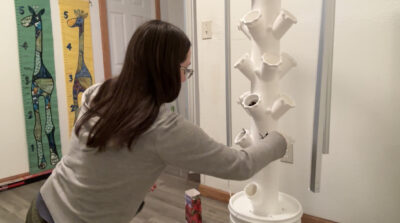
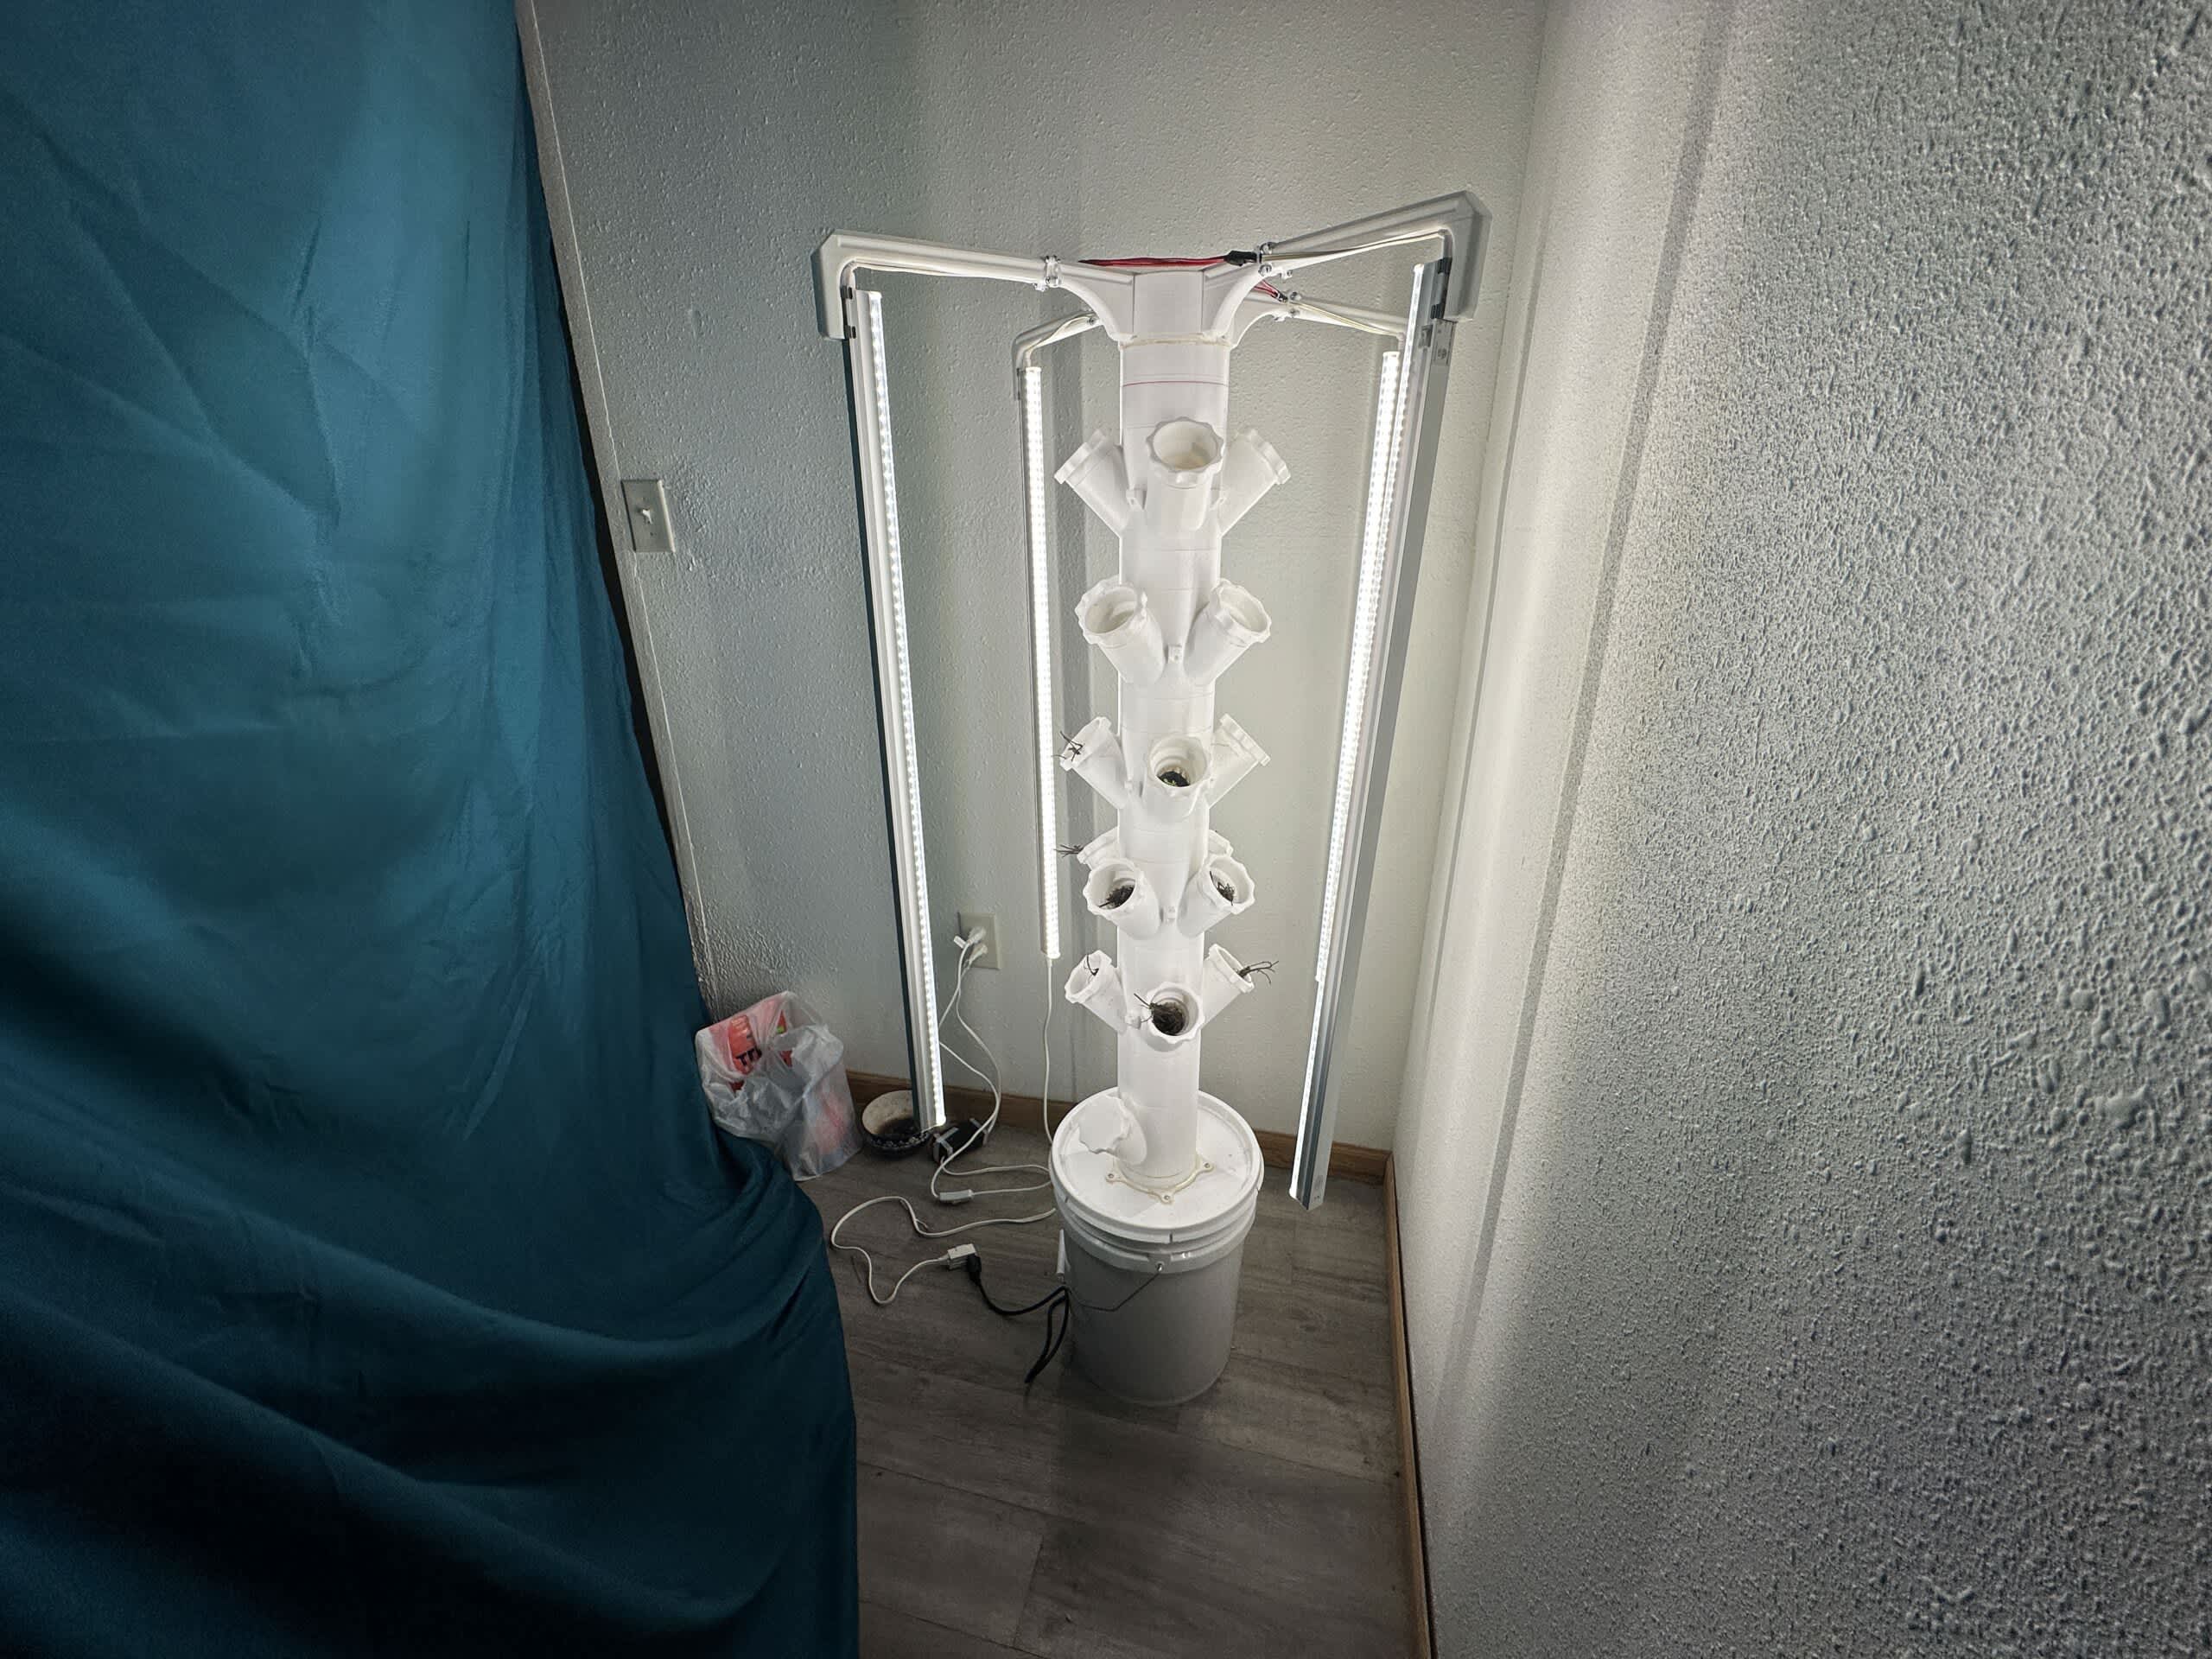
Once we printed everything, we attached it to the 5 gallon bucket, attached the hose to the pump and guided the pump upwards, attached the lights, filled it with water and it was ready to go!
I manually turn the lights on and off, but my husband programmed a switch to automatically turn the pump on and off. We have the pump on for 3 minutes, every 30 minutes. This has worked good so far.
It’s truly remarkable the things you can 3D print right in the comfort of your own home. The 3D printer has proven itself more than useful with this project alone, but we have printed many other things that have improved our lives in some way or just for fun; either way, it’s a life improvement.
Have you invested in a 3D printer yet?