DIY Custom Gun Case Foam Replacements
Eugene L. 10.27.23
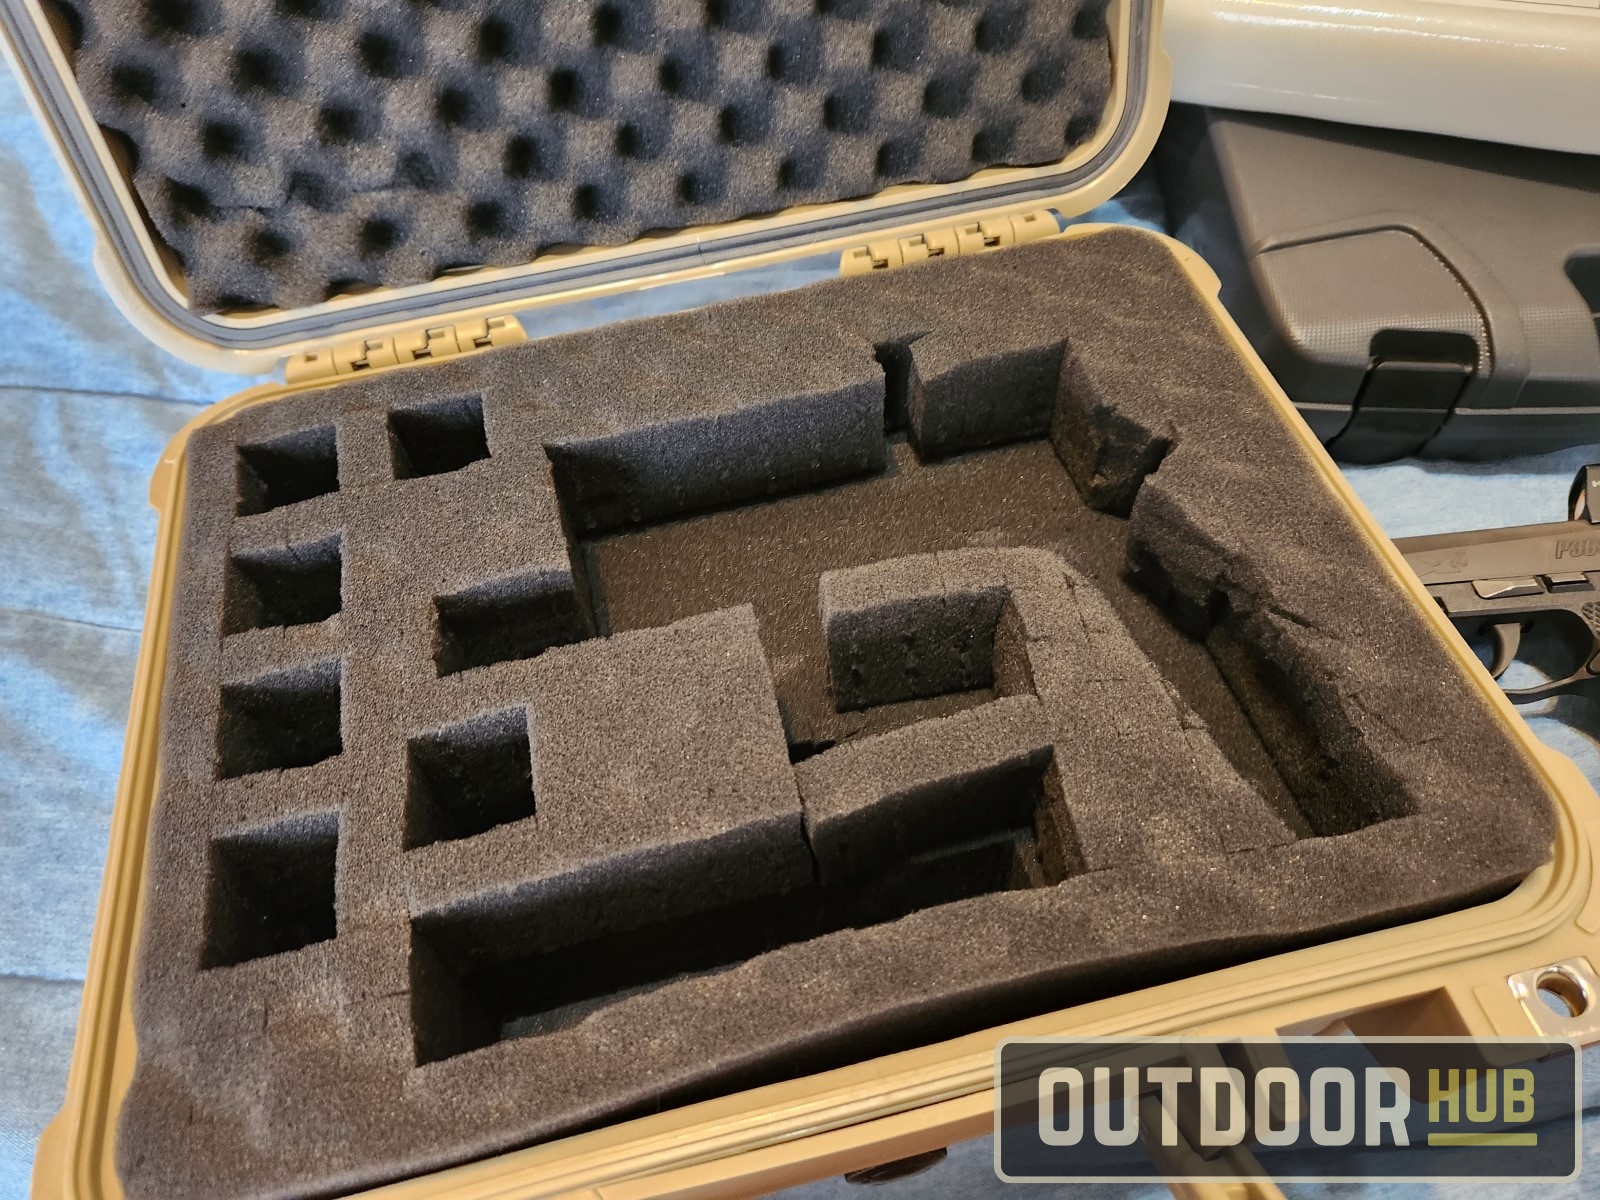
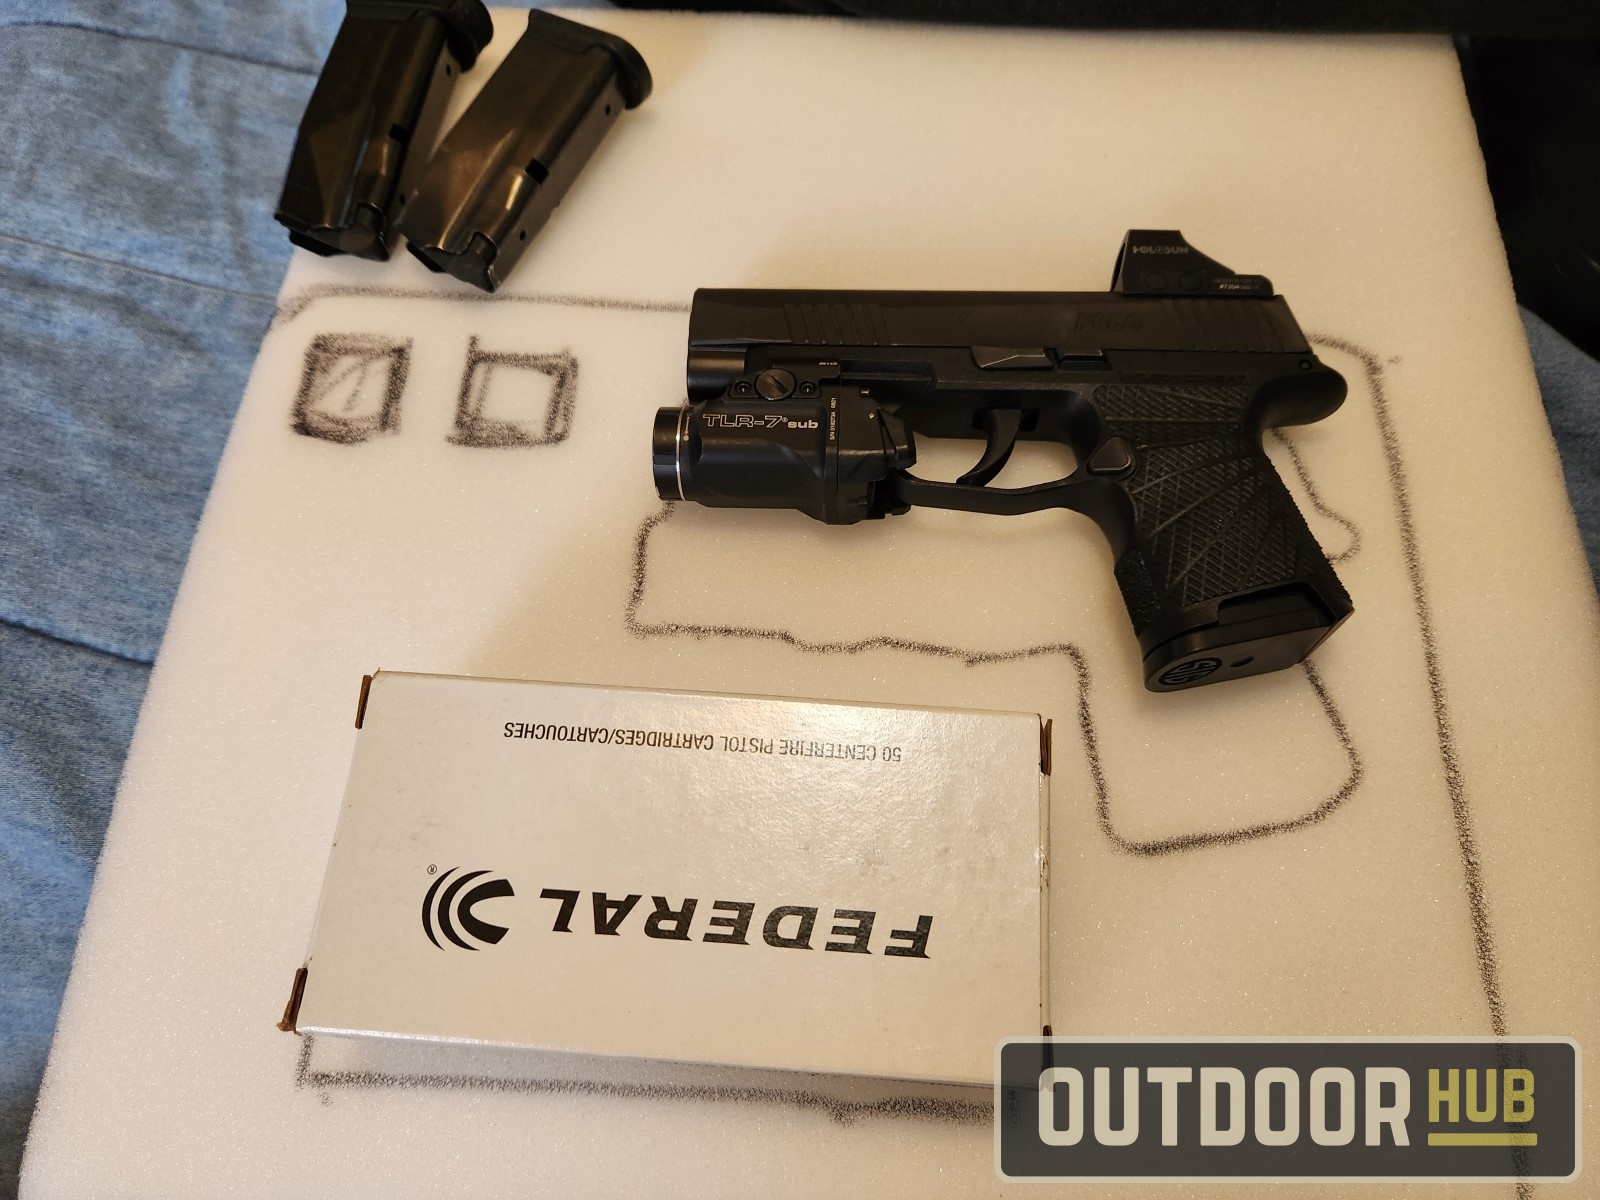
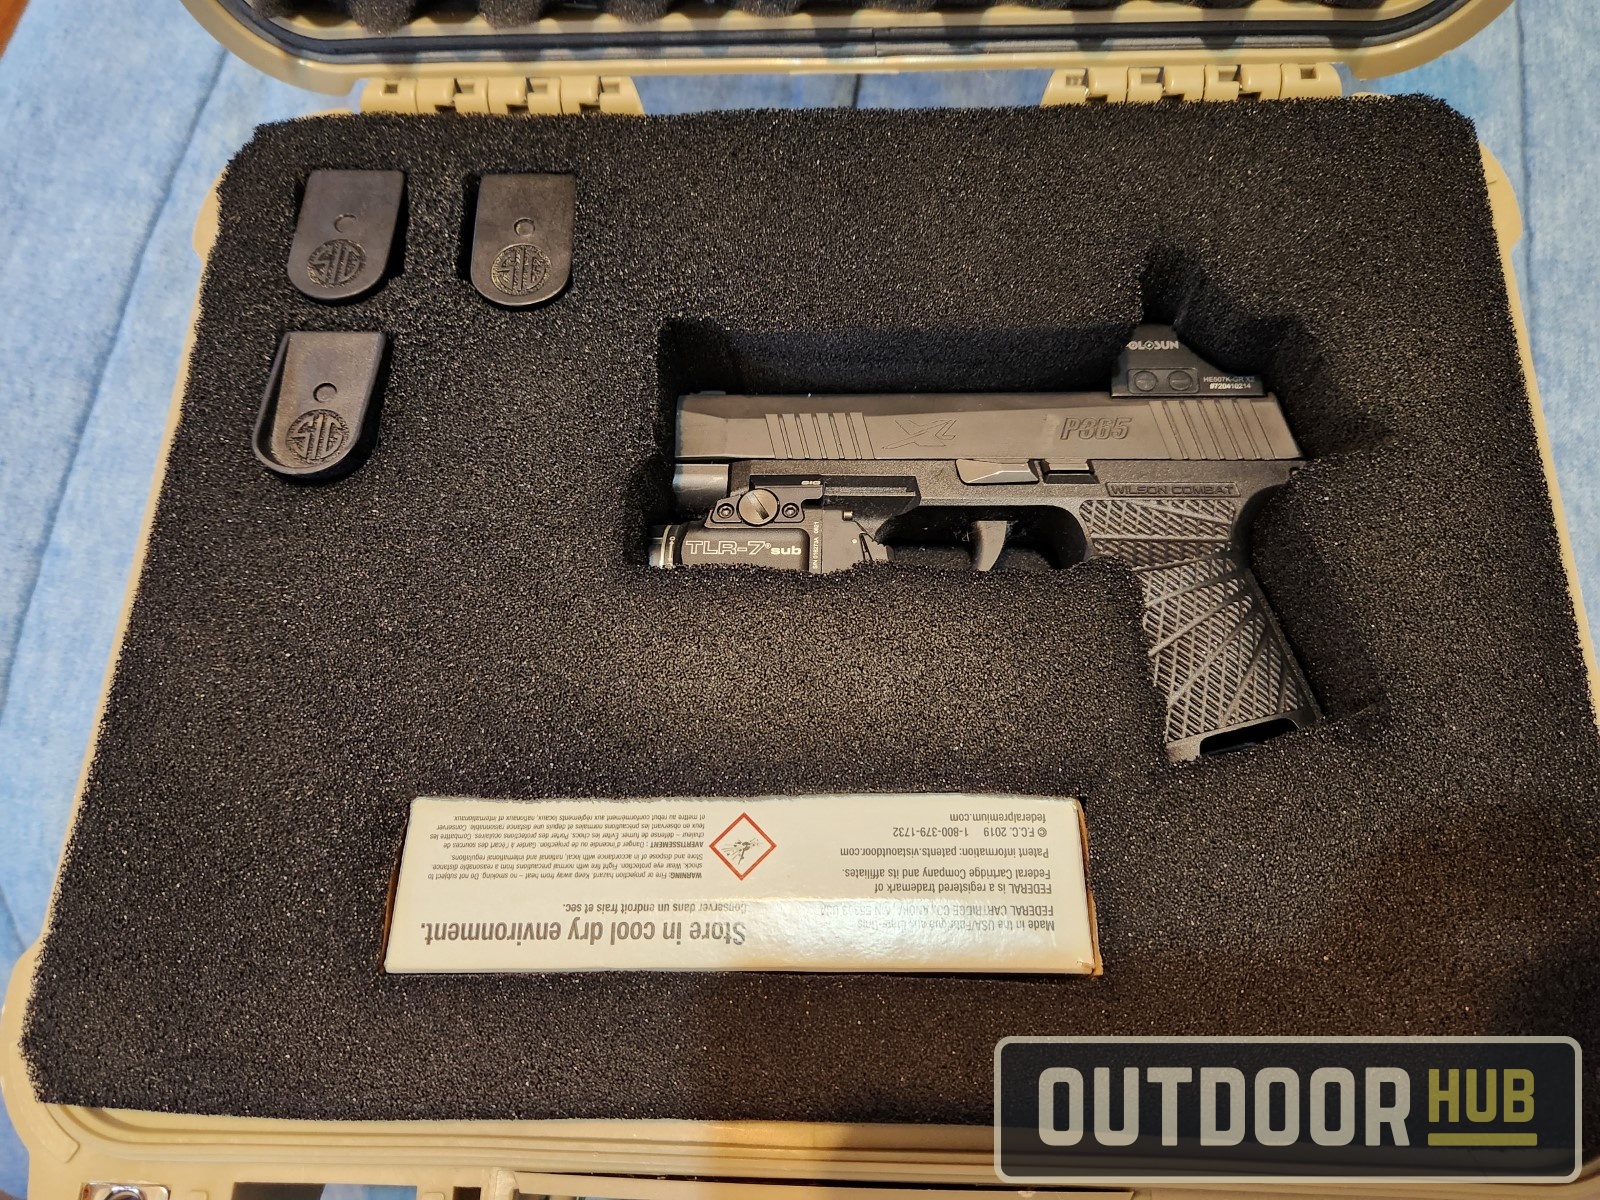
The holidays are coming up soon, which for some means catching flights to go visit friends and family or just to go on a vacation. That also means having to pack a secure hard gun case if you want to take your carry gun along with you. Which at least for me meant having to redo the foam in the case to fit my p365 instead of my X-Carry P320. Instead of ordering a new set of pluck and pull foam, I’ll show you two DIY options to make custom foam replacements.
The first of the foam replacement options is just to go to any hobby store and find the foam section. There they should have cheap Polyfoam sheets for sale. Don’t worry that it is white foam either that’ll be taken care of in the end. When selecting the polyfoam you want it to be at least 2 inches thick so it fits up nice and snug against the egg crate foam in the lid of the hard case.
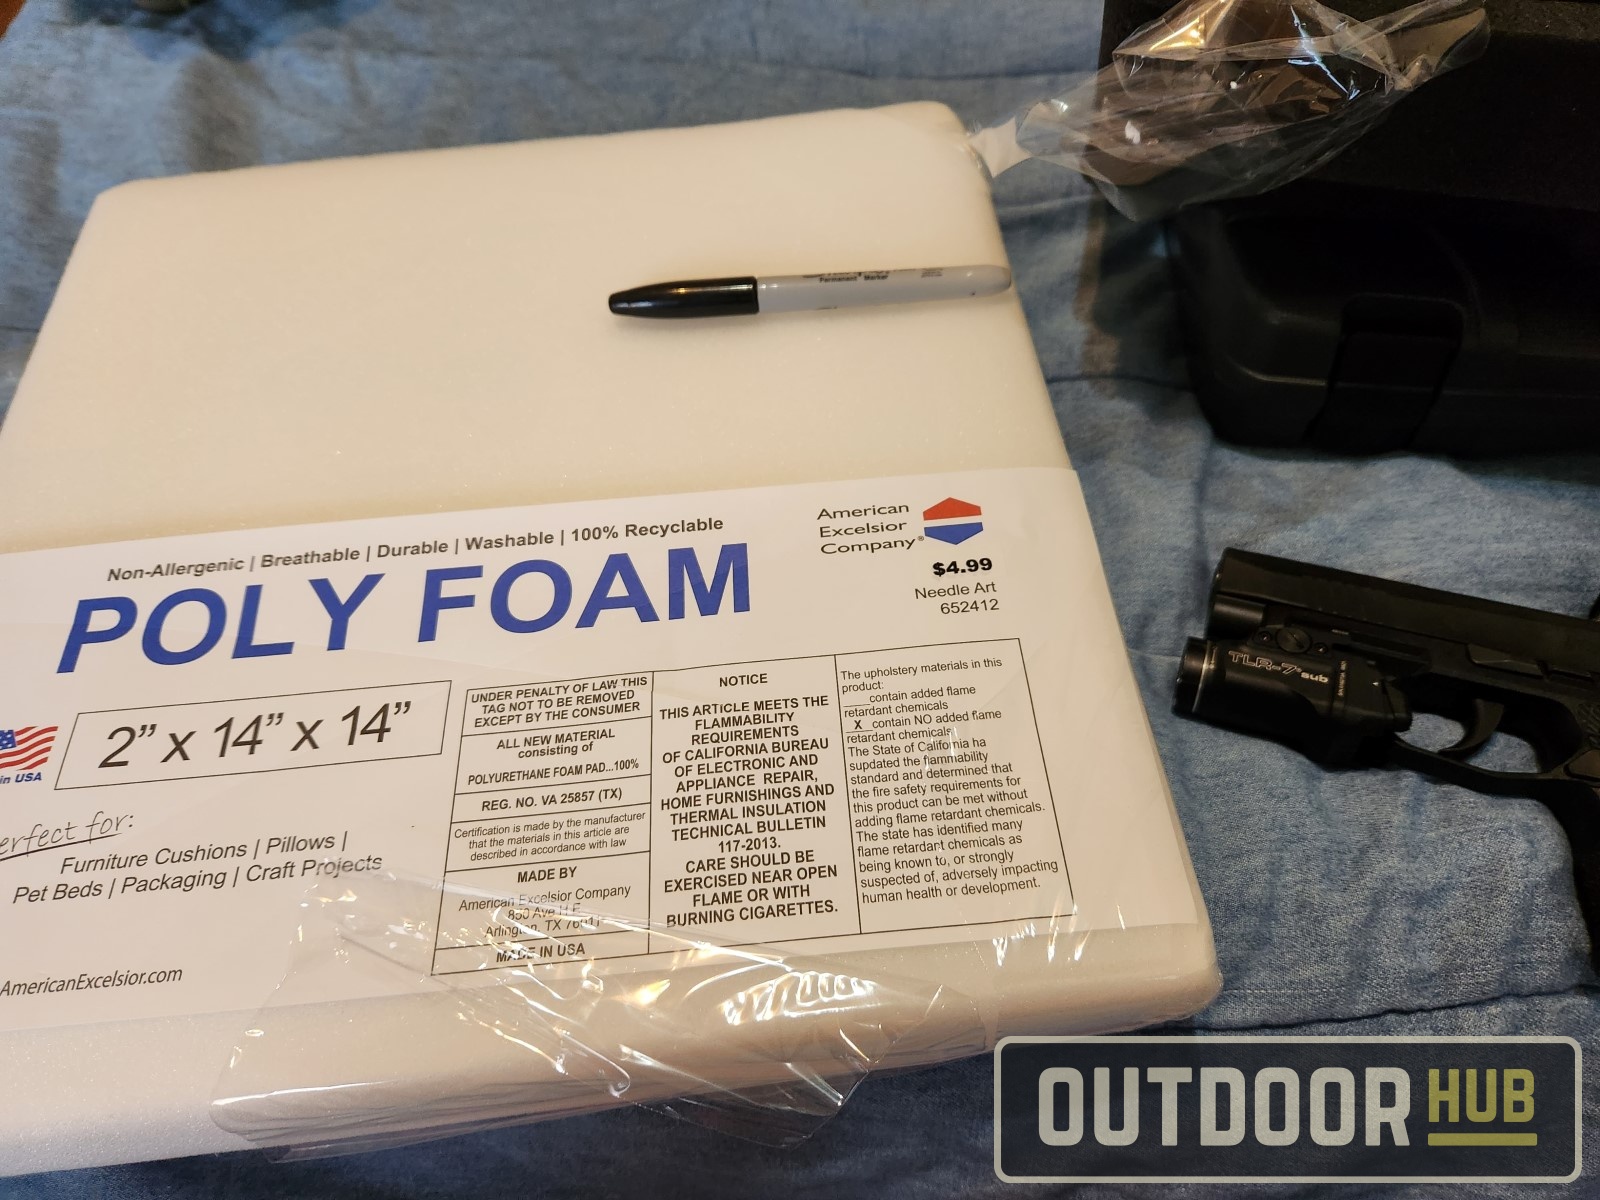
Now take a sharpie and outline everything you want to pack in the gun case. I recommend using the original foam insert to trace on the polyfoam that way your dimensions are correct. Its better to go a little big instead of too small when tracing the original foam insert. The foam can compress some if it’s a little big but if you mark and cut it too small you’ll end up with space around the rim. Once you get the outline of the insert traced, it’s time to trace your carry gun, magazines, and a box of ammo. You can not have ammo loaded in magazines or loose in your gun case for air travel. It needs to be stored in the original packaging or a hard-sided container that keeps the rounds separate.
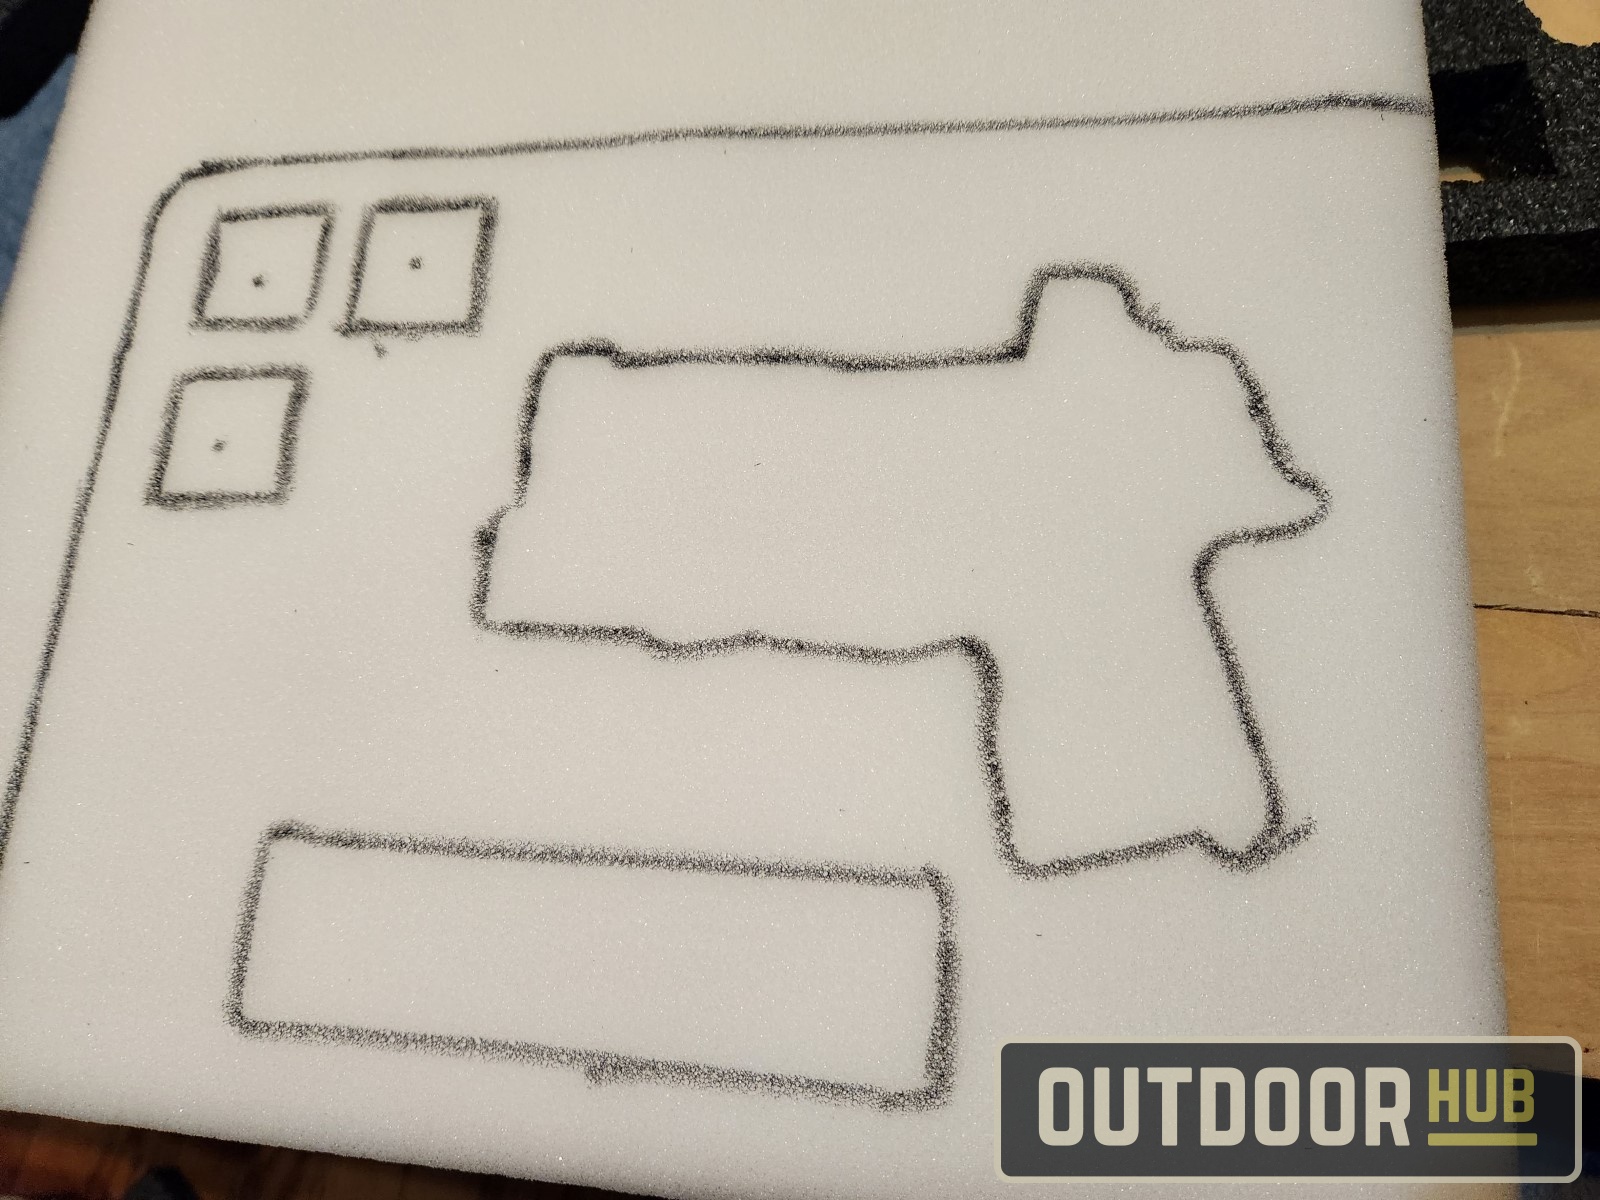
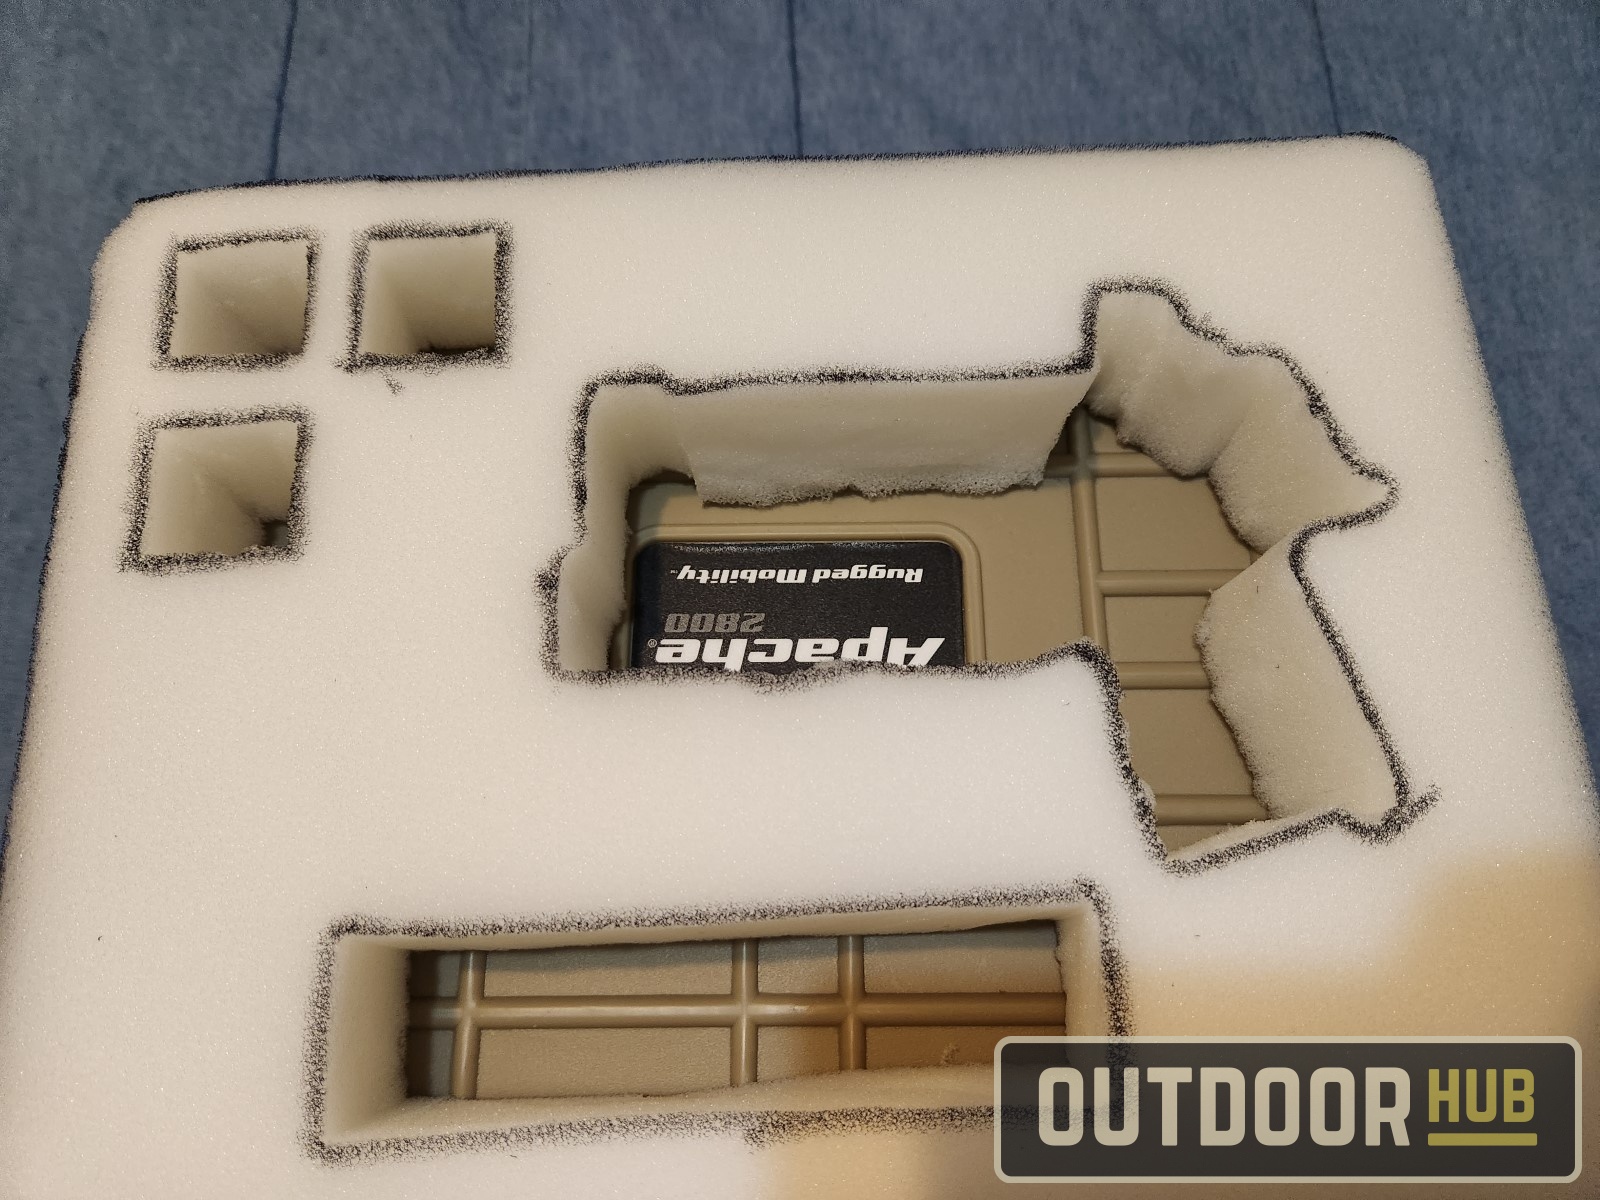
Now you have all your cut lines marked down, take a fresh sharp knife to cut the foam. I used some disposable utility knives to do this. That way the blades were fresh and never used on anything else. This will help you from tearing the foam as you slice. You can also use an electric fillet or carving knife as well, letting the sawing motion do the work for you. When cutting just don’t get too aggressive with taking off material, you can always cut off more during fitment but not add it back on.

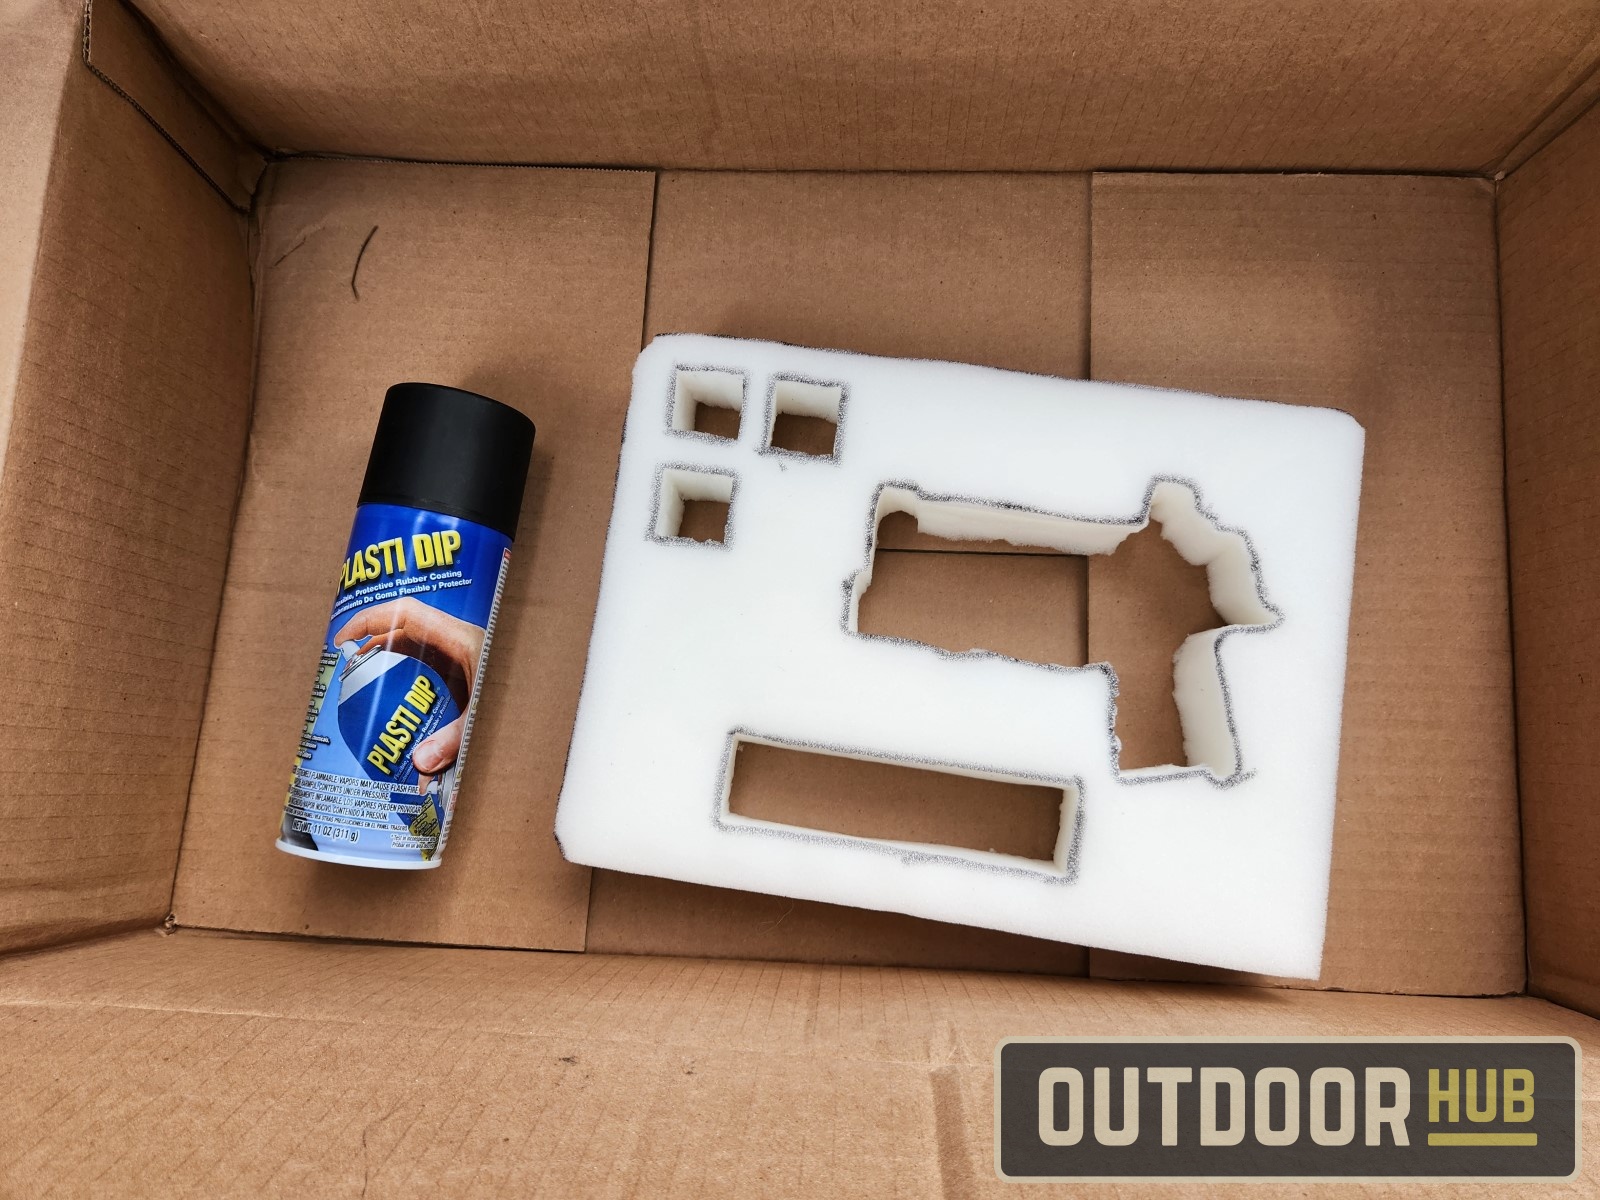
Once you cut everything out and get the fitment to your liking it is time for the final step. We are going to get some black spray can Plasti Dip. This will do two things, first, it will color the foam a nice dark black, which hides all the sharpie marks and most mistakes you might have made. Second, it will stiffen the polyfoam up a bit, keeping everything more securely in place inside the hard case. I recommend at least a couple of coats of the Plasti Dip for a more even and thorough coating.
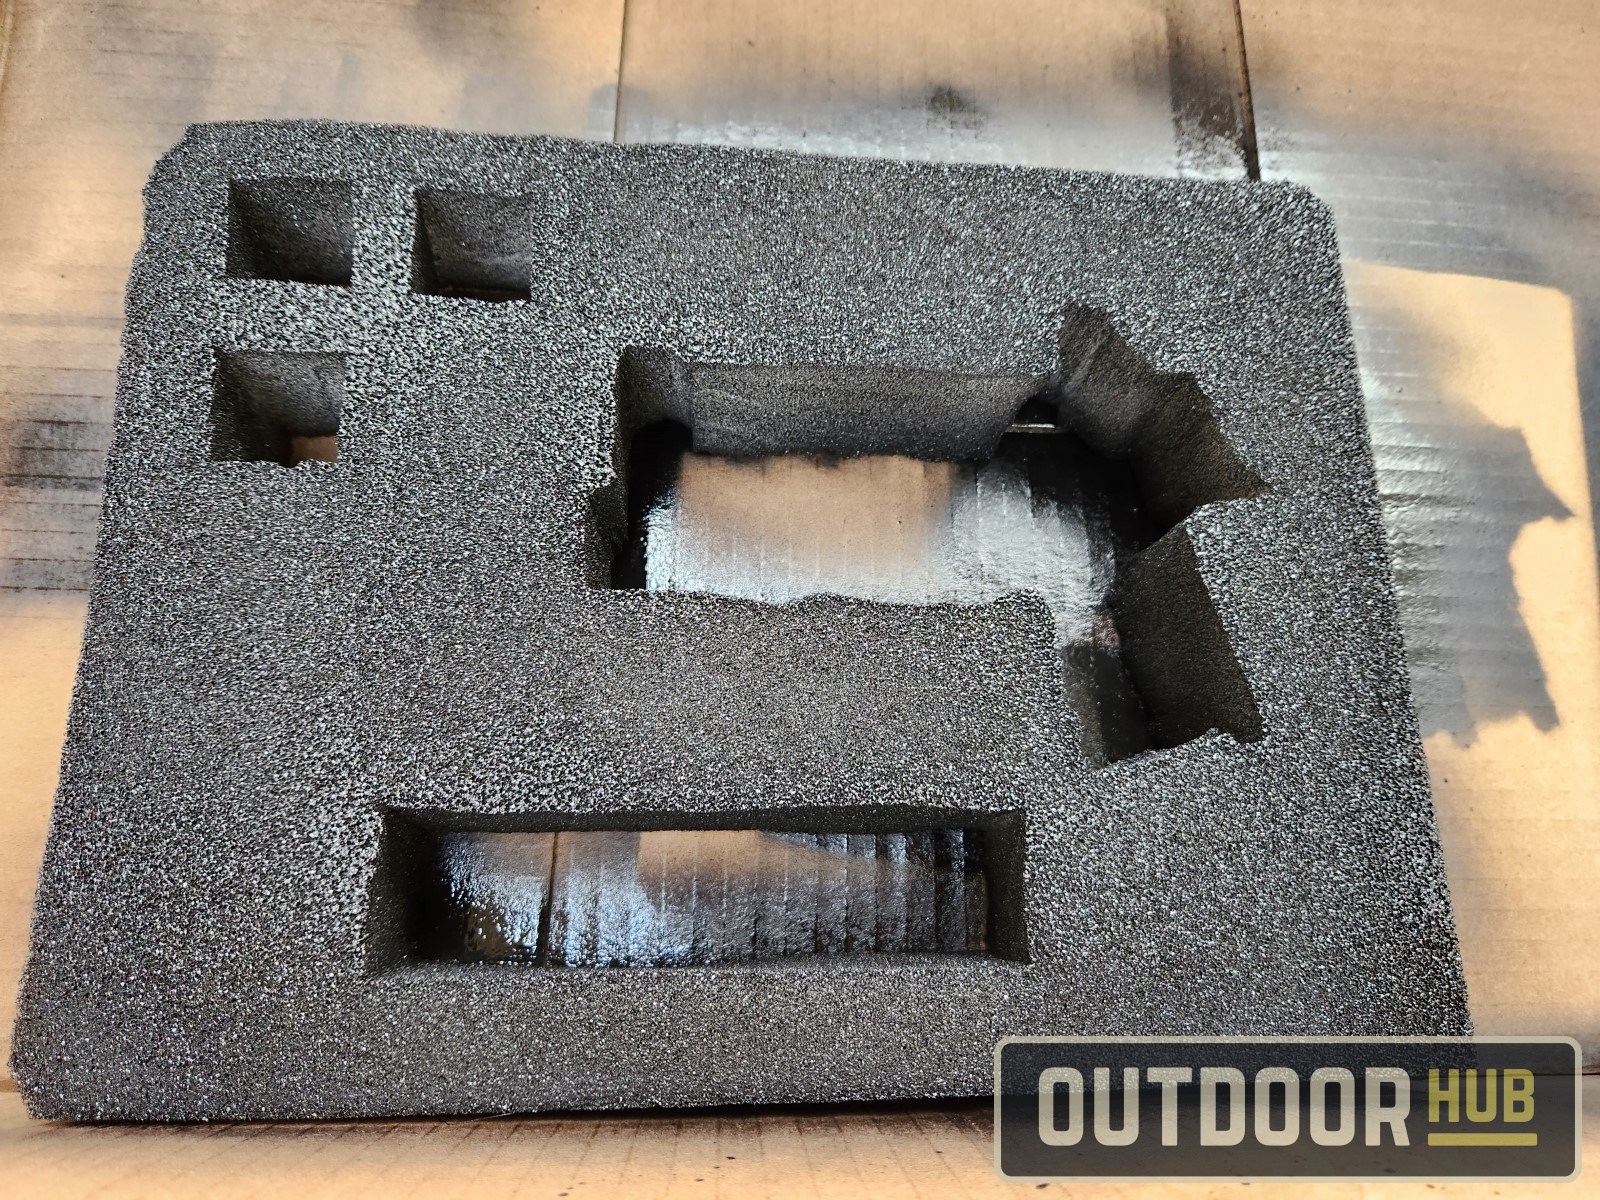
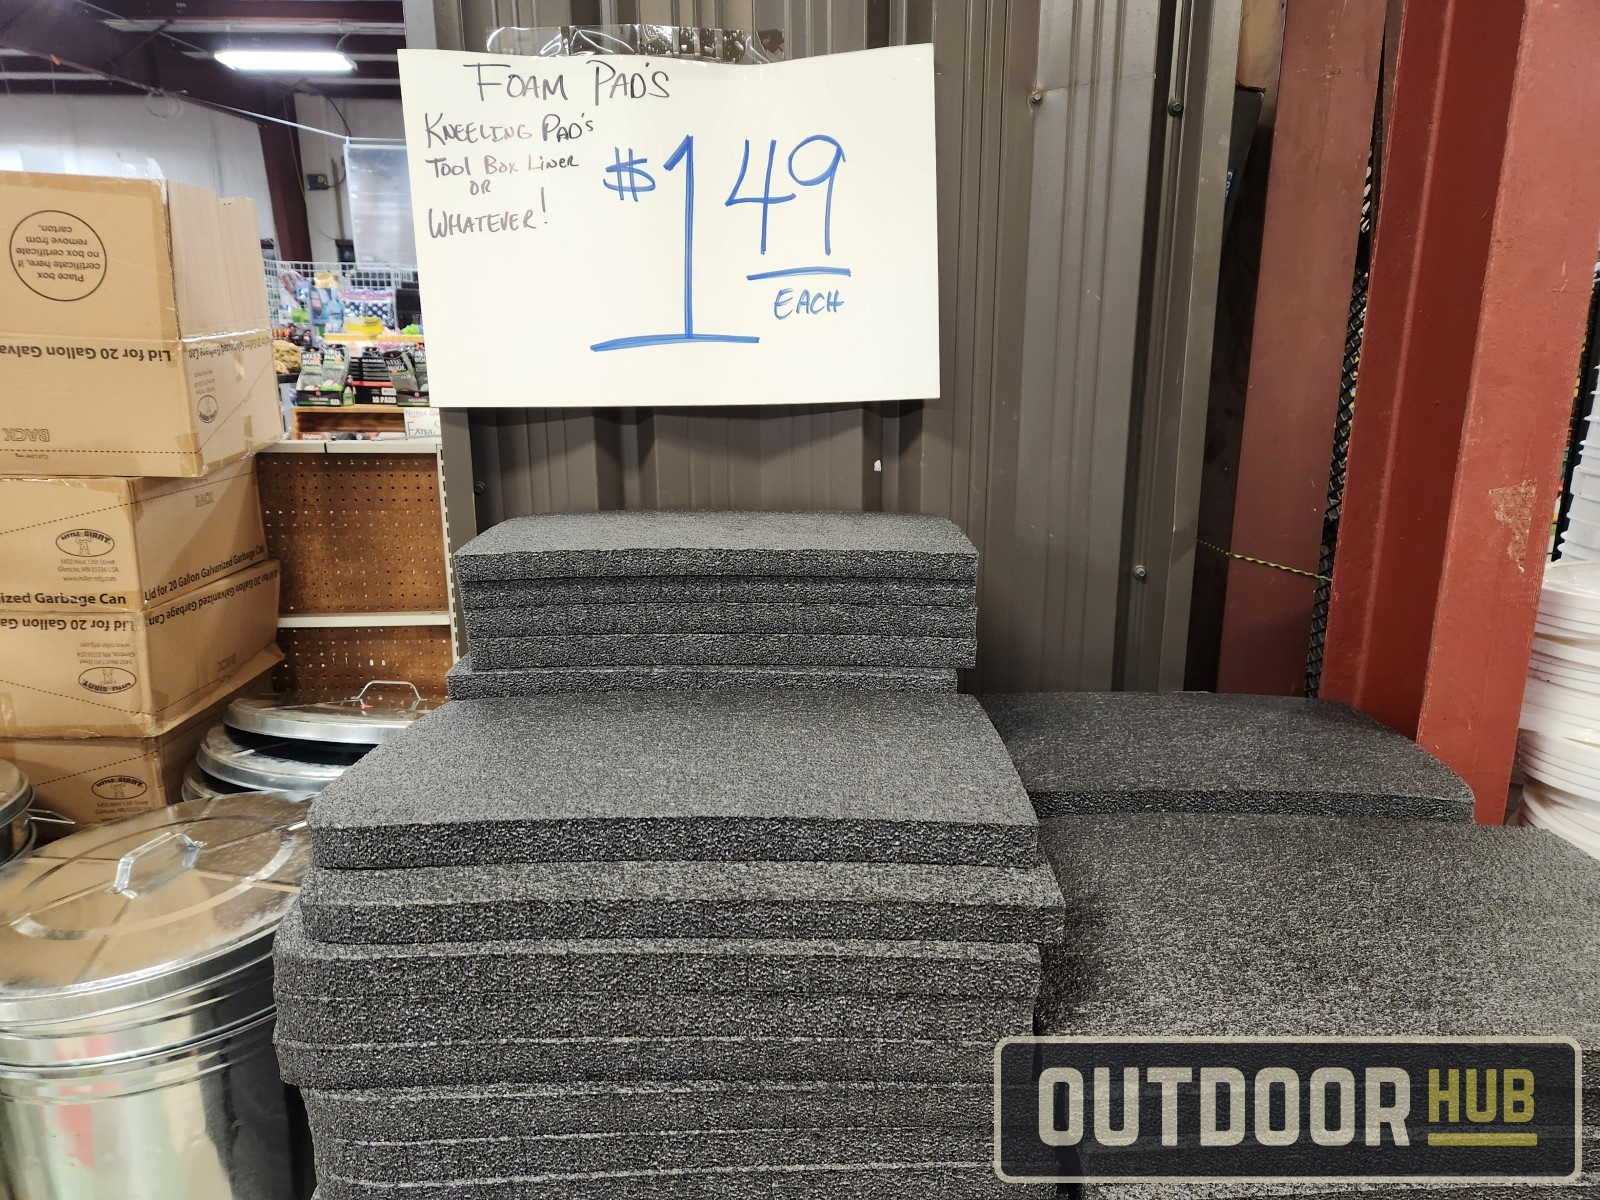
Now I’ve covered the first way to put in custom replacement foam piece into your gun case, let’s move on to the second method. This second way is a bit easier but the material is not as common as the polyfoam. We are using polyethylene closed-cell foam, so it is a bit stiffer and already dark grey. You can sometimes find them as kneeling pads in garden sections. I found it at a local Overstock store for $1.50 a piece.
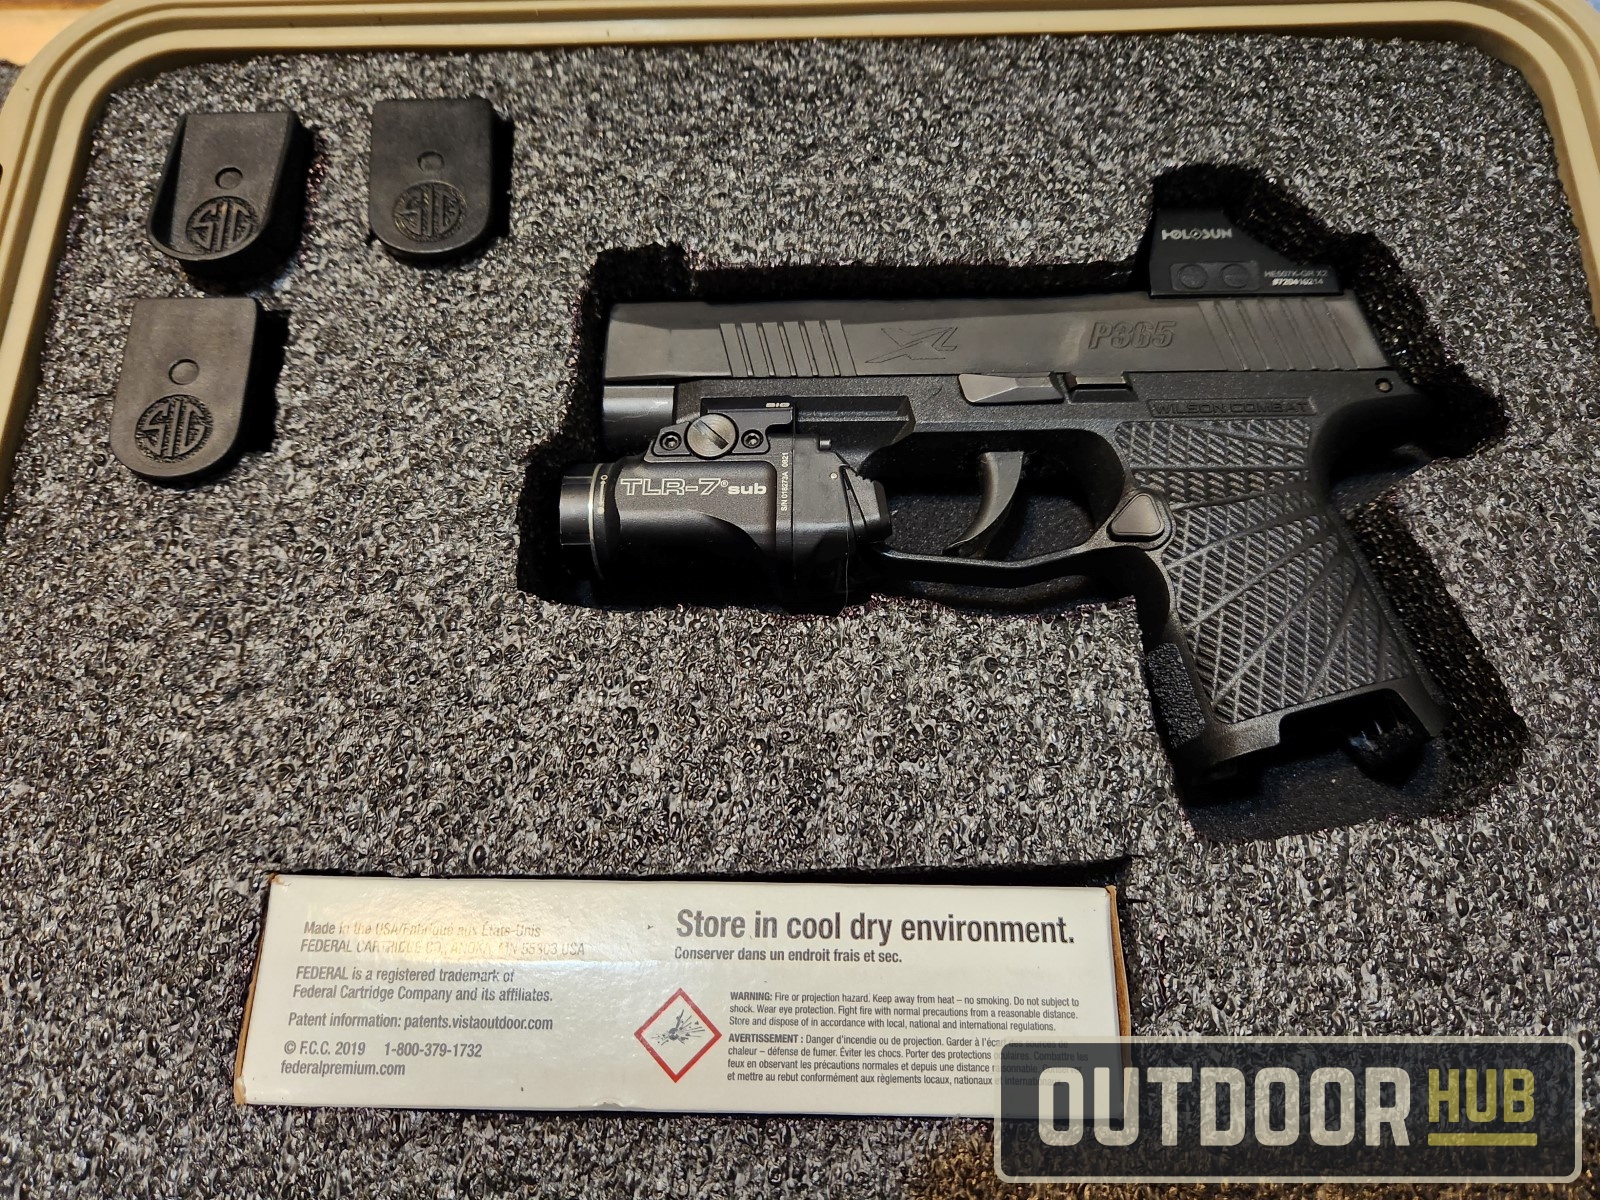
The general method is the same as the polyfoam. Get your carry gun, magazines, and ammo box and trace them on the foam. Then just cut out of the outlines. I used the same utility knives, still very sharp and cheap. This stuff is easier to cut due to it being a bit stiffer material. But again be careful and don’t cut off too much foam. Work slow and trim off a bit at a time if you’re trying to get the fitment right.


Once you get the cuts finished and get the fitment where you want the polyethylene custom gun case insert is done. With it already being dark grey and being stiffer than the polyfoam there is no need to spray it with the Plasti Dip. I do want to note that this one does have a bit of movement with your gun as it’s not as tight fitting. So if you don’t like that I recommend the polyfoam method I covered first.
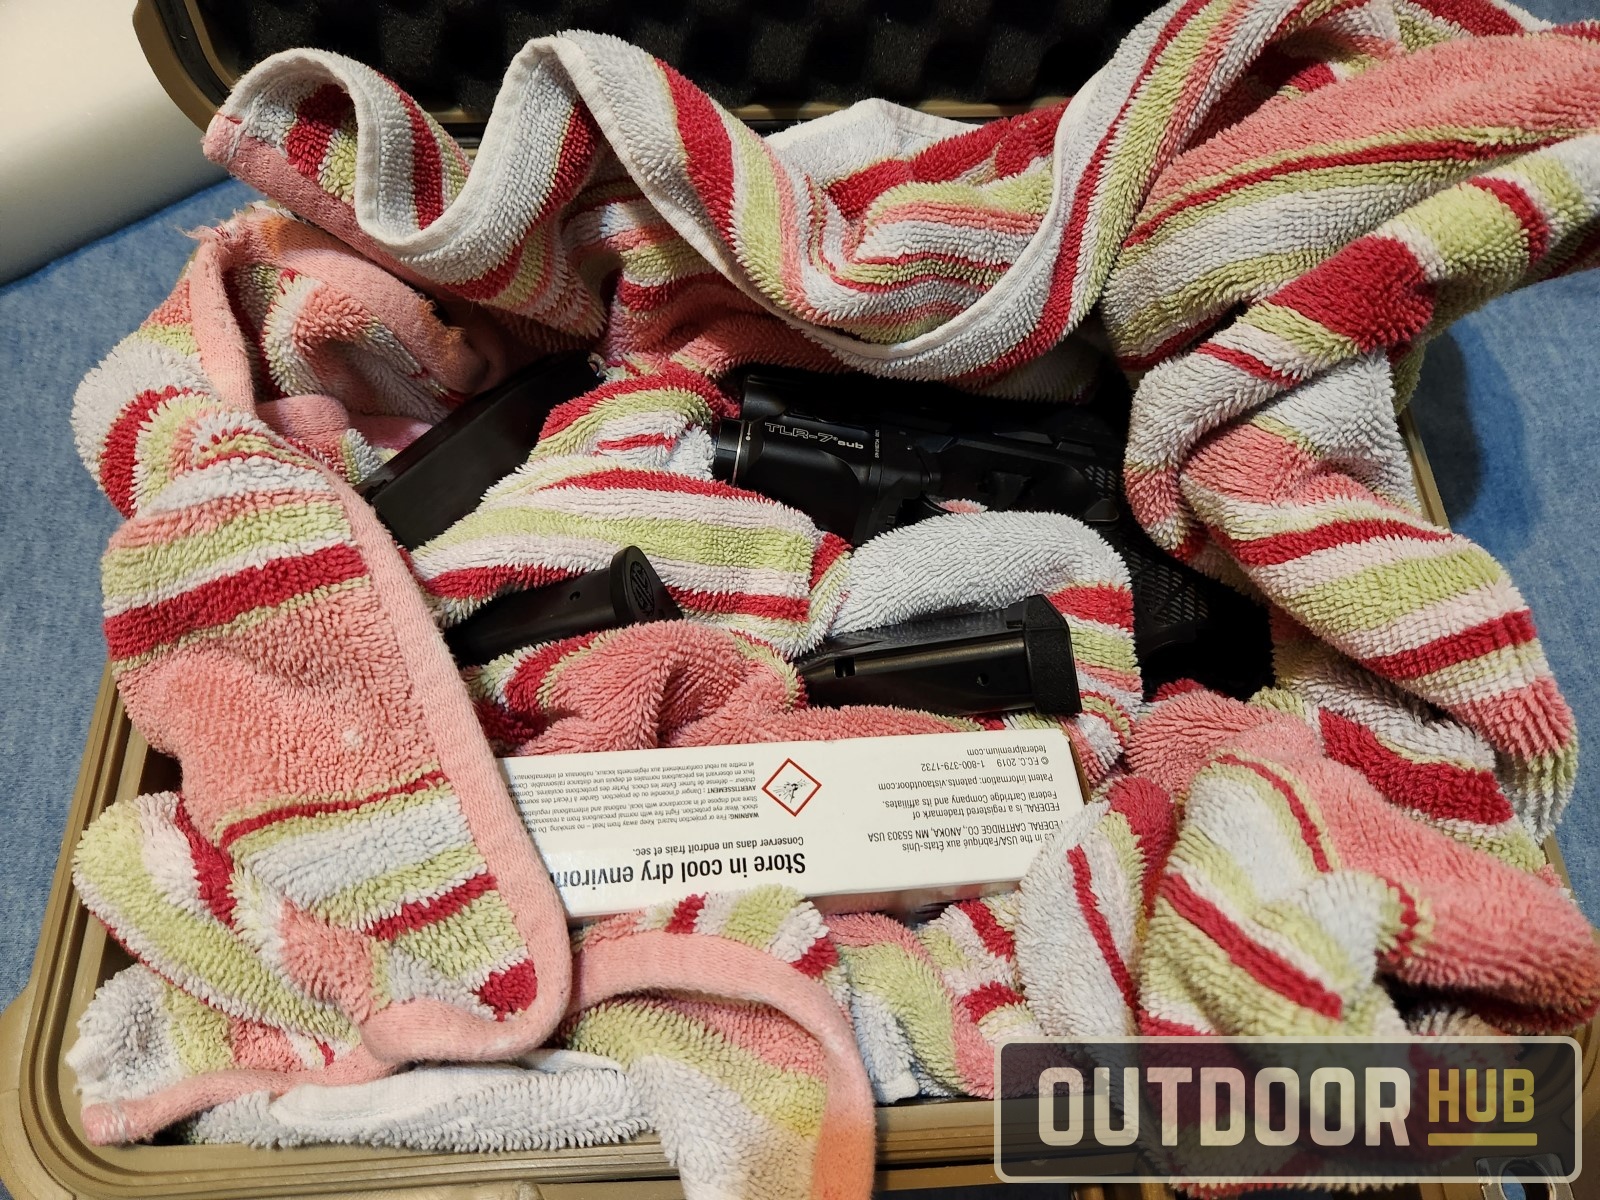
I know I said two DIY methods for custom inserts for your gun case, but there is a third method that would work in a pinch. It’s not pretty and its a not a long-term solution, but if you need to fly out in the morning it will work. Get a beach towel and stuff it into the gun case. You can make little nooks to place your carry gun, box of ammo, and magazines separately. Then just cover them up with the rest of the beach towel. I know it looks ugly as sin, but it will work and hold everything in place. If you hear some rattling throw in a hand towel to get rid of any leftover air space.
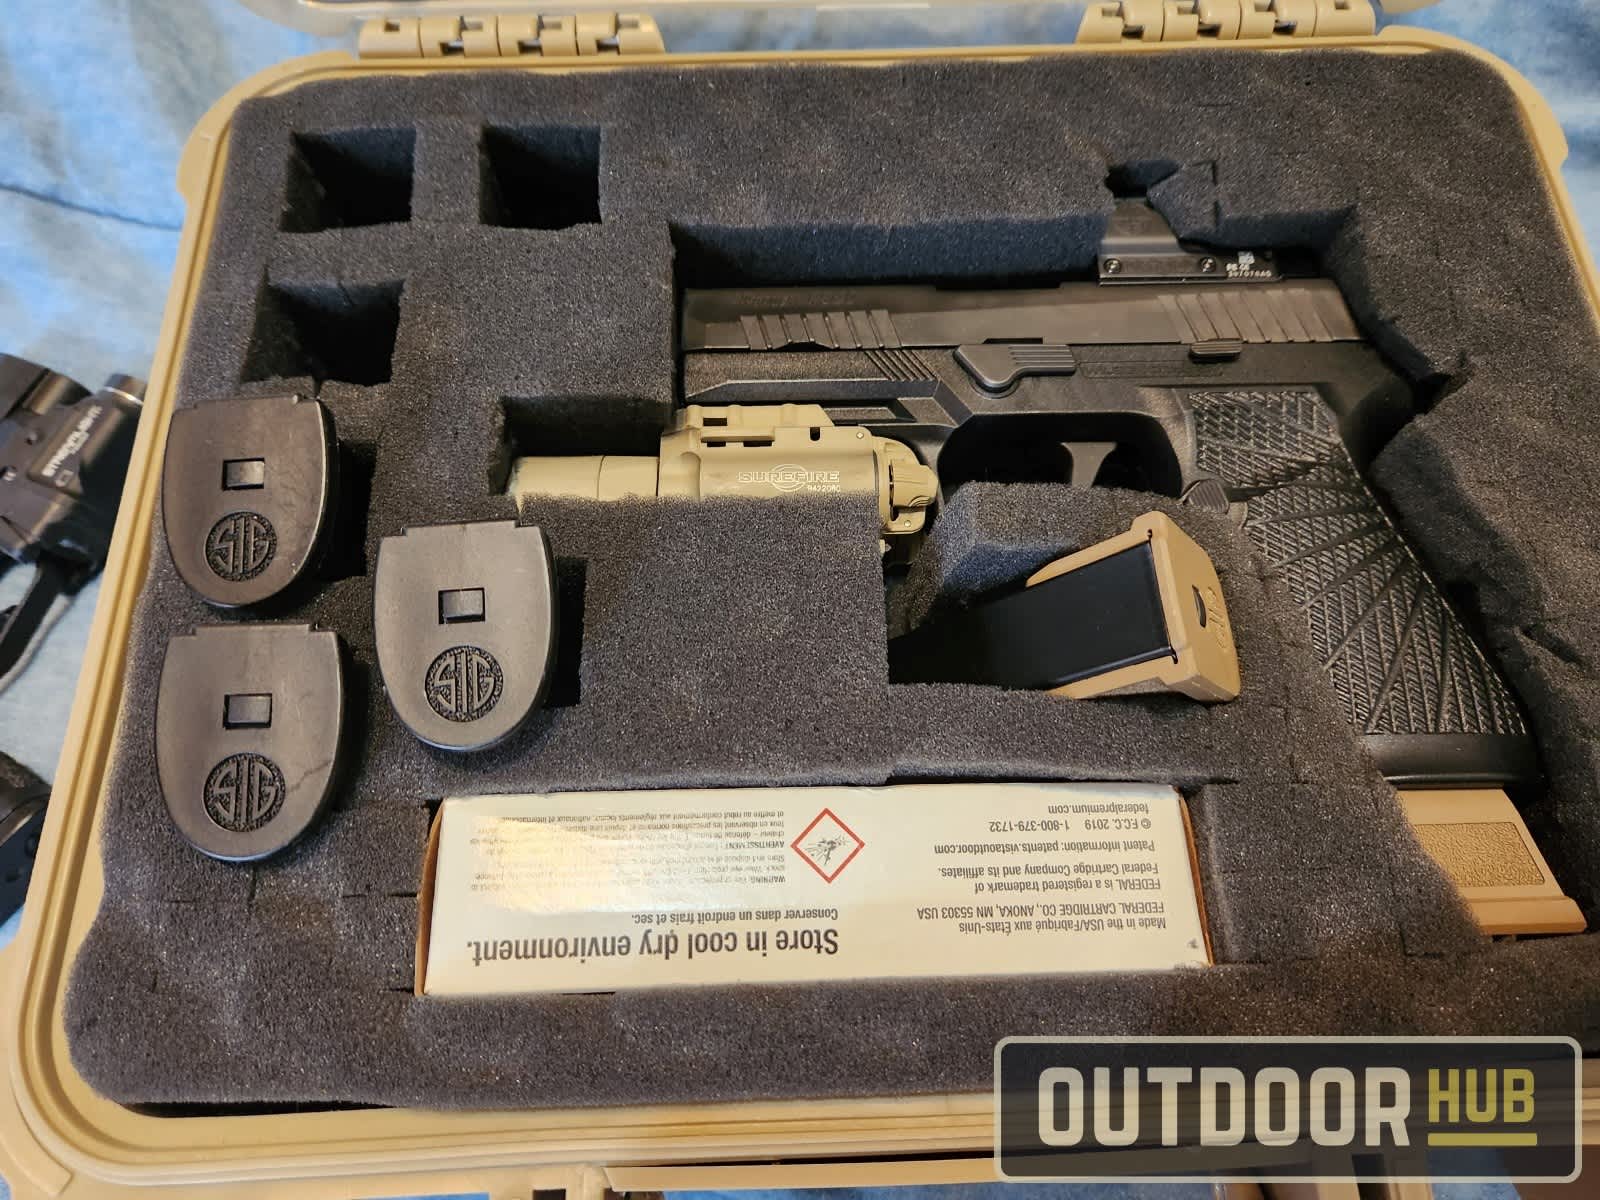
Finally, just some air travel tips, make sure every spot that can have a lock on your case has a lock. You want a solid shackle lock, not one of those wire locks. If the agent can fit a finger inside the case with the locks on the case, the locks are too big and they will refuse it. As for the locks on the case, you don’t want to have TSA-approved locks. You want standard locks for the gun case. And even if the magazines don’t have ammunition in them you can’t have them inserted in the gun, TSA can ding you on that as well. For everyone who’s made it this far, safe travels, and thanks for reading.