Field Test: Steiner R1X Reflex Red Dot Sight
Tom McHale 09.27.17
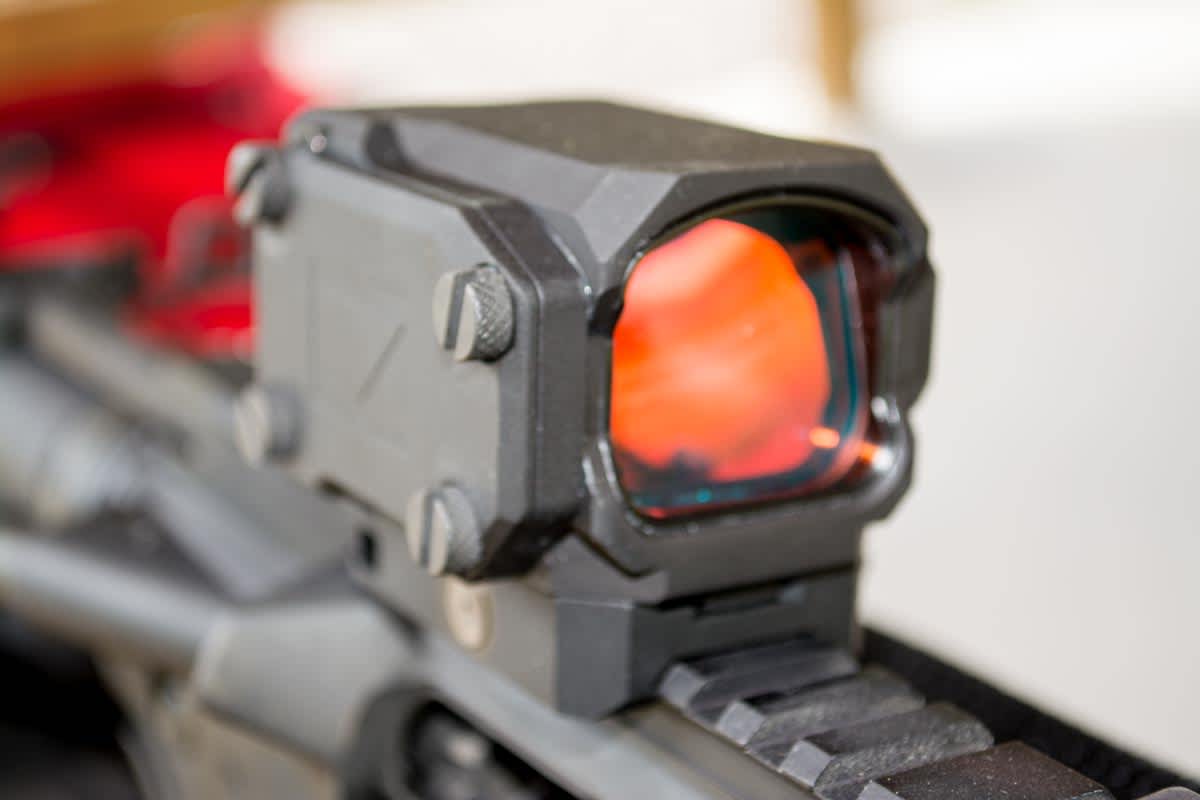
When I opened the box containing a Steiner R1X Reflex Red Dot sight, I had a case of deja vu. I couldn’t put my finger on it until about a week later. Then it hit me. Remember the original Star Wars movie? I mean the very first, back from 1977. Jawas roamed the deserts of Tatooine in a giant mobile fortress called a Sandcrawler while they were out and about stealing stray droids. While the R1X doesn’t contain any Jawas, it is a mobile fortress. This thing is built like a tank.
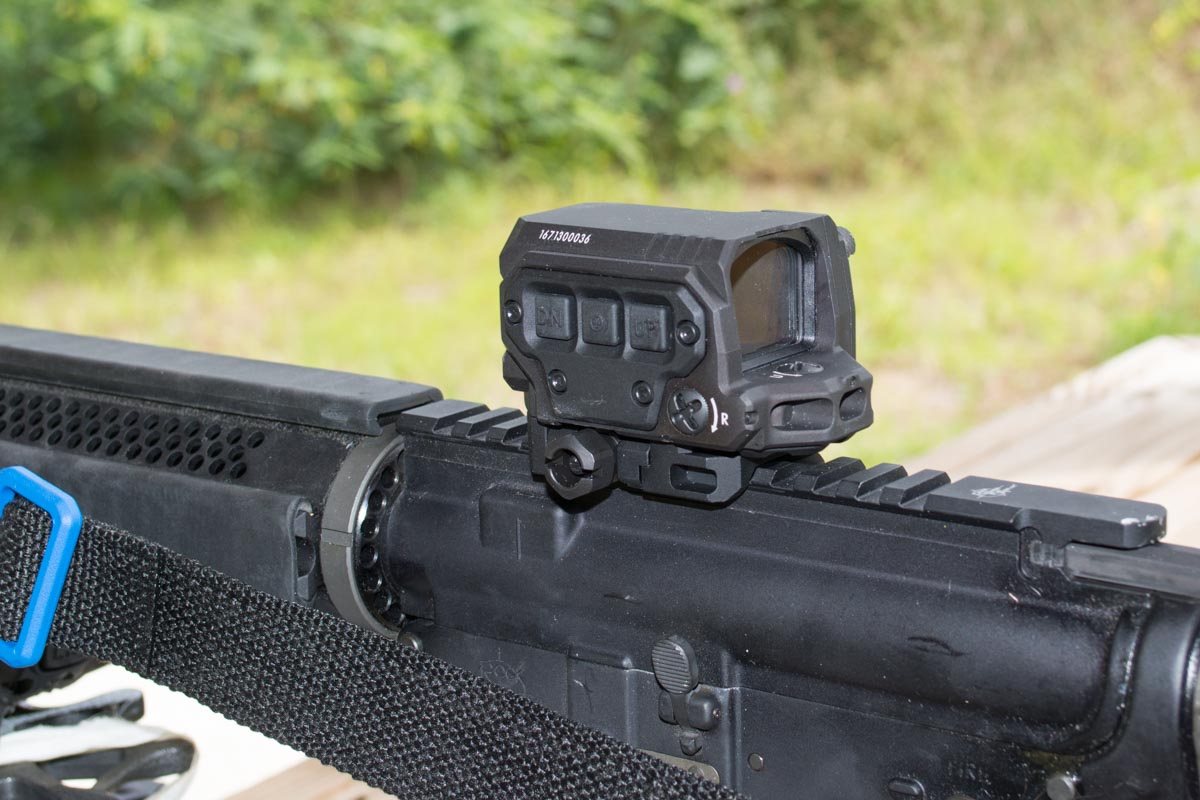
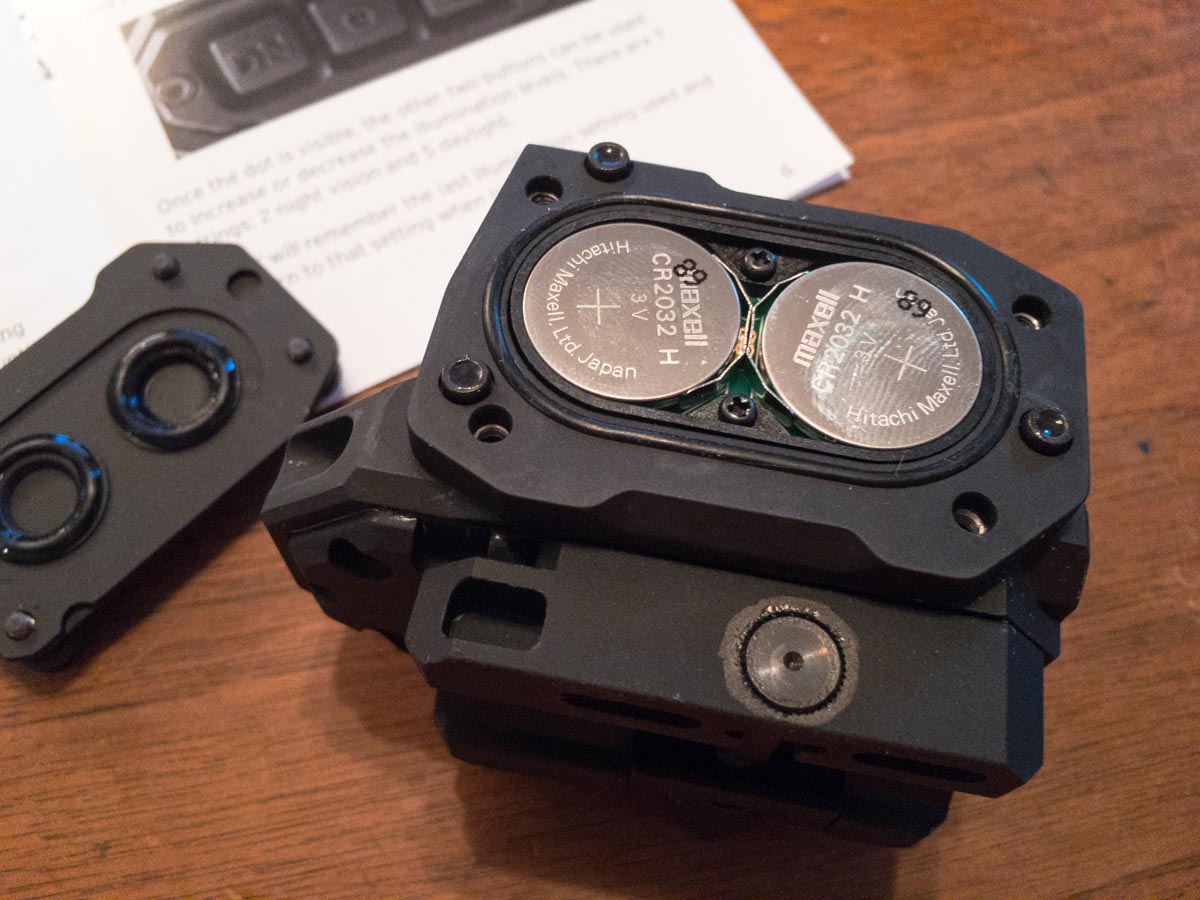
You can order a version with a quick-detach throw-lever mount, but the one shown here has a standard single nut for more long-term attachment. You’ll notice that one side is a flat panel attached with four screws — that’s where the two batteries go. You can replace them without removing the optic so your zero won’t be impacted.
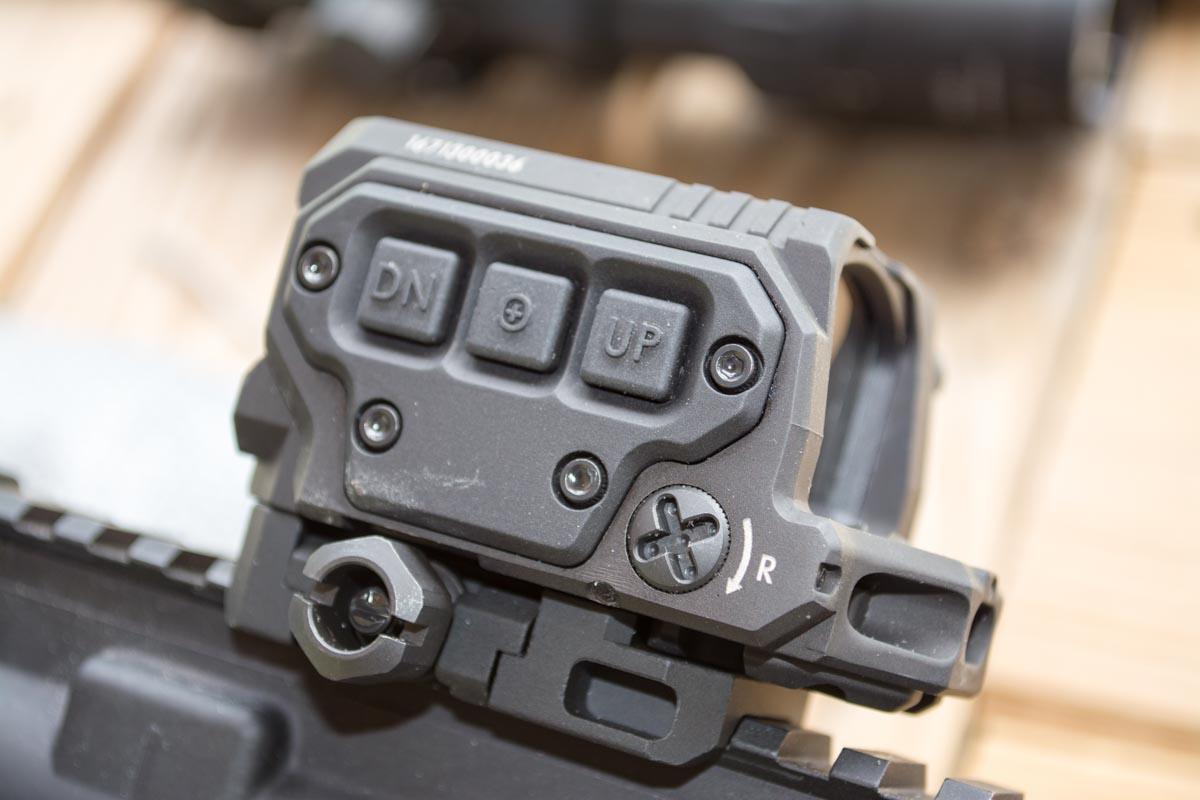
The left side has the operating controls. A center button powers the R1X on and off and is also used to switch between two different reticle views. We’ll get to that next.
Reticle Choice!
Even though the R1X is a reflex (red dot) sight, you have a choice of reticles. To activate the dot, just hold the center button on the left side for a second. That powers the unit on. Now you can swap between two different reticles depending on your preference of shooting scenario. Regardless of which reticle you choose, there’s always a 2 minute of angle (MOA) center dot. The idea is to zero your rifle at 50 yards using the 2 MOA dot. That’s your constant regardless of which of the two reticles you use.
The first reticle is a single dot and is intended for general purpose outdoor and longer range use with an AR. If you zero that at 50 yards and shoot a standard 55-grain bullet at about 3,000 fps, you’ll have “point blank” aiming capability out to about 280 yards. By point blank, I mean that you can hold on the dot and hit within 5 inches vertically of your aim point. At 150 yards, your shot will hit about 2 inches above the aim point, and after that, it drops slowly until it crosses that 5-inch threshold close to 300 yards.
The second reticle is optimized for short range use. You’ll still see the original 2 MOA center dot, but also three larger dots stacked below that. The visual effect is a bright post, although each dot is distinctly separate. Contrary to assumption, the three larger dots (4 MOA) below center aren’t for longer ranges, but rather to compensate for optic offset at extremely short distances. Most AR-type optics have a center that’s about 2 3/4 inches above the bore. That means that if you shot a target an inch in front of the muzzle, the bullet would impact 2 3/4 inches lower than the aiming dot indicates. Because you zeroed for 50 yards, the bullet and dot converge at that distance. From everywhere from 0 to 50 yards, the bullet is “climbing” to meet the aim point. Note: It’s not technically rising, the barrel is just lobbing it upward relative to your sight line. Anyway, the downside of a 50-yard zero at short distances is that the shooter must remember to aim high to account for the offset distance. That’s where that stack of three dots come into play. The bottom dot corresponds with the point-of-impact at 5 meters, the center with 7 meters, and the top with 10 meters. That’s about 5, 7 and 10 yards (give or take) after the metric conversion. That may sound complicated, but it’s really not. If you’re shooting at close range, use the bottom of the bright post formed by the four dots. At longer ranges use the top. It’s pretty simple and intuitive once you get the hang of it.
Illumination and Power
As for illumination, the R1X gives you seven different intensity levels. The first two are compatible with night vision, while the next five cover the spectrum from dark to daylight ambient lighting conditions. The brightest setting is plenty strong for even sunny environments, and you won’t have any trouble seeing it in the middle of the day. If I were using the R1X for home defense use, I’d probably keep it on the No. 3 setting — the first brightness level visible to the naked eye. That’s plenty bright in shadowy indoor conditions without being overpowering. When you turn the unit off and back on, it does remember the intensity level you chose, so there’s no need to reset.
Illumination is driven by two CR-2032 batteries that are included. As a side note, in a pinch, you can operate the unit with just one battery, but obviously, it won’t run nearly as long. When those die, CR-2032s are easy to find at most any grocery, drug or big box store. There is an 8-hour automatic shutoff to help preserve battery life. If you want to disable the automatic shut off, just hold the UP and DOWN intensity buttons concurrently for about a second until you see the reticle blink twice. Now it will stay on as long as you want.
Shooting with the R1X
I mounted the Steiner R1X on a Rock River Arms LAR-15 rifle chambered in 5.56mm. The first order of business was to zero the unit for 50 yards. Both windage and elevation adjustments are calibrated for 1/2 MOA at 100 yards, so that means each click gives you a 1/4-inch of point-of-impact adjustment at 50 yards. You have a total of 25 MOA adjustment capability for both windage and elevation if you need it. As a side note, once you’re zeroed it doesn’t matter which reticle you choose — that 2 MOA primary dot is the same for both, and that’s the one you use to zero.
I mounted the R1X in the middle of my receiver rail section to keep it well out of the way of the operating controls. Being a red dot optic, there’s no issue with eye relief, so I prefer to mount these well forward of the charging handle. I set up a 50-yard target, and right out of the box I was on paper, maybe 4 inches below and to the left of the bull’s-eye. After a couple of shots and adjustments, I was dead-on and proceeded to give this optic a workout.
Conditions were bright and sunny, yet I could keep the illumination intensity in about the middle of the daylight settings. I lost count, but I think I did most of my shooting about three down from the brightest setting. Even with sun and glare, the dot was bright and clear. When I switched to the four-dot stack choice, it was even brighter. I’d probably keep the R1X on that middle-of-the-range setting. It’s fast and easy to acquire. Since the “extra” dots are below your primary aim point, they don’t obscure the target either.
Once zeroed, I plinked away at targets ranging from up close (more on that in a second) to ones 100 yards downrange. Since I set the zero at 50 yards, my standard 55-grain FMJ ammo was impacting maybe 1 1/2 inches high at 100 yards, but that’s well within the group variance and of course my ability to hold! Setting the zero on this optic to 50 yards was what I would have done anyway, even without the calibration requirement for short distances offset mapping.
To check out what those other three dots do, I moved the targets in close — really close. I put targets at the 10-meter range to get an idea of how closely the dots correspond to the offset between the sight and the bore. I couldn’t set up the 5- and 7-meter targets because the range I was using has baffles in front of the shooting line to keep all rounds on the property, and I couldn’t set them under those. No worries, the 10-meter distance would give me an idea of how well the others lined up. For the 10-meter range, you use the top of the three larger 4 MOA dots. Lining that up with my bull’s-eyes on the target, rounds landed right where they were supposed to. It’s a cool idea. You don’t need to remember to account for the offset. You do, however, need to remember to use the other dots as aim points when you’re shooting close.
All in all, this is a nice AR optic. Because 223 Rem./5.56mm and 308 Win./7.62 have similar trajectories, it’s right at home on either an AR-15 or AR-10 rifle. The close-range compensation dot pattern will work equally well with either. The dot(s) are crisp and clear. I like the 2 MOA primary dot because it’s small enough to offer good precision at distance without covering too much of your intended target. That works out to just 2 inches at 100 yards. Even though it’s small, there’s no problem with visibility; it’s plenty bright.
The R1X retails for $630.99. As you’d expect at that price point, it’s good to go for rough conditions. Waterproof, fog-proof and shock-proof, it should stand up to years of hard use.

