Robert Gradous Gunsmithing Class 2011
Sniper's Hide 08.04.11
Being a fan of Rock music there was always talk of a “musicians – musician” the Steve Vai / Dream Theater types who others musicians talk about with great respect. Well in the world of precision rifles, we have the same thing. Guys people have heard about but are not well known. These small one man shops are usually well below most people’s radar.
The first time I heard of Robert Gradous was through well-known writer Jacob Gottfredson, the next time it would be through Jim from Nightforce. Both suggested I explore his gunsmithing class where you actually build your own precision rifle inside of a week. You read that right: a custom rifle in less than a week. Sounds too good to be true, that’s what I thought. After finally getting a break in my schedule I called Robert and set a date.
The initial consultation was simple, Robert’s attitude was that this was about having fun and there was no voodoo or root oil involved, just simple methods put into practice. He has a cottage to stay in on site and that world-famous southern hospitality would be the order of the week. Believe me – there is no ego involved here.
Getting the Components Together
Before calling, I hadn’t put a whole lot of thought into the build; honestly I never do when it comes to putting together a rifle. But this time I was going to try something a little new for me, a 6.5 Creedmoor. Getting the parts was easy enough; for the action I simply drove up to Brighton, CO to visit Bighorn Arms. AJ there has the action I wanted to use, his floating bolt head model with a Remington footprint makes life simple. These are definitely my favorite custom actions after years of ups and downs with other models. Recently AJ started using NP3 on the bolts, so it was a perfect excuse to get one.
For a barrel, that was easy too, a Bartlein, so a quick call to George Gardner at GA Precision and I had a 6.5 in a light Remington Varmint Contour on the way to the house. I think the phone call lasted all of one minute.
At home I had a lightly used Accuracy International 1.5 chassis that came from the Remington PSS that eventually became the Gladius sitting in a corner, so I figured that was worth using, it had only been laying around for 3 or more years and it was about time that I dropped a rifle into it. That completed the rifle part, now it was time for the ammo. That required a call to Team Blaster to see if Hornady could help me out. They were able to get me a few rounds of the 120gr GMX Superformance, which was awesome. I then bounced over to Graf & Sons for a few boxes of 120gr Amax and 140gr Amax as I wanted to try it all if I could.
Day 1
I arrived in Augusta, GA late in the afternoon. The ride from the airport to Robert’s shop is only about 20 minutes. By 4 PM I was in the immaculately clean machine shop excited about the three days ahead. He asked if I was feeling a bit jet lagged and I told him I was ready to go, so I dropped off my bag, got a brief tour of the farm, then we were off unpacking the components for the build ahead.
Right away we he noted an issue, the chassis had the recoil lug opened up, but it was opened in the wrong direction. This was going to require milling, increasing the gap to at least a 1/2″ in size. Robert was really leery of this, but my attitude was, “it’s just a chassis and nothing a little Marine Tex can’t handle”. So it was off to the milling machine to remove some aluminum. Worst case, Mile High opens on Monday and we could get a new chassis Fed Ex’d to us. Still, we both believed a little bedding would be all right. Robert wanted to explain all the pitfalls associated to opening the recoil area that wide and his easy going way made it all crystal clear. After removing some aluminum, we called it a night to get ready for the barrel work in the morning. We had a plan of attack laid out so we were ready for a 7:30AM start time.
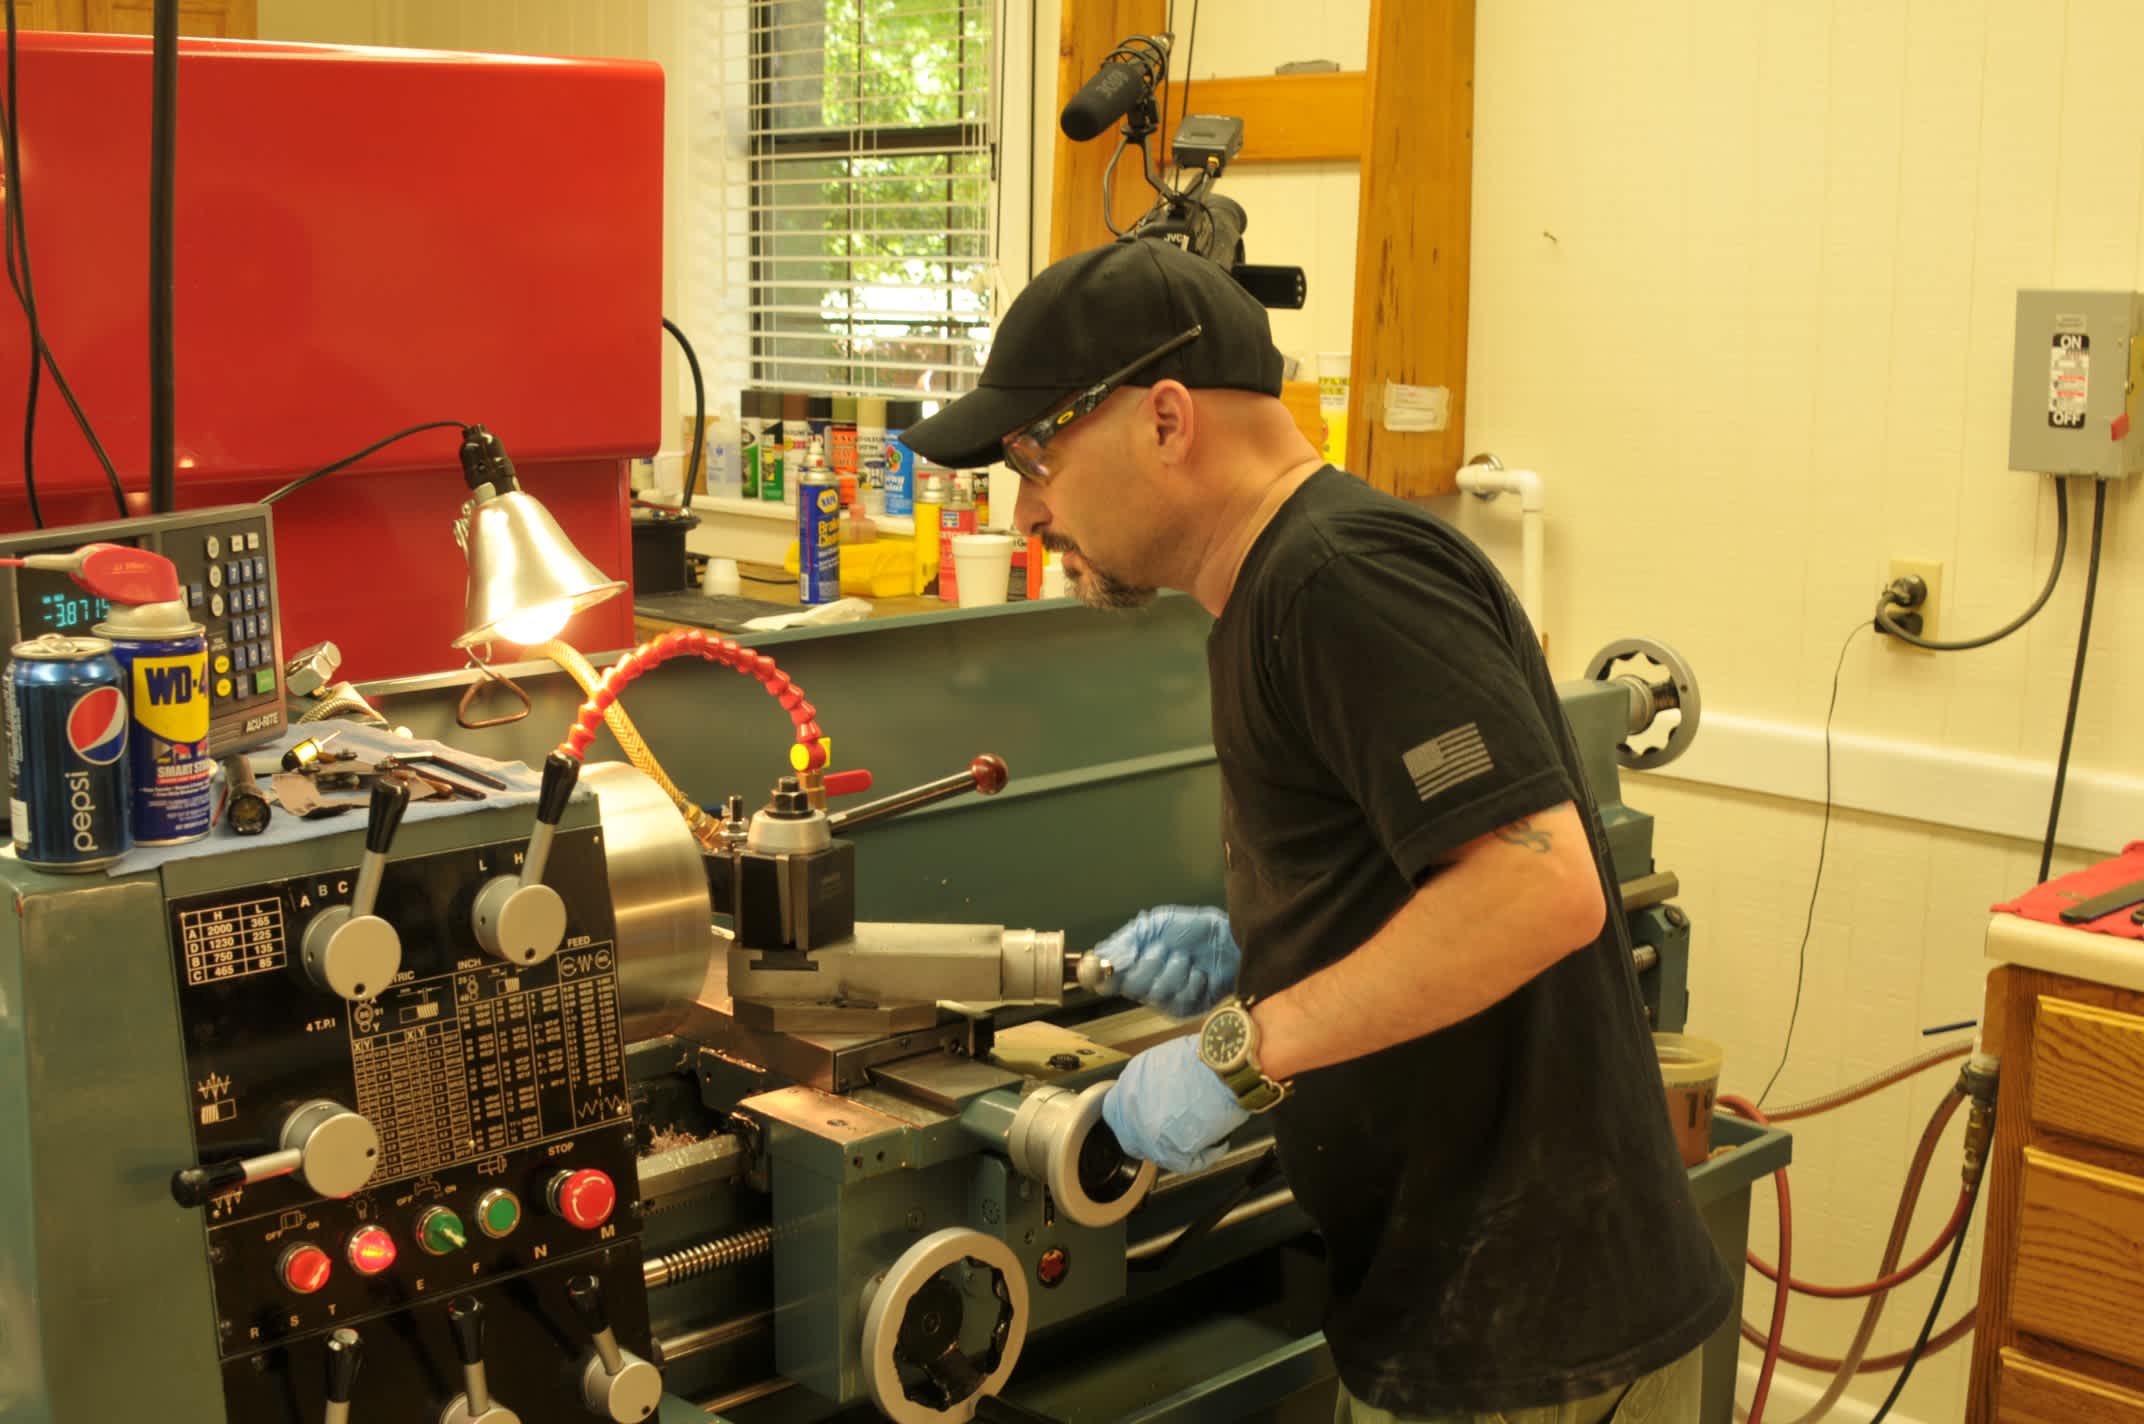
Now a little background, I don’t know the first thing about machining. I believe a Dremel is a precision piece of machining equipment. To me, there is nothing a little grinding can’t fix. The idea that I am going to be taking an unfinished barrel from blank to bullseye is pretty foreign right now, but that’s where we were. In this area Robert excels, he has an easygoing plain way of explaining things that anyone can grasp. What I liked, we measured 3 times and cut once, and in some cases we measured six times, practiced cutting then executed the action. Sure he had a second barrel from Mike Rock on standby, but I was determined to nail it, the Rock barrel will be a welcome spare when it was all over.
We easily spent the first hour lining the barrel up in the lathe. Making sure we were not stressing it in anyway, testing the run-out near and far. With each step Robert gave me the pros and cons of each action I took as well as the choices that were going to be made. I really liked the fact that when it came time to thread the barrel Robert took the time to explain the threading process as well as the two different types available to me. At each point it was my job to set the tool, after which he double checked my work and then, at the critical moment I had practiced, dry off the barrel until I felt ready to roll. When it came to threading I choose the standard 60 degree threads. We talked about doing spiral lock threads, I had been practicing the threading process at least 20x before taking a cut, and I just thought the spiral lock was a little over my pay grade. I am sure I could have done it, especially with Robert over my shoulder, still I had to ask myself, did I need them? Not really, but knowing the choice was there was great.
We spent the better part of the day working the barrel. I feel this is a critical component and seeing the attention to detail in Robert’s approach confirmed it for me. When it came time to chamber Robert had a custom tight chamber reamer there for a 6.5CM but I’m shooting a tactical rifle, tight chambers aren’t for me, and this was clear, as out came the standard SAAMI reamer. We started with the roughing reamer, and then moved to the finishing reamer. I would think it would be hard to explain a “feel” to a layman, but here I was reaming the chamber, working off the feel and the sound the tool made. We spent enough time working the lathe that I was beginning to pick up the small cues it gave me. That in itself was an awesome feeling, to question a feel and have Robert respond in the affirmative. So we squared, threaded, chambered and cut the barrel until all that was left was to crown and thread it for my can. Money, each step it appeared that under Robert’s direction we were nailing it, as every time we checked the results of my work the numbers were giving us minimum spreads. Time to fit it to the action so we can Cerakote it before we had to bed it, and today we had to bed it.
The Cerakote work was real straightforward. I chose coyote tan for the barreled action, and flat dark earth for the skins. It was 10PM when we finally bedded the rifle. That was almost 15 hours of work on MY first barreled action build, all of which was barrel work. Tomorrow we get to see if it shoots.
Now let me explain to anyone with a clue, a lot of the methods employed were admittedly “old school”. Robert explained this was done on purpose, and in fact, He showed me some of the more recent tools used, however these old school methods were used for a reason. In my opinion they really helped me visualize the process. He has a new CNC lathe sitting a few feet away, but instead I was using feeler gauges, dial indicators and calipers over and over so I can see the differences. For me, it was a great approach and one that drove home the “school” part of the week.
Day Two
The second official day started promptly at 7:30AM and this day was clearly a bit nerve racking for Robert – we were going to be shooting the rifle in the afternoon. He genuinely wanted good results. For me I couldn’t wait and was happy as hell to get going. The bedding was looking good but we hit a small snag. The AI skins still seemed a bit tacky to us. We put them in the oven, but wanted to give them more time, and time was something we were short on. So a quick call was made to Joe Collier another local smith and friend of Robert’s. We asked if he had a set of skins for us to borrow while mine were drying. Sure enough, not only did he say yes, he was pulling skins off his personal rifle. Southern hospitality again shows its face. So we headed over to Joe’s shop while the bedding was still setting up. We had a solid 1/2″ of Marine Tex behind the lug and we didn’t want to shoot it too soon for all the obvious reasons.
The moment of truth, mount the Nightforce scope and out the shop door to the air-conditioned reloading room / shooting station. We set up the rifle on the bench, placed the target out at 100 yards, and I am ready to put rounds downrange. Now anyone who has read anything I have wrote, knows that I shun barrel break in. I shoot a ton of 308s and I am a fire and forget kind of guy. Right away I begin shooting and while I am getting decent results, I am not getting great results, and Robert is nervous. Two rounds in a hole, then a flier, or two one hole groups to start off. So, he stops me, and says that we should clean the bore. Clean it, I only shot a few groups, but hey the 6.5CM is new to me, so here you go.
Boy was he right, the thing was not only dirty, it was fouling really badly. I don’t think I ever saw a patch so blue. I thought he was playing some kind of game, but there it was. We a shot a little, I let him clean it each time, because I’m not falling for that break in voodoo. Still the same thing: one hole and a flier, and now he’s thinking the bedding is an issue, for me, I’m shooting and he is cleaning it, more carbon and still the blue. Well now, even though it is shooting sub-MOA groups it’s starting to play on my head. I think the bench is messing me up, my eyes are bothering me without my glasses, so after another cleaning I tell him to shoot it and see what happens next. His first group is 1 hole below a 1/4″ in size, like magic. And you know what the carbon starts to disappear; from 5 patches to 2 although we still have a single land fouling the rifle begins to tighten up really strong.
I only brought a limited number of rounds with me, and I had saved half for shooting at distance, but while I was shooting, Robert and Todd were prepping the once fired brass and making up some handloads of 139gr Scenars to try. At first we were winging it and managed to get sub ½” groups. In most cases the rounds are right around a .25 MOA. This rifle is really coming in to its own, and while the factory Hornady was okay, these handloads were fantastic. Of the factory loads the rifle really liked the 120gr GMX Superformance ammunition, as well the 120gr AMAX was doing decent too. It seemed the 140gr AMAX liked to hover around ¾” an inch, maybe a hair below. We finished off the day at 100 yards, with some good numbers to work with. For the next morning we planned on taking the best loads of the day and checking them against the chronograph as well as moving them out to 600 yards.
Day 3
Morning of the last day we started around 8AM, heading straight to the Shoot Shed where he set up his Oehler 35P. We had a few pet loads that were sub .25 MOA shooters that we wanted to check as well as adjust before heading to distance, so once again we started putting rounds downrange.
What we found was that a few of the loads were a bit slow, so we modified them to bring the velocity up. The Hornady boxes list muzzle velocity for their factory loads using a 24” barrel. We had a good base line to work off of. We discovered that on average the “Devil Dog” was moving the rounds about 80fps faster than listed on the box. This gave us a pretty good foundation to work with. The rifle averaged between 2800fps and 3100fps depending on whether we used the 140gr / 139gr or the 120gr /123gr loads. I was pretty happy with where it ended up. The 120gr GMX Superformance was going 3100fps with no ill effects.
In my opinion the load development we did was worth its weight in gold. Where else can you build in a rifle in two days and then go out and develop a baseline load using everything from 120gr ammo to 140gr ammo with a few in between? My favorite load (and clearly the rifle’s too) was the 130gr VLD. This gave us great velocity, awesome groups in the .1s and really nice results at distance.
Conclusions
What an awesome week, from bare components to a one-hole tactical rifle. This is one of those experiences that you never forget and I highly recommend. Robert has an outstanding way of doing business, and if you’re anything like me, I recommend calling him and having your next precision rifle built by yourself, at Robert’s shop of course. Here you have all the say on how it gets down and how the finished products turns out. It’s a level of control unheard of. It should be in your bucket list if nothing else.
I want to thank Robert for an awesome week, Todd for seamlessly cleaning the shop and helping during load development, Joe Collier for loaning me the 1.0 skins while mine were drying and to Jacob G and Jim for recommending this to me. I can’t say enough good things about Robert and his operation.
To find out more, head over to Robert’s website.
http://www.gradousrifles.com/class.php
Frank Galli
“Lowlight”
Sniper’s Hide

Owner of Sniper's Hide online, graduated the USMC Scout Sniper School at Stone's Bay in 1986. Deployed as part of the 24th MAU (SOC) participating in Operations Earnest Will & Praying Mantis.
Works as a contract instructor as well as having competed in many tactical matches across the country. Sniper' s Hide currently hosts two Tactical Competitions a year, the Sniper's Hide Cup and the Shooter's Bash.
I continually seek outside training and methods to improve my skills. The more tools I can add to the toolbox the better.
