Top 10 Tips to Properly Sight-In a New Riflescope
Mark Kayser 08.15.17
You want to hit what you’re aiming at, and now that you have your new riflescope mounted firmly on your favorite deer rifle, it’s time to hit the range. Do it the right way. A long time ago in a hunting season I’d rather forget, I didn’t follow the basic steps of ensuring a zero on my new riflescope. I can still see that big buck trotting away through a picked cornfield after missing the buck due to shoddy sighting in. Don’t be me from that dark galaxy.
- Buy Top-notch Ammunition
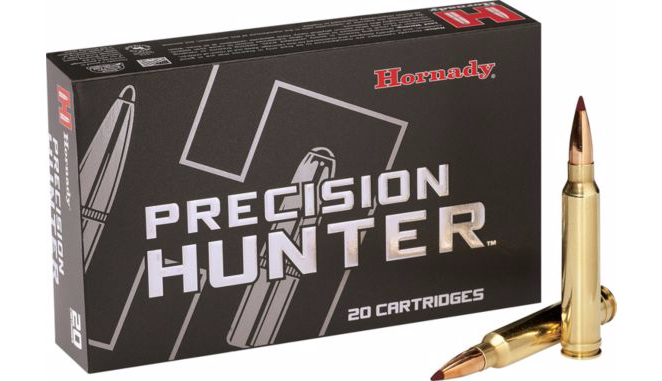
Start out on the right foot by sighting-in with the ammunition you plan to hunt with later in the season. All ammo shoots slightly different from any given rifle, and heavier bullets and hotter loads shoot drastically different from lighter versions. Do the research and choose high-quality ammunition such as Hornady’s new Precision Hunter with the ELD-X bullet. Ammunition like this gives you optimum bullet expansion at close range, yet Doppler-aided design sails the bullet precisely to long-range accuracy with the same expected expansion.
And once you have the rifle sighted-in, be sure to have an adequate ammo supply for the season. This is especially true if you plan to travel on planes, trains or automobiles with your gear. If a scope gets bumped significantly during your journey, there’s a decent chance you’ll have to re-zero the rifle/scope/ammo during a quick trip to the range. Plan ahead by packing enough ammo.
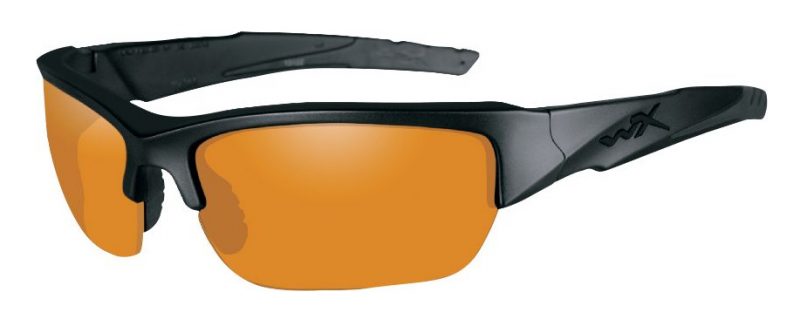
- Protect Your Eyes and Ears
While shopping for ammunition, be sure you have the correct safety gear for sighting-in. Most ranges demand you wear certified hearing and eye protection. It’s important because hearing damage and loss can occur when exposed to sounds at 85 dB, or louder. Most modern firearms create 110-185 dB of sound.

For muffs, consider electronic versions that reduce noise to 28 dB or lower, such as Cabela’s economical S.T.R. Hearing Protection (above). Wiley X is a top-notch eye protection choice by sport shooters and military operators. The company’s Valor series (below) comes with interchangeable lenses for varying light conditions. The glasses also exceed military ballistic requirements.
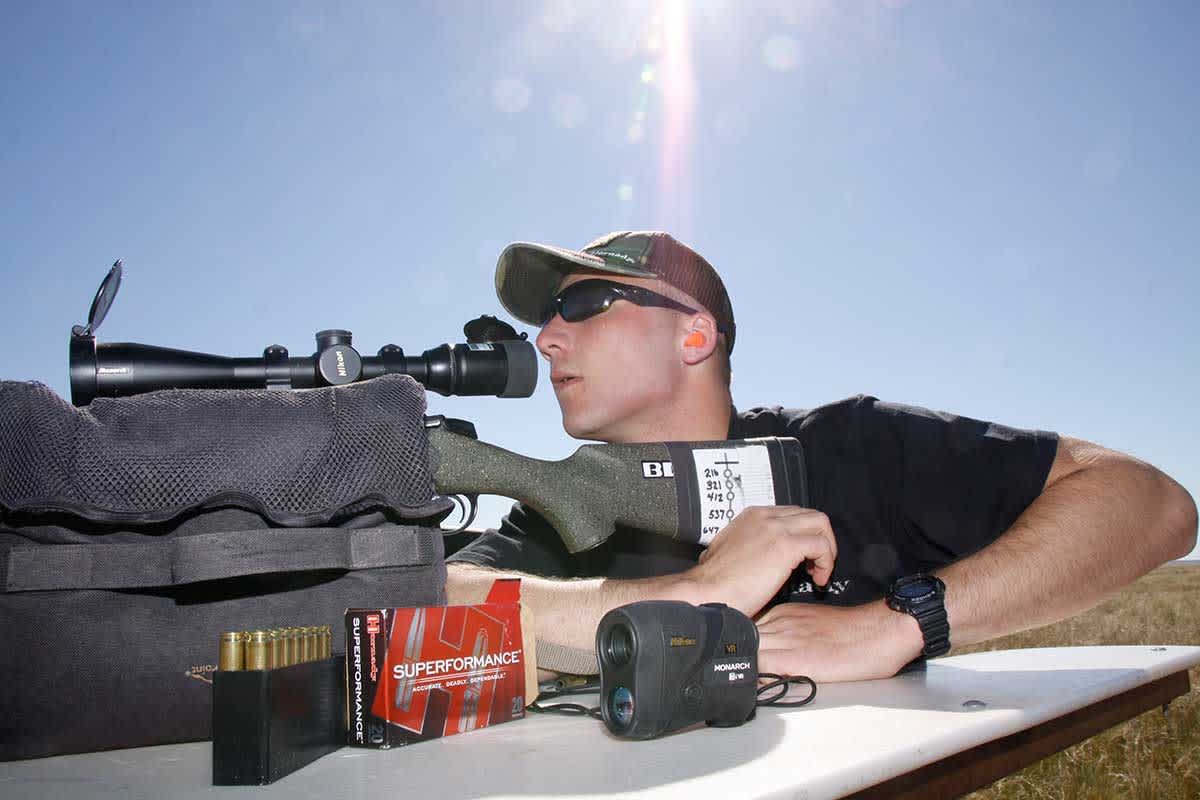
- Take the Time to Boresight
Save ammunition and get your riflescope boresighted. This optical tool attaches to the end of the bore, or is inserted into it to help dial your reticle to zero. You view a grid system through the riflescope and then adjust your scope close to zero.
On bolt-action guns, you can remove the bolt, look through the barrel at a bull’s-eye placed at 10-20 yards, then adjust the scope accordingly. If you or a friend doesn’t have a boresighter, and you don’t have a bolt action to boresight using the barrel method, then take your firearm to a gun shop. The good news is stores such as Cabela’s offer free scope mounting and boresighting when you purchase a scope.
Important reminder: Boresighting is NOT zeroing your rifle. It just gets you close to the target.
- Use Easy-to-See Targets
Gearing up should include the purchase of easy-to-see targets when you zero at distances of 100 yards or farther. Designs such as Birchwood Casey’s Shoot-N-C and Cabela’s Clear Shot targets (below) include distinctive backgrounds, and halo technology to show hits in contrasting colors.
![]()
![]()
Purchase the sight-in versions that include convenient 1-inch grid squares for you to easily adjust to zero after you see the shot. The 12-inch square target gives you plenty of room to adjust if your scope is way off.
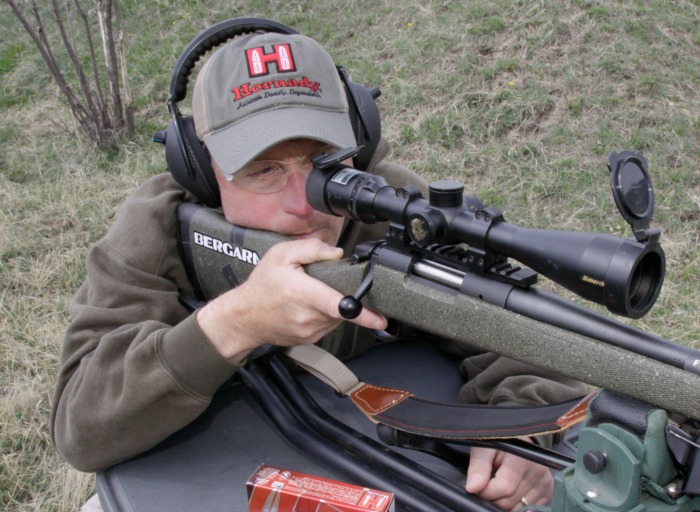
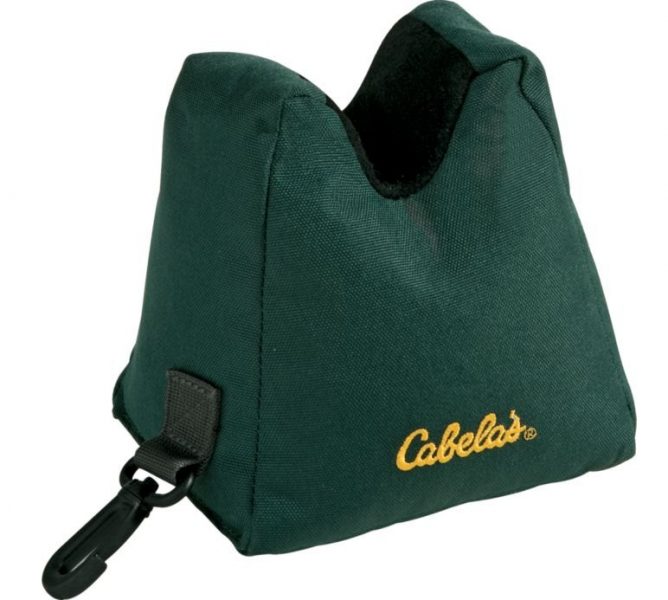
- Bag It
Before pulling the trigger, it’s important to steady your shot. Sandbags offer an economical way to create a rock-solid rest. You can even use a smaller one to place between your shoulder and the buttstock to minimize recoil. Cabela’s offers premium bags in a variety of configurations.
Companies also offer various rests including the Caldwell Lead Sled 3 that cradles and secures a rifle for sighting. It reduces felt recoil by as much as 95 percent. Your shoulder will love you.
- Take Baby Steps
Don’t start at your zero-distance goal of 100 or 200 yards for the first shot. Set you target at 25 yards instead. If your scope is way off, even after boresighting, this should keep the first bullet on paper and allow you to adjust quickly to a center zero. If you begin at 100 or 200 yards, the shot might miss the target completely, leaving you frustrated and wasting time and ammunition as you attempt to hit paper. Important note: At 25 yards, your bullets should impact the target 1 to 1.5 inches below the bull’s-eye.
- Decide Your Zero Game
After adjusting the scope so your bullets are hitting the target at 6 o’clock about 1.5 inches low at 25 yards, you now must decide whether to do a final zero at 100 or 200 yards. That decision is based on the shooting distances you expect during the hunt, whether you have a flat-shooting cartridge. If you don’t expect to shoot farther than 100 yards, you can zero at 100 yards. However, if you’re shooting something like the 6.5 Creedmoor, which has with a flat trajectory, then you may want to consider a 200-yard zero. Plus, if you plan on hunting various big game species in different states, you may want a 200-yard zero so you don’t have to change the scope zero in midseason.
- Three Shots is Best
Even with your rifle in a sturdy rest, the human element (i.e. error) you bring to the range can sway shots as you zero. A simple flinch or tug on the trigger can land a bullet off-target. To guarantee you’re getting the best view of your efforts, shoot a three-shot group at every sitting. Locate the center of the bullet group and then adjust the scope accordingly. After clicking your scope adjustments, tap the top of the adjustment rings to ensure they settle correctly.
Let your rifle barrel cool and then proceed to shoot another three-shot group. You need to shoot with a cool barrel because a hot barrel will perform slightly different. In addition, your first shot at an animal will be out of a cool barrel.
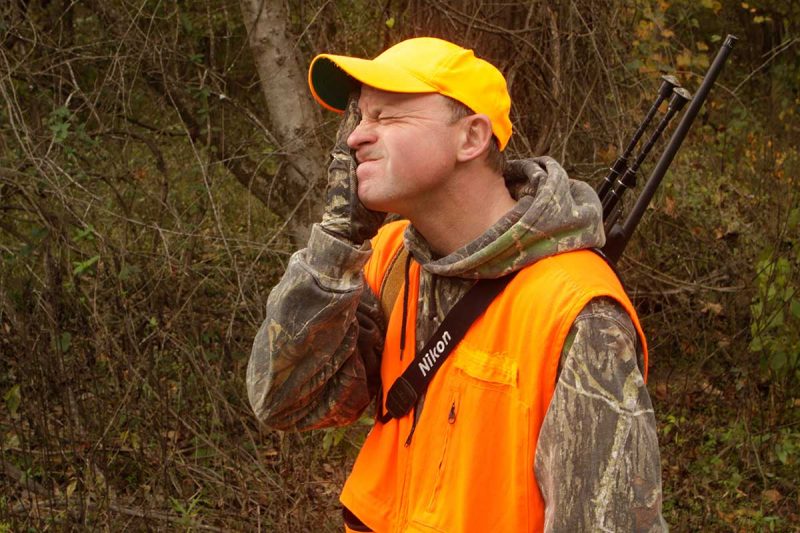
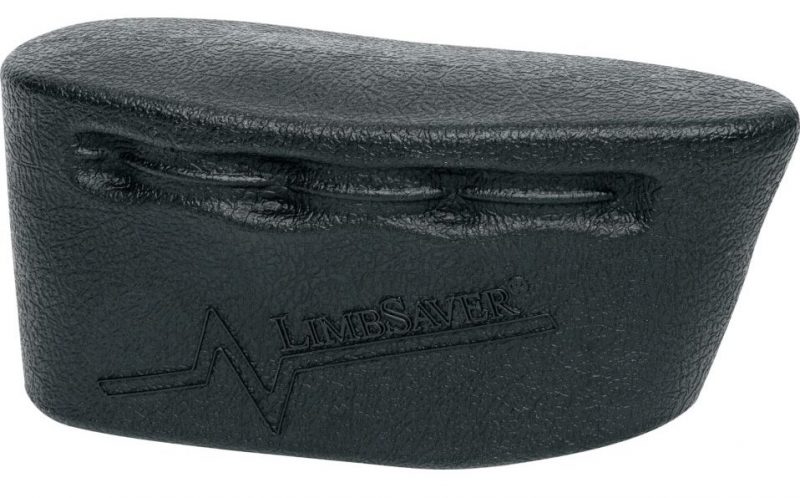
- Don’t Overdo It
Your rifle may be easy to zero, but if it takes more shots than you expected, then it may be time to pack up and return to the range another day. Shooting too much can create accuracy issues such as flinching and a sore shoulder from a magnum caliber. Slip-on recoil pads, such as those made by LimbSaver or Pachmayr, slide over the buttstock to suppress recoil. The sandbag remedy mentioned earlier can also reduce felt recoil.
If you want a more stylish look, shop sporting goods outlets for clothing tailored with recoil pads in the shoulder area. Minimal shooting and specialized recoil products will help you zero your rifle with no negative side effects.
- Foul that Barrel
Finally, when you do get your rifle zeroed, you will likely need to clean it. How many rounds you shoot through a rifle before cleaning varies depending on the expert you ask. Nevertheless, it doesn’t hurt to clean it after a box of ammunition is fired.
Remember, however, that rifles are more accurate if you shoot a bullet or two through a clean barrel before going hunting. This is called “fouling” the barrel. It removes traces of oil and other cleaning solvents, plus it pads the rifling with copper and powder residue to return your bullets to their previous zero.
Sight in the right way for the right ending to your hunt. And good luck this firearm season!
This article was produced in cooperation with Cabela’s.

