Gunsite Long-Range Field Test: Great Gear for Shooting Prone
Dave Maas 11.17.17
In the months leading up to my week-long Precision Rifle 7 class at Gunsite Academy in Arizona, I spent time with notebook in hand carefully writing down the equipment suggested on the web page detailing “Precision Rifle Equipment Requirements.” From rifles and telescopes to spotting scopes and tripods, this info was tremendously helpful in knowing what to purchase and pack.
One section on that page titled “Load Bearing Equipment” was particularly helpful. Quote from the first sentence: “Get a good military-type backpack, commercial-style pack or shooters bag that can carry ALL your personal equipment.” A few sentences later: “A pack mat, a version of a rifle case that unfolds to a shooting mat, can be very useful, putting everything else into the rucksack and carrying the rifle in the mat by the handles.”
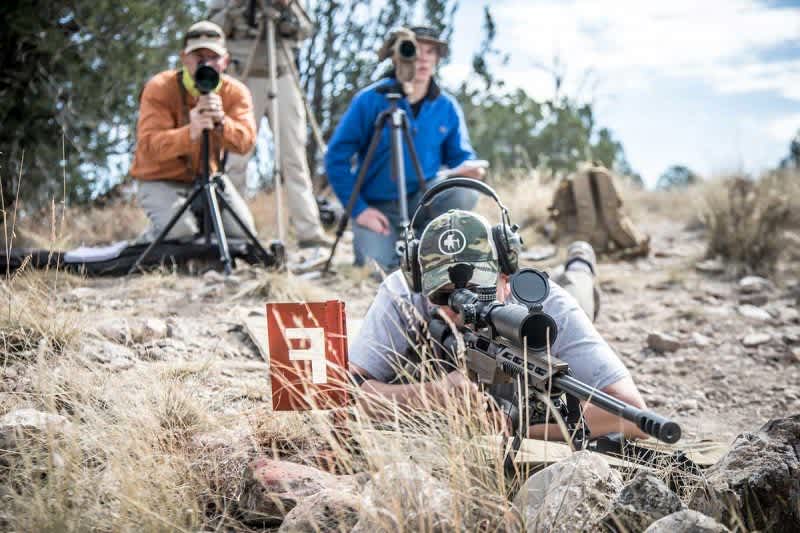
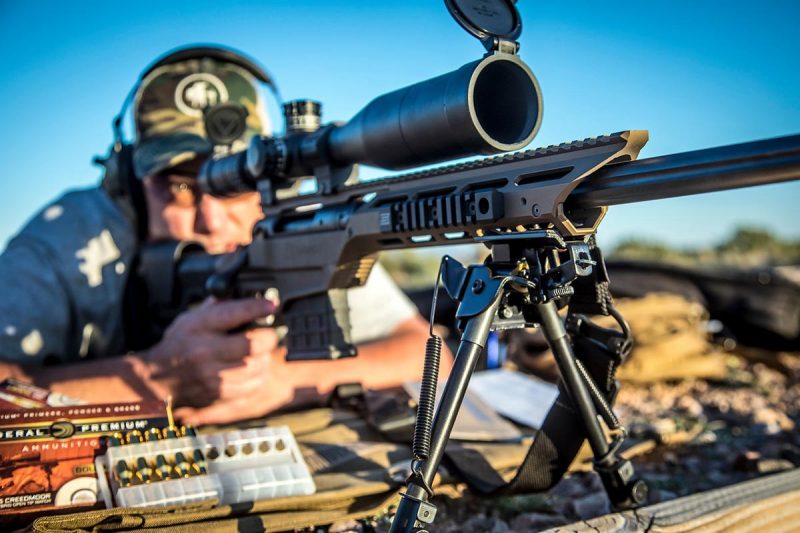
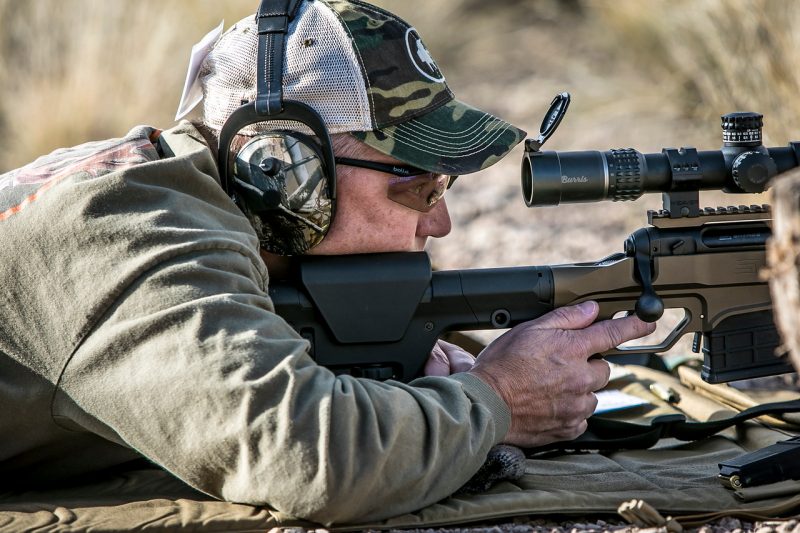
As a deer hunter from the Midwest, I’d shot from various in-the-field positions (standing, kneeling and sitting), but this text was making it very clear that I’d be shooting prone at Gunsite. And for that reason, as the equipment guide stated, I needed a rifle-mounted bipod with adjustable legs, plus some sort of a rear shooting rest to support the buttstock of the rifle.
Even though I didn’t own the “load bearing equipment” recommended, at least I knew where to begin looking. With my list in hand, I started doing research online, and after careful consideration — including cost — I outfitted myself in the following manner.
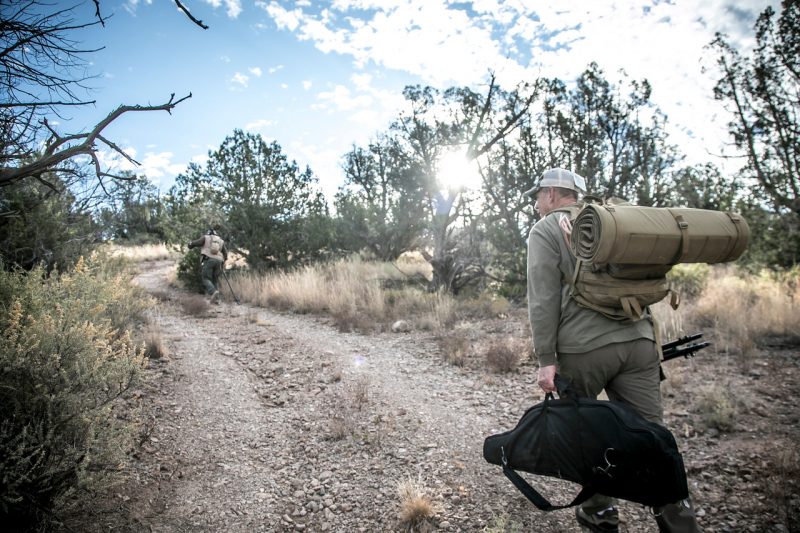
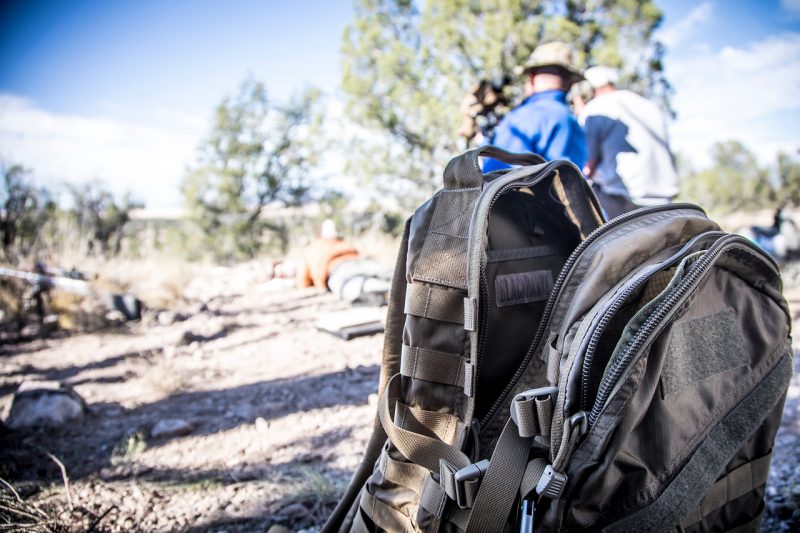
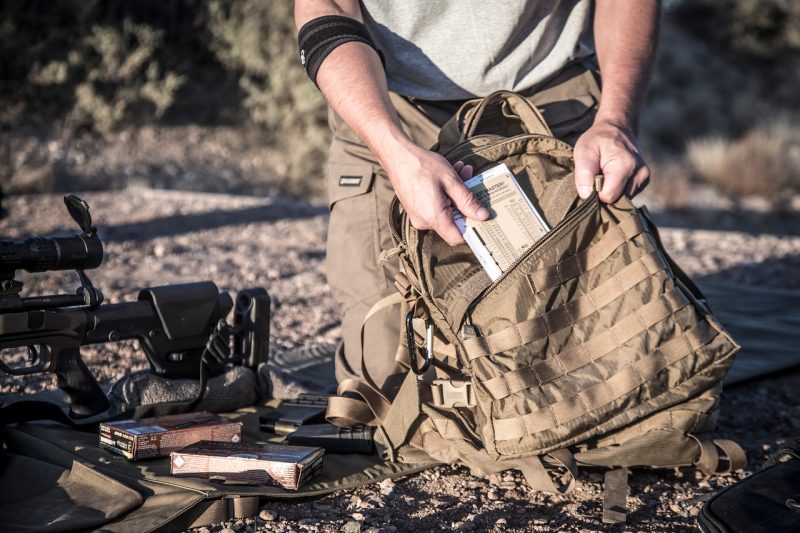
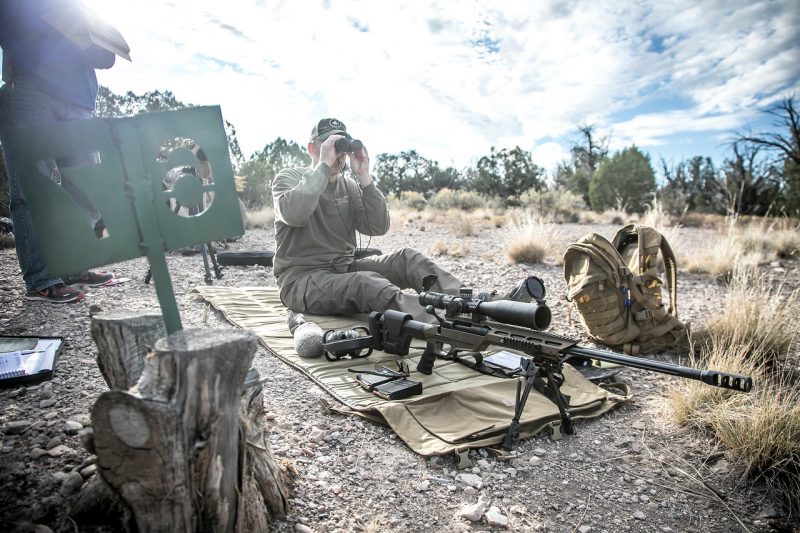
BlackHawk! Ultralight 3—Day Assault Pack. This lightweight pack is constructed of high-tenacity 210/330 denier nylon and 210 denier ripstop nylon. As you can see in the photos below, it’s not huge, but it’s not tiny either; it’s just right. I liked the padded shoulder straps, and heavy-duty D-rings for securing external items (more on that in a second). The YKK zippers were easy to grab and performed perfectly during my week at Gunsite. Each morning I loaded this pack with 100 rounds of ammo (five boxes), spotting scope, binos, multi-tool, water bottle, rear shooting rest and other gear. As the temperature climbed, I stuffed the backpack with a hoodie or long-sleeve t-shirt. In the map (rear) pocket, I kept my pen, notepad and Mildot Master. (Product No. for my backpack: 603D08CT)
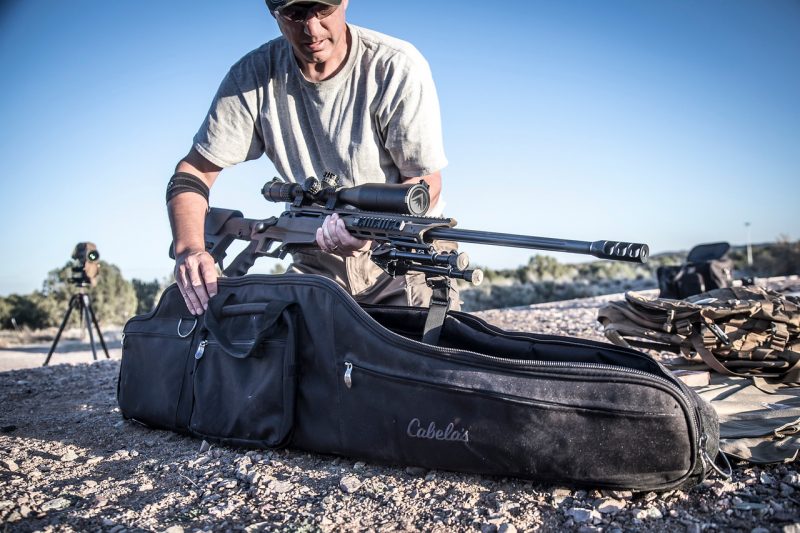
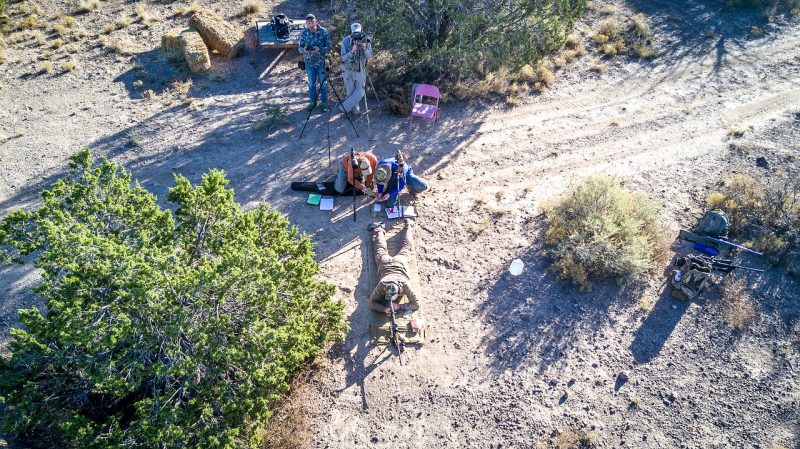
BlackHawk! Pro Shooters Mat. Trust me on this one — even though every student in the Precision Rifle 7 Class brought some type of mat, they ALL wanted to use mine. The reason? The Pro Shooters Mat is constructed of durable 1000 denier nylon and closed-cell foam, which means you can’t feel the jagged rocks (golf ball to baseball sized) underneath. Even though I brought elbow and knee pads on this trip, and carried them into the field on the first day, I didn’t need to use them — not once — because this 28 x 83-inch mat was so effective. The non-slip shooting surface kept me from sliding around, too.
Rolled up, the mat measured 28 x 8 inches. As you can see in the photo below, I carried the Pro Shooters Mat by attaching it with two lightweight carabiners to the D-rings of my Assault Pack. The system was flawless. (Product code for my mat: 80CM00DE)
Champion Pivot Bipod. I know you can spend a small fortune on a small bipod ($300 isn’t out of the question), but after talking to a friend who does a fair amount of coyote hunting from the prone position, he suggested the Champion Pivot Bipod. I went with the model that adjusts from 9-13 inches, and during my time at Gunsite, I used it on the shortest setting almost all the time. On two occasions, I extended one leg to 11 inches due to a sidehill shooting scenario. This bipod is a good value (street price of about $40) and it did a perfect job. (Product code for my bipod: 40856)
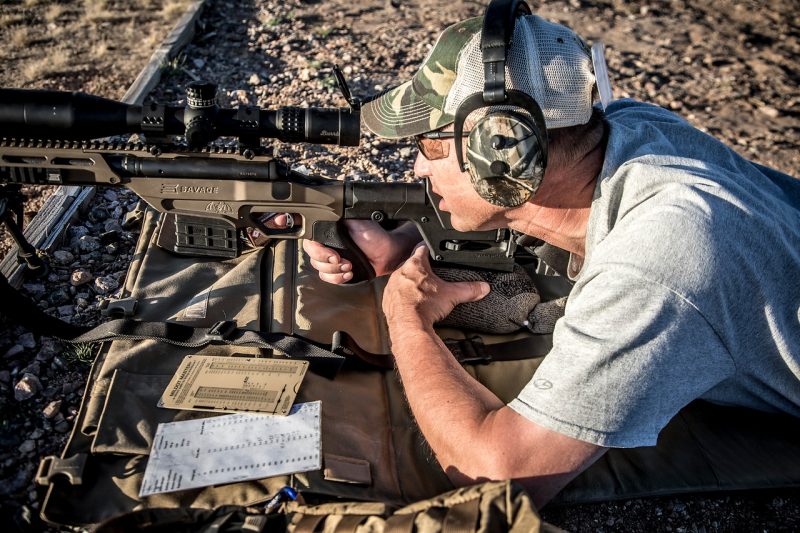
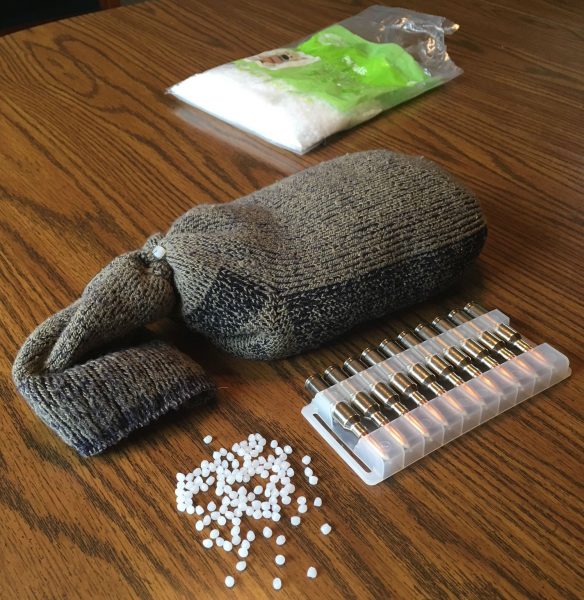
Homemade Rear Shooting Rest. You’ll notice there’s no hyperlink to these four words because this is an item you can easily make yourself. Sure, you can buy a rear shooting rest online from some specialty retailers dealing in tactical gear, but you’ll spend $100 instead of $10. Your choice.
It’s really this simple: Find an old wool sock (one without holes in the toe or heel). Buy some poly pellets from a craft store; one 32-ounce bag of these weighted stuffing beads will make at least one perfectly sized rear shooting rest. Fill the sock with the pellets until you have a shooting rest about 6 inches tall (see photo below). Tighten a cable tie around the sock, cut off the tag end of the cable tie, and you’re done.
PRONE SHOOTING 101
I cannot stress enough the importance of a rear rifle rest when shooting from the prone position. For making long-range shots, you must support both the front and the rear of the rifle properly.
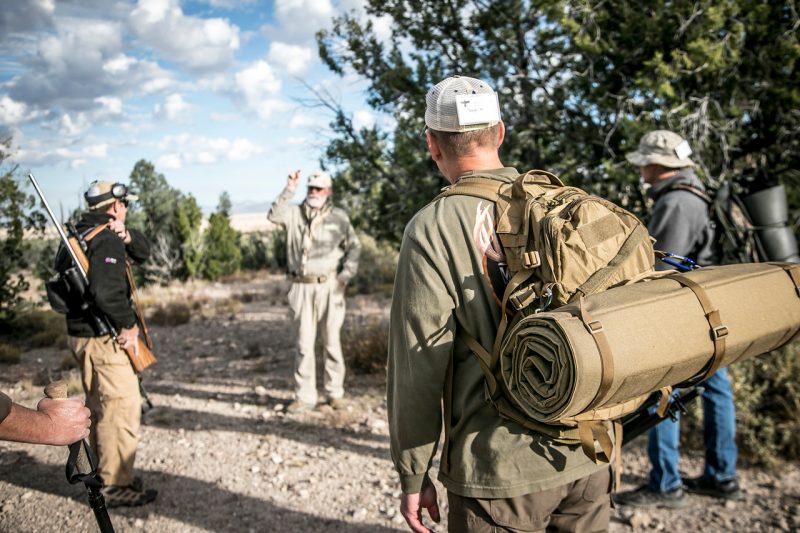
As Gunsite Rangemaster Cory Trapp demonstrated on the first day, you want to lean into the rifle slightly, which basically loads the bipod; it helps if the bipod legs are in a slight depression so they don’t slide forward.
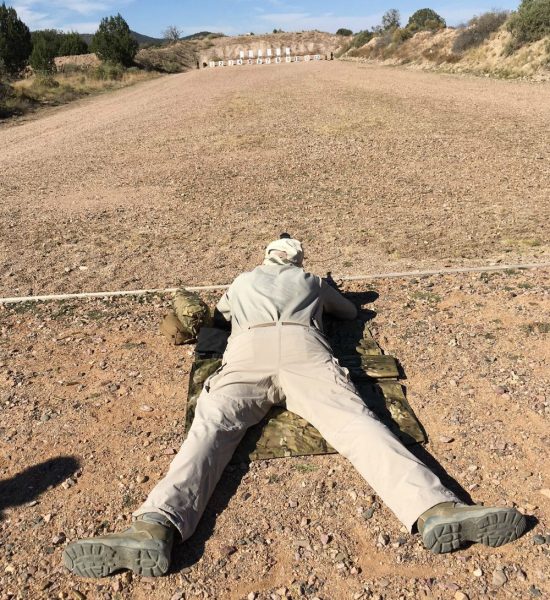
Lay down straight behind the rifle with your elbows and toes pointed out; the tendency is to angle your body to the left. If you’re not straight behind the rifle, you won’t be able to keep your eye on the target through the scope as you cycle another round after firing. I struggled all week with staying directly behind the rifle. It takes practice.
With your left hand (these instructions are for right-handed shooters), place the rear shooting rest under the buttstock. You’ll need to squeeze the bag slightly with your fingers for it to hold its shape. Slight elevation changes are made by the amount you squeeze the rear rest.
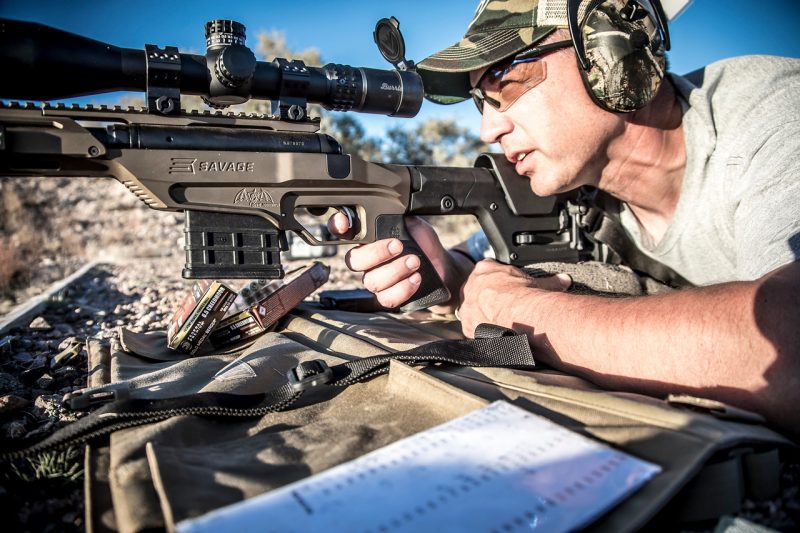
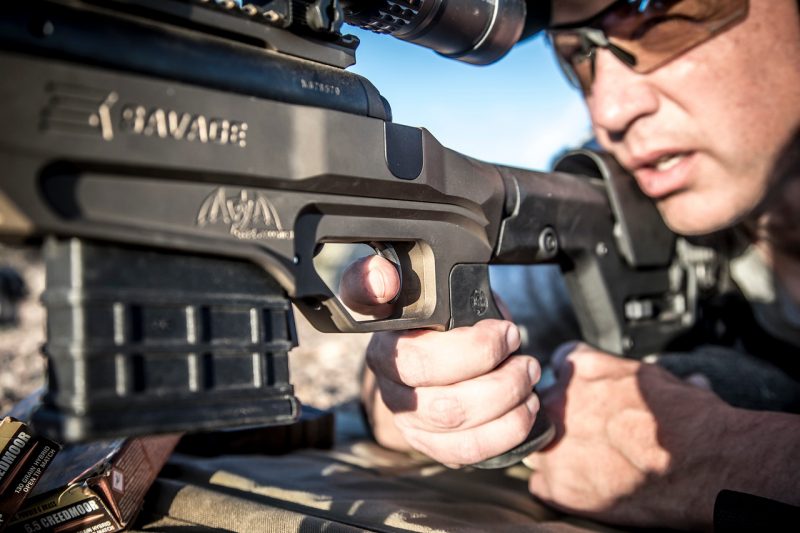
Your shooting hand shouldn’t grip the stock tightly; in fact, it’s a good idea to lay your thumb along the stock rather than wrapping it over the top (see photo below). Your shooting hand should be relaxed, and not manipulating the gun in any way.
When it comes time to slowly but deliberately press the trigger to the rear (you never squeeze a trigger), use the middle of the first pad of your pointer finger, not the first joint. At that moment, your shoulder should be in contact with the rifle, as your left hand keeps the rear shooting rest adjusted perfectly so the crosshairs float on the bull’s-eye/target.
If your left hand is working too hard (i.e. squeezing the bag requires some effort), stop and reset the bag. A slight squeeze is all that’s needed if you have the rear shooting rest adjusted properly.
Done correctly, this prone shooting system is ridiculously effective.
P.S. This article is the fifth in a series of five articles about the author’s trip to Gunsite. To learn more about his experience, and the gear he tested, click the following links:
Top 5 Reasons to Visit Gunsite Academy in Arizona
Field Test: Burris Signature HD Spotting Scope
First Look: Savage 110 BA Stealth Evolution Long-Range Rifle
Field Test: Burris XTR II 5-20x50mm Riflescope
Finally, check out the video below for a 28-second taste of Gunsite’s Precision 7 long-range rifle class.

